
 |
|
#21
|
|||
|
|||
|
I have the boat mostly apart, plus the top-cap/lid will come off to be re-cored, so while everything is apart I'll do the transom from the inside.
I wasen't planning to apply a light cloth on the underside, I merely gave it a thorough coating with epoxy resin. Now I think I will apply some 6oz cloth to the underside before I install the deck. I figured if the deck is installed with a thickened epoxy, there will be no way for the underside to check. I'll apply the cloth anyway.....heck I'd rather overkill then underdo.
__________________
2002 26 Fortier Yanmar 250 6LP-DTE 1978 20 Sea Craft Master Angler 08' 150 ETEC |
|
#22
|
|||
|
|||
|
You can still have moisture trapped under the deck and the moisture will collect on the bottom side of the deck.
|
|
#23
|
|||
|
|||
|
I second the checking thing. My students always want to skip the cloth part when building plywood skiffs and kayaks. Due to cost and laziness. Those that do will find checks in the finish after a season of use.
__________________
May all your deadrise be variable. My 1973 SeaCraft 20SF Parker 2530 DVEC Boston Whaler 15 1984 |
|
#24
|
|||
|
|||
|
Here's pics of the new deck, I gave the ply a couple liberal coats of epoxy, but as per Warts suggestion I also glassed some 6oz cloth on the underside to prevent "checking".
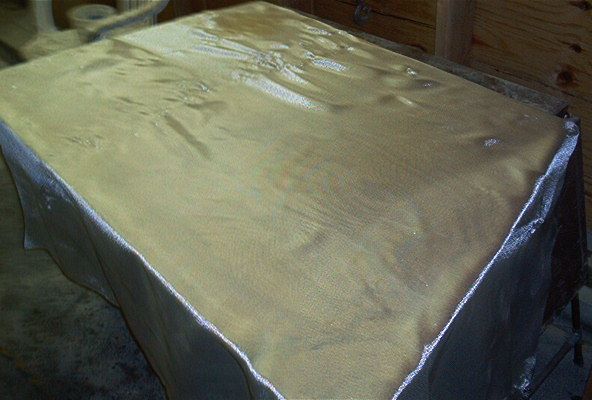 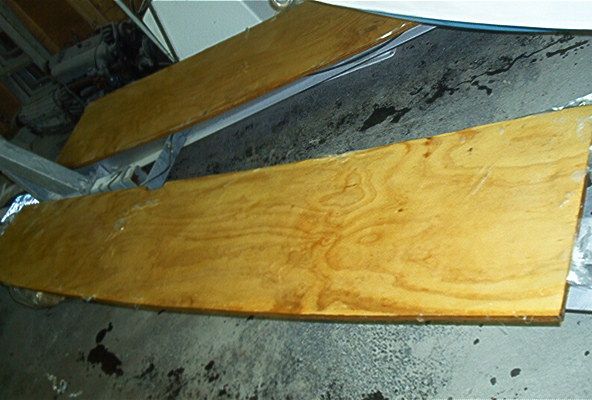 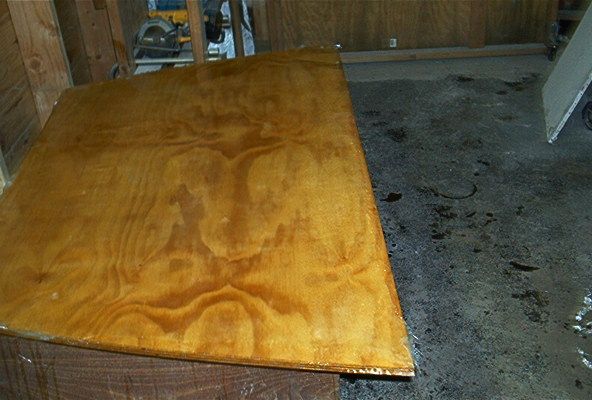 Here's some pictures of the cleats running on the underside of the inner liner. I epoxied these into place with 5:1 Epoxy and Cabosil. To test how strong they are I stood and jumped up and down on them and they held. 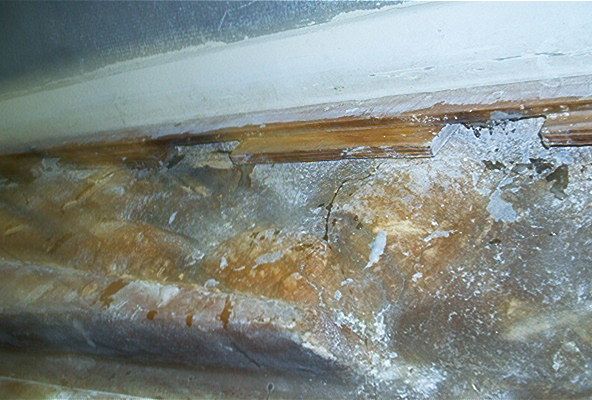 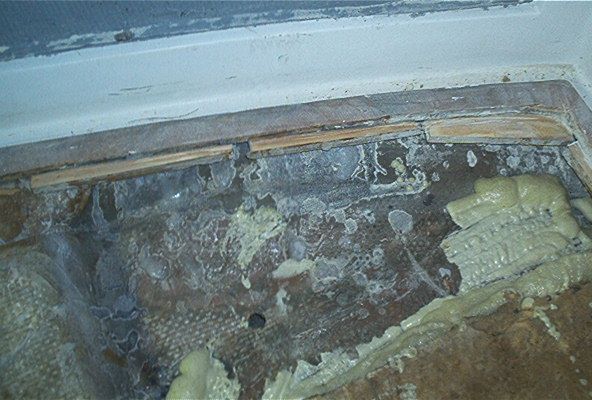 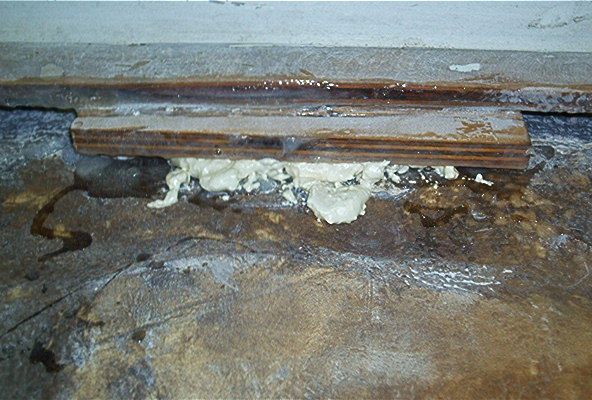 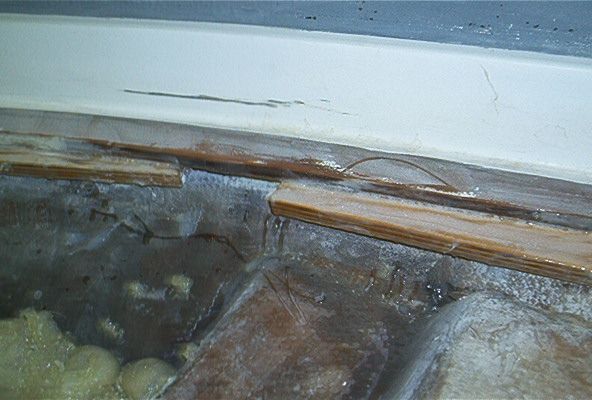 Here are some shots of the deck installed. The deck rests on both the main stringers and the cleats running aroung the inner liner. The deck was epoxied into place with a mix of Cabosil, and glass fibers. 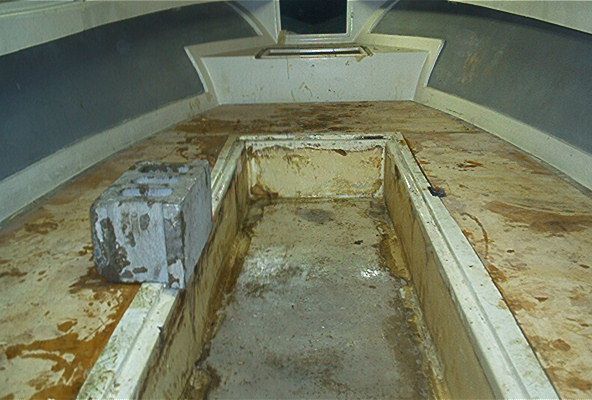 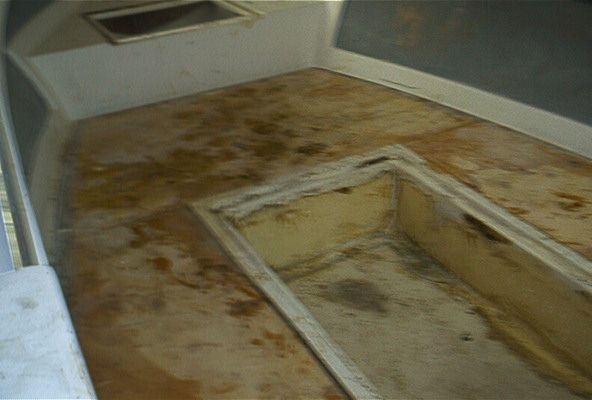 And where I left off the other day, the deck glass over with two layers of 1808 and one layer of 6oz cloth on top. You can notice some "wet" areas on these pics. The "wet" areas are spots that were relatively low and which I filled with 6 oz cloth so I have less fairing to do later. 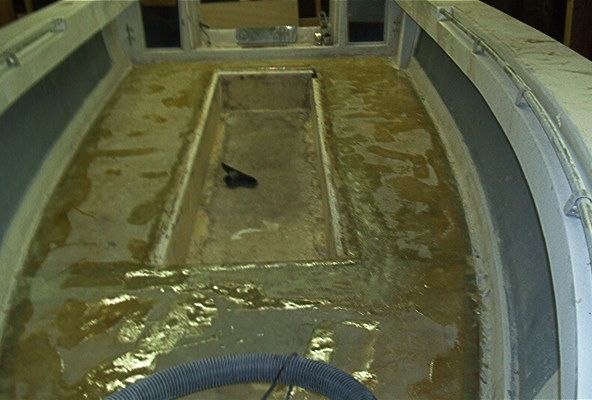 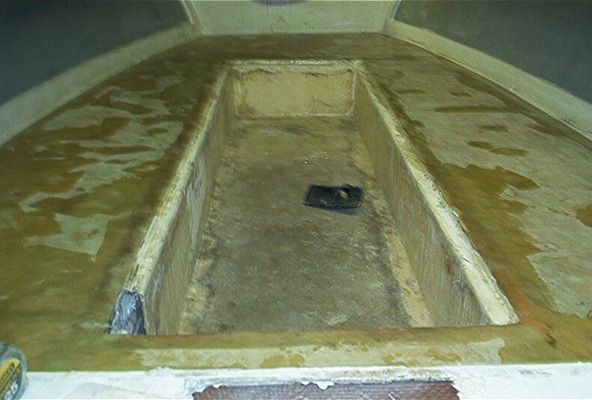 Within a couple days I plan to fair the deck using some Interlux fairing/filling compound. Sorry for the long time between updates, but 4rth of July, an office move etc all conspired to limit boat time. Well guys, hows it lookin? I may get some new pics posted tonight! Enjoy -Alex
__________________
2002 26 Fortier Yanmar 250 6LP-DTE 1978 20 Sea Craft Master Angler 08' 150 ETEC |
|
#25
|
|||
|
|||
|
I feel your pain !! Been there done that. Looks good
except I do not see any chases for IE: Steering, controls, wiring, etc. See ya, Ken
__________________
See ya, Ken © |
|
#26
|
|||
|
|||
|
Chases for rigging? Oooops I guess I forgot about that! j/k Actually I did cut an opening for the rigging/wiring, but I glass over it since I planned on making a slightly different design to allow the easier pulling. All I have to do is cut through two layers of 1808 and one layer 0f 6oz....no biggie. Maybe I'll do that tonight! -Alex
__________________
2002 26 Fortier Yanmar 250 6LP-DTE 1978 20 Sea Craft Master Angler 08' 150 ETEC |
|
#27
|
|||
|
|||
|
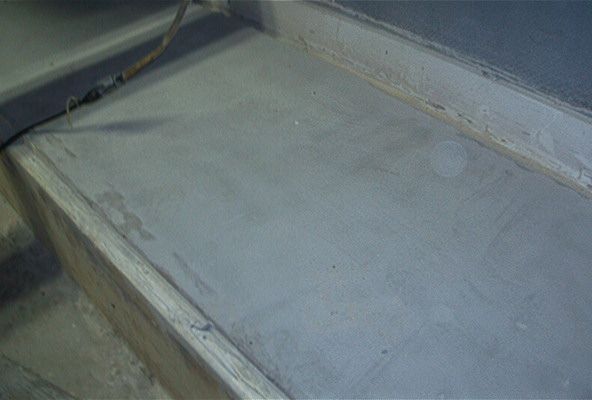
Hi guys...new updates....Here are the pictures of the deck after getting its first layer or Interlux Interfill 830. In order to get the deck as perfect as possible, I followed Raybo's advice and basically "skim coated" the entire deck with fairing compound. I spread it on and it came out great.....there's a few spots along the sides and right in the middle of the "casting deck" area that still needs a little touch up. I sanded the deck and most of the edges...I still have to clean up the gutter/drain around the deck and lip to where the tank coffin meets the deck. The Interfill sands nicely.
 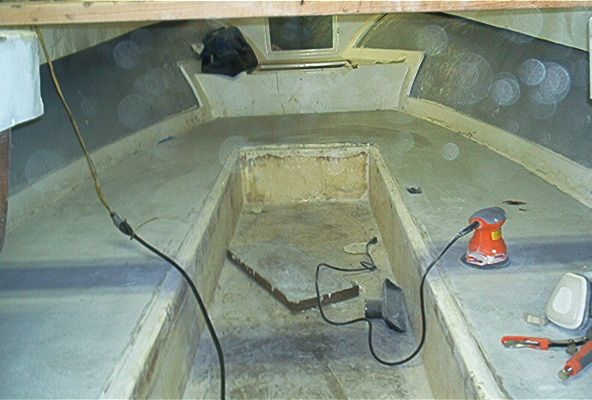 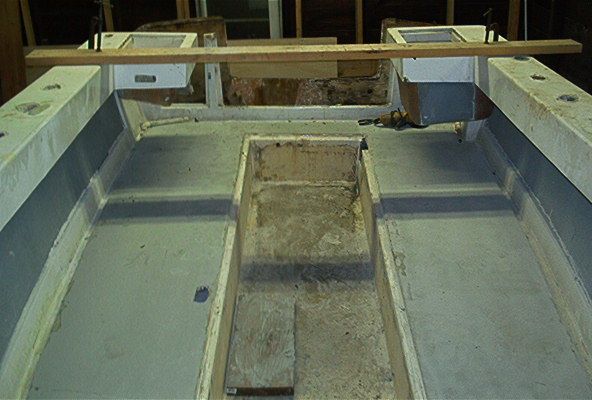 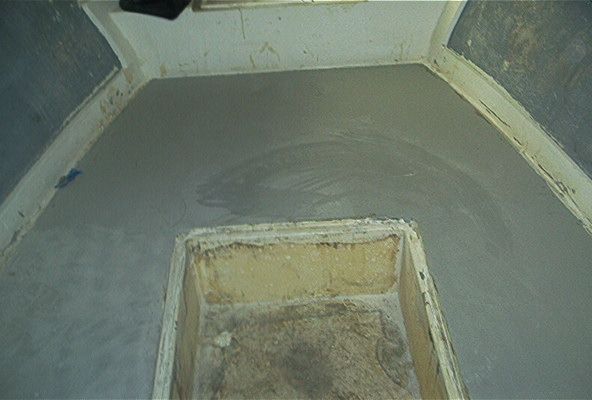 Well, most of the deck is done I'm glad to say....she needs a little more fairing, some sanding and paint, but that will come when I'm sanding fairing all the other little nicks, scratches etc on the boat prior to paint. So I started on the next project...the transom. I started by removing the rubrail and all screws securing the lid/cap to the hull....then I simply lifted the lid out of the boat (even though it took some persuasion [}  ] ) ] ) 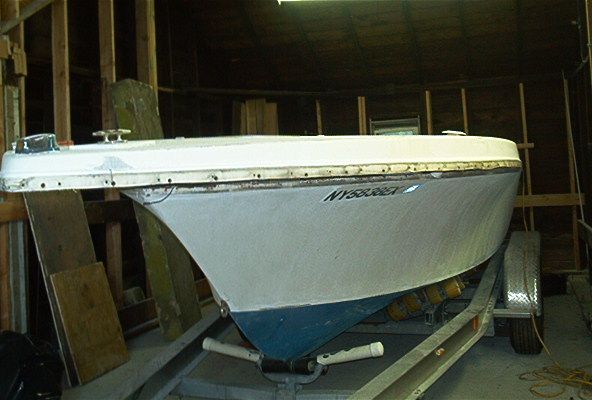 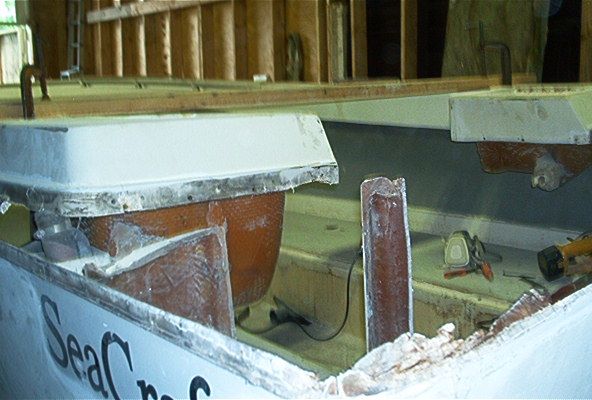 Well I must say the transom was pretty "wet" 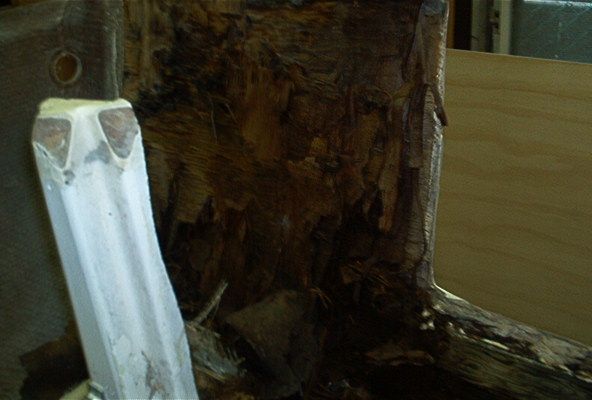 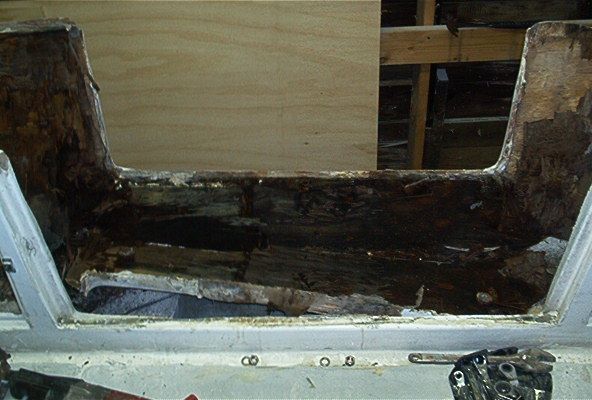 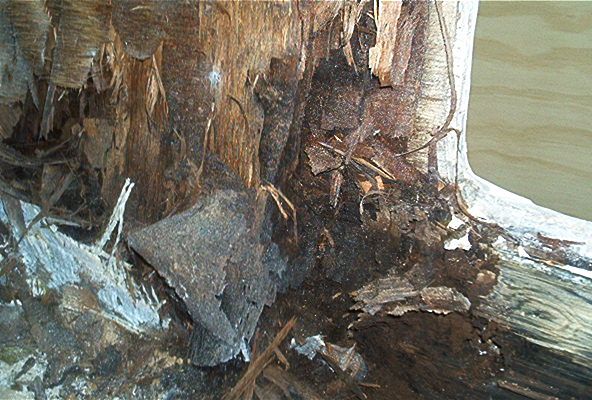 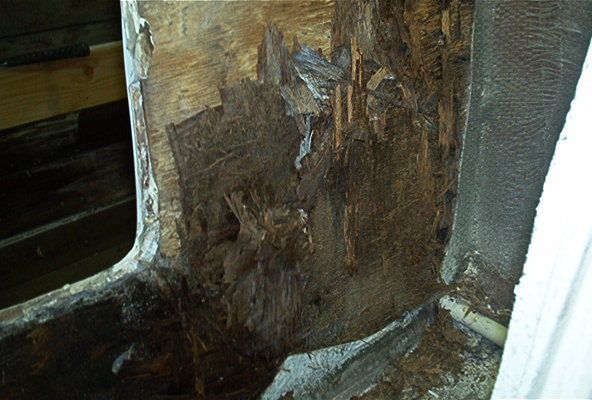 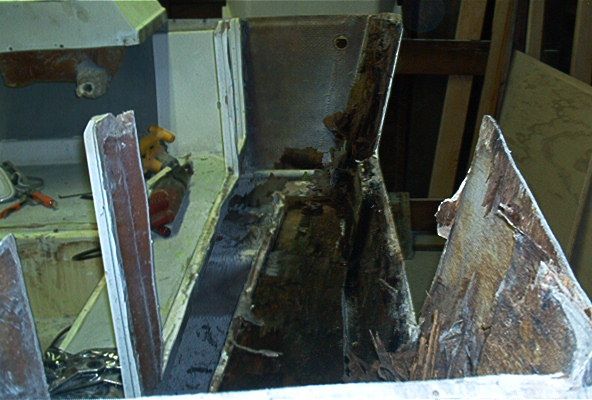 Check out this void on the corner of the transom. 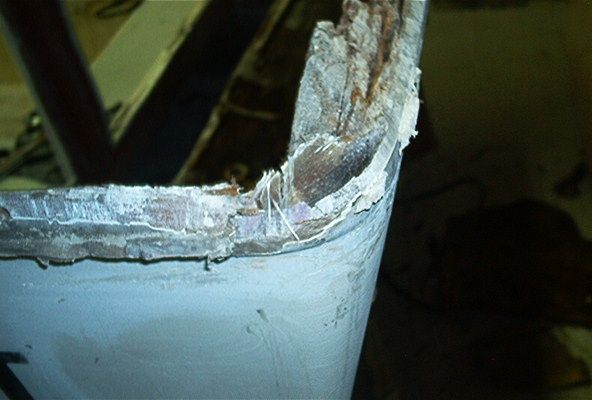 Last night I cleaned the transom up. I got all the rotted wood out and cut the remaining fiberglass out with a cut off wheel. All have left to do before I can start installing a new transom is to grind the area up....luckily I got the worst done last night. Belive it or not the transom was basically mulch....so a shop vac removed a good part of the transom. 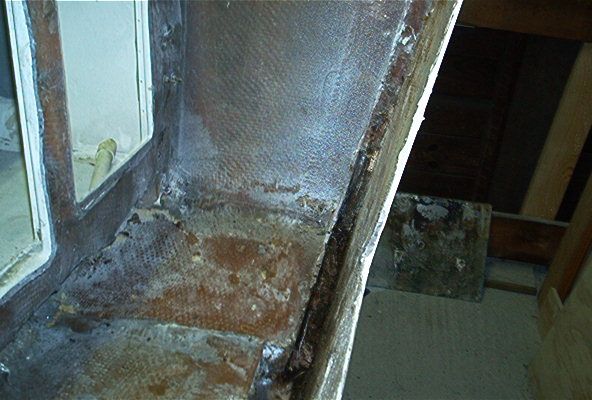 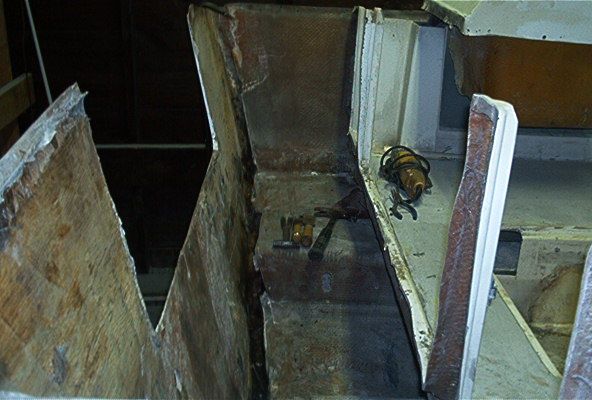 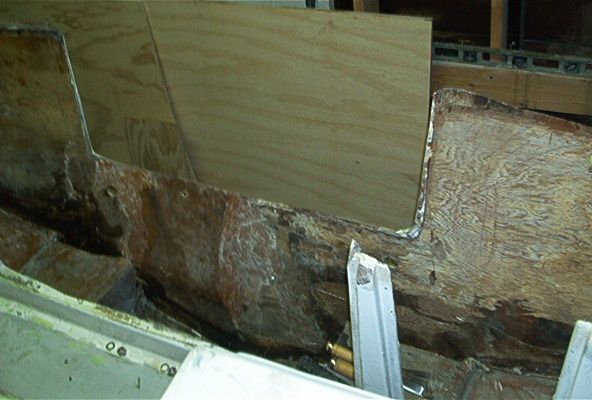 Enjoy
__________________
2002 26 Fortier Yanmar 250 6LP-DTE 1978 20 Sea Craft Master Angler 08' 150 ETEC |
|
#28
|
|||
|
|||
|
Nice work. You're moving right along. I'm very jealous of the fact that the cap can be removed in your boat. I spent the last two days picking caulk out of the hull to cap joint on my boat - 20 sf. Then sanded both surfaces with a paint stick and sandpaper taped to the end. No fun but necessary for the 5200 to stick.
|
|
#29
|
|||
|
|||
|
Grady-
Nice work on removing that deck cap. I was wondering if this boat is going to have a bilge? I see you have a bulk head just in front of the transom. strick
__________________
"I always wanted to piss in the Rhine" (General George Patton upon entering Germany) |
|
#30
|
|||
|
|||
|
Strick, there is no bulkhead in the bilge area...its an empty area up underneath the tank coffin, so the boat will have a bilge.
Now to the update Ok....well most of the transom work is done. Here are some pics. I laminated 3 layers of plywood together with 1.5 oz matt in between...I also drilled some weepage holes as some of you have done, and that was a good thing because lots of resin literally leaked out the holes. I then glassed a layer of 1808 into the skin, making sure I warp is a few inces along the sides. I also added fillets into the corners. I then glassed a piece of 1.5 oz matt to the transom core, add some additional thickened resin to the skin and resin thickened to peanut butter consistency with caobsil and milled fibers around the base perimiter of where the core would sit. I installed the core and bolted/ clamped it to the transom skin. I then successfully added one piece of 1808 over the entire transom area, but I had difficulty adding a second larger layer. As a result I decided to "tab" the transom in seperately then more layers of 1808 to the core. I tabbed the corners and all around with 4 layers of 1808. 4",6",8",12" I also added additional tabs to the transom side walls and atop of the ponton stringers. Some areas of the transom have 6 gradually building layers of 1808 over then. Tonight I added a two more layers of 1808 over the transom core. Overall the transom feels solid. [  ] I also added Matt into the bilge area (to prevent print through of 1808 I want a nice bilge)and added bilge pump mounting pads. ] I also added Matt into the bilge area (to prevent print through of 1808 I want a nice bilge)and added bilge pump mounting pads. I got some air bubbles but for the most part the transom project worked out well. Tomorrow I grind up/clean up the rough areas. Enjoy 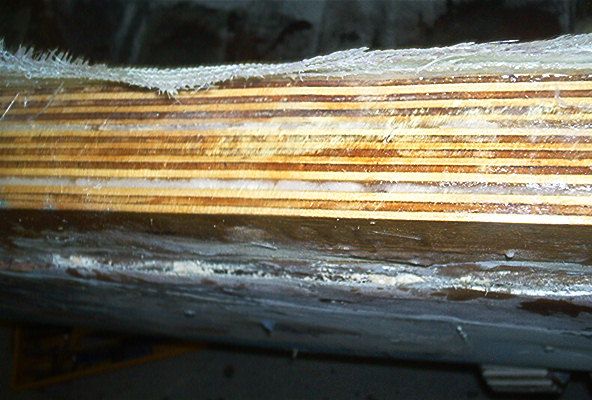 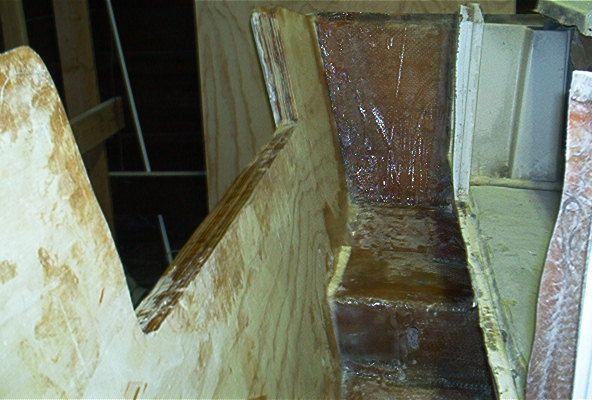 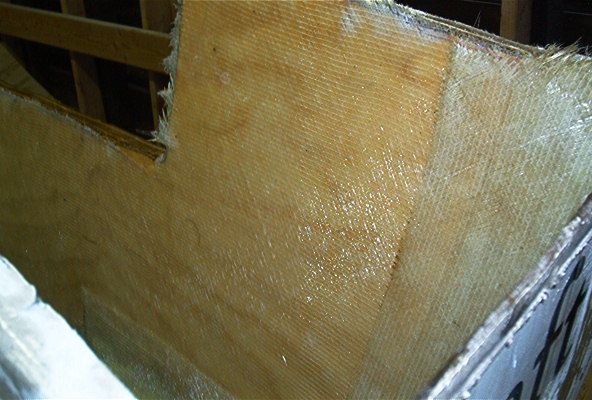 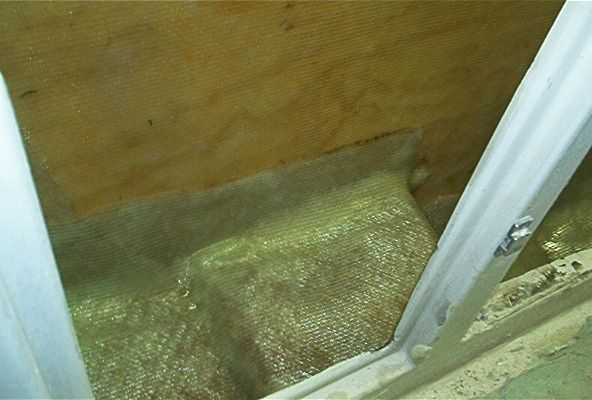 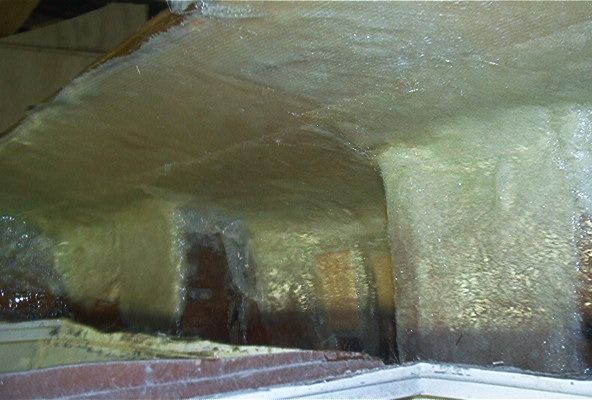 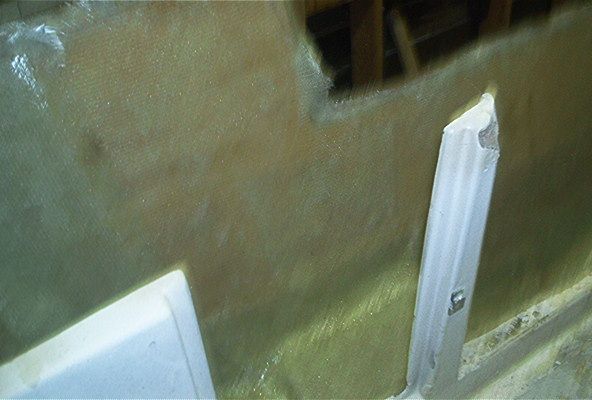 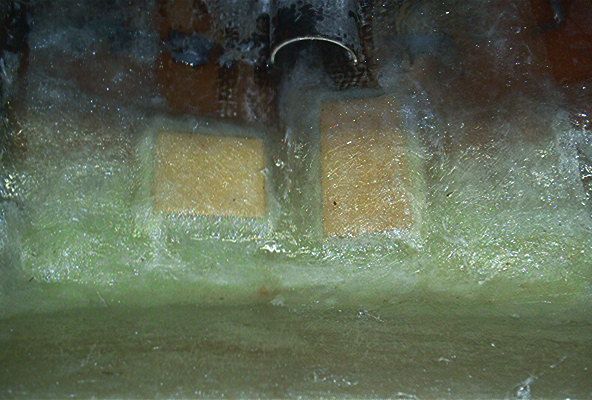 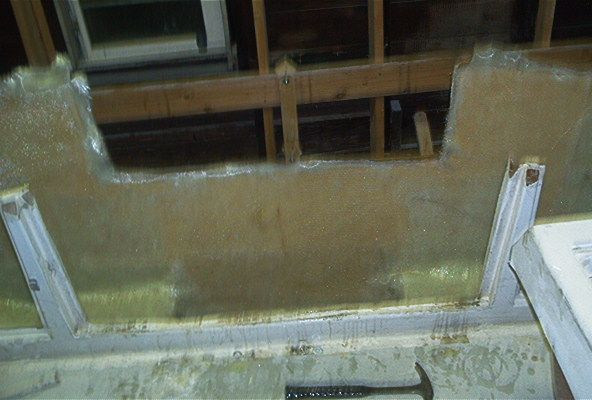
__________________
2002 26 Fortier Yanmar 250 6LP-DTE 1978 20 Sea Craft Master Angler 08' 150 ETEC |
 |
|
|