 |
|
#151
|
|||
|
|||
|
As it's supposed to be, the vent is toward the bow, highest location when at rest. I would glass in some PVC pipe flush with the top of the stringer(s) at a 90 degree angle to the vent fitting on the tank and run the hose through that. PVC is nice and easy to bend with a heat gun if you need to. Notch the side of the inner liner below where the deck will be so it would be a level run through to the side and then a smooth bend up. Since you have set it up already to what looks to be about 3" in order to raise the deck, it should work. My two cents worth.
|
|
#152
|
|||
|
|||
|
The entire deck is now in place and glued down. Once it all cures I'll filet the deck to gunwhale seem so the glass can wrap up the sides good. I'm gonna use 6" than 4" tape all around the edges. I'm thinking of using two layers of mat for the deck. Is that enough or should I sandwich some woven roving between the layers of mat? Thanks.

|
|
#153
|
|||
|
|||
|
I glassed the deck to sides using 4" and 6" cloth tape, than after that cured sanded the deck portion in preps for glassing the deck. This morning I was able to lay the two layers of mat and the sun is hitting it as we speak. I'm heading to Maine for the weekend but I have all of next week off to make some real progress pending favorable weather.
 
|
|
#154
|
|||
|
|||
|
Sanded the deck and applied a coat of poly fair. After sanding that, I needed a break and decided to work on the scuppers. TH marine ping pong. I don't really know where the water line is gonna be after my weight changes, but it does not really matter with these too much. She'll be on a trailer and seldom anchored unattended.
  
|
|
#155
|
|||
|
|||
|
Today, I was able to get the other scupper installed after a bit of a battle. Then I sanded all the non skid off the cap, filled all 100+ holes, sanded again, 2nd coat of filler on the stuff that needed it then sanded again and finally painted.
  
|
|
#156
|
|||
|
|||
|
Console is wired and now waiting to be attached to the deck tomorrow before final wiring, then painting then get her wet!!
 
|
|
#157
|
|||
|
|||
|
Got some more wiring done this afternoon. To the point where we able to suck a little fuel down the old 2 stroke. She fired right up after sitting idle for the winter. Every thing is wired except for the fuel, temp and tach and bilge pump which should be the easy part. After that, just a little paint and get a shake down cruise on her. Still need to hook up the hydraulic steering and throttle cable. I need a new throttle cable but I'm unsure what end fittings I need for this engine. Merc 1990 115hp.
|
|
#158
|
|||
|
|||
|
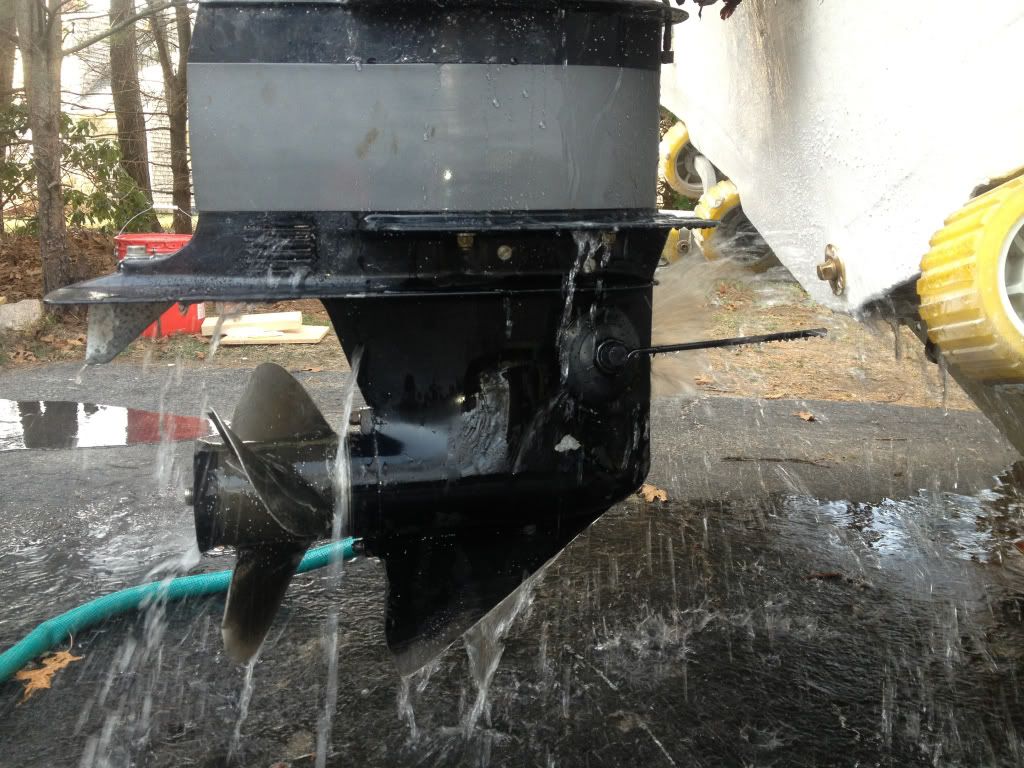
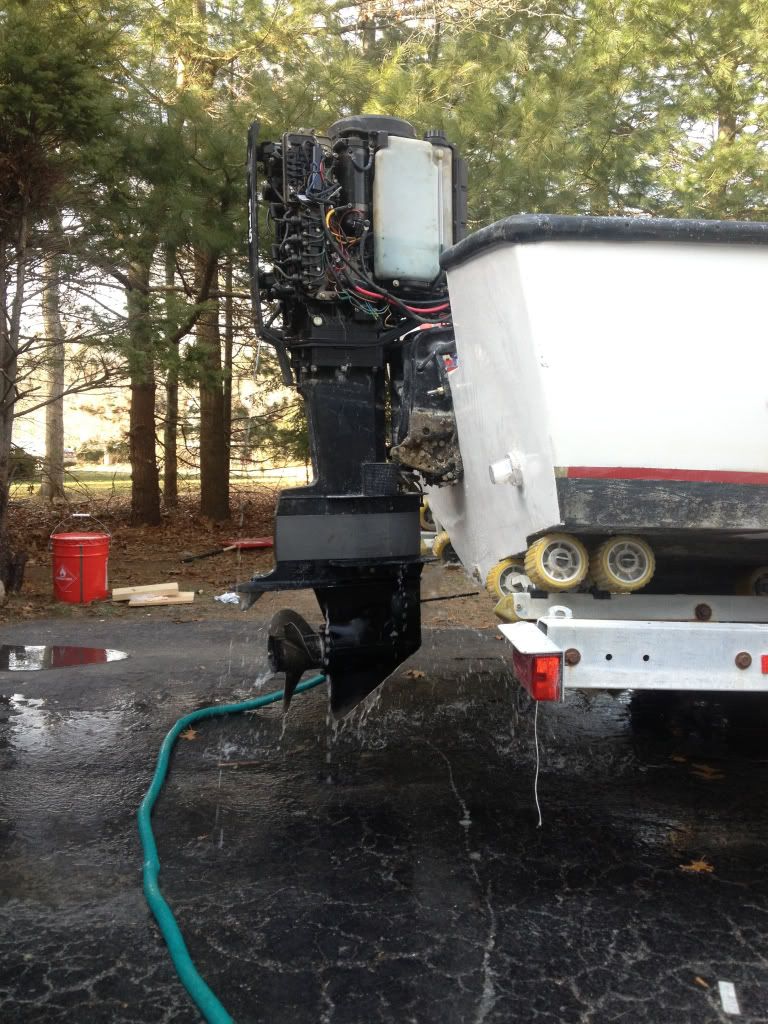
Got the engine extension done today in 30 minutes from start to finish. The anti cavitation plate is now almost exactly one inch above the keel and we fied it up to make sure everything still works. Sucess!! I have hydraulic hoses trom teleflex coming this week and I need to get and install the shift throttle cables after I figure out what fittings I need. Then, paint the deck and sea trial all before I leave for California for 5 weeks on the 21st of this month.
 
|
|
#159
|
|||
|
|||
|
You are sure getting close!
Nice job on the extension.
__________________
1973 Seacraft 20' SF "Sea Dog" 1988 Tracker/Seacraft 23' WA "Salty Dog" |
|
#160
|
|||
|
|||
|
She's goin swiming tomorrow. Trial run in a local lake around noon tomorrow. She's not done but she's 99% and I'm running out of time. All I need is cleats, rod holders and clean up the wiring a little bit. I'll try to get cruise, plane speed, WOT, I am running a 17p prop and its in terrible shape but we'll see...oh and hopefully some action shots!
|
 |
|
|