
 |
|
#1
|
|||
|
|||
|
I said back in the spring that i would post some before and after pix of my refit so here are my phase one motor restoration before and afters- right much other work to be done on the boat both cosmetic and mechanical- I rewired the boat completely two years ago so that is done. Hopefully I will get another 10 years or so out of the 350 PCM/Mercruiser Hybrid
 The compression on all the cylinders was fine , total cost for me so far is ~3500$. I paid a friend to do my motor work for me this time around cause I really just didnt feel up to it. 3 back surgeries and a host of other medical problems and mama said go ahead and let someone else take care of my motor so I jumped on that. Not an easy decision for me though as I dont like anyone tinkering, messing with my boat/ motor, anything- but me- But Danny is the man though and I do trust ed him to do my work and you can tell the kind of work he did. the pix dont do it justice either.The remainder of the work I will probably do on my own. Recoring two hatches and some awlgrip, we will see. . first the way my boat looked right before I pulled her out of the creek-old pix , the bilge and out of sight hoses that could have caused big problems- remember this motor was running sweet when I removed her. There is another thread talking about Holly carbs pros/cons etc. The flat top marine holly on this motor took about 7 years to dial in. I refuse to touch it at this time so it was not pulled/reworked etc. anyways- next i will be doing some deck work/ maybe new fuel tanks depending on how the current ones look, they are around 10 years old, and putting her all back together so I can at least get some meat time this year- pretty self explanatory- PS- my boat looks discusting minus everything and all tore up . So much so it is a little embarressing, so the end product will be much better- (slimed and bloodied up). The compression on all the cylinders was fine , total cost for me so far is ~3500$. I paid a friend to do my motor work for me this time around cause I really just didnt feel up to it. 3 back surgeries and a host of other medical problems and mama said go ahead and let someone else take care of my motor so I jumped on that. Not an easy decision for me though as I dont like anyone tinkering, messing with my boat/ motor, anything- but me- But Danny is the man though and I do trust ed him to do my work and you can tell the kind of work he did. the pix dont do it justice either.The remainder of the work I will probably do on my own. Recoring two hatches and some awlgrip, we will see. . first the way my boat looked right before I pulled her out of the creek-old pix , the bilge and out of sight hoses that could have caused big problems- remember this motor was running sweet when I removed her. There is another thread talking about Holly carbs pros/cons etc. The flat top marine holly on this motor took about 7 years to dial in. I refuse to touch it at this time so it was not pulled/reworked etc. anyways- next i will be doing some deck work/ maybe new fuel tanks depending on how the current ones look, they are around 10 years old, and putting her all back together so I can at least get some meat time this year- pretty self explanatory- PS- my boat looks discusting minus everything and all tore up . So much so it is a little embarressing, so the end product will be much better- (slimed and bloodied up). Prior to hauling my ride.... 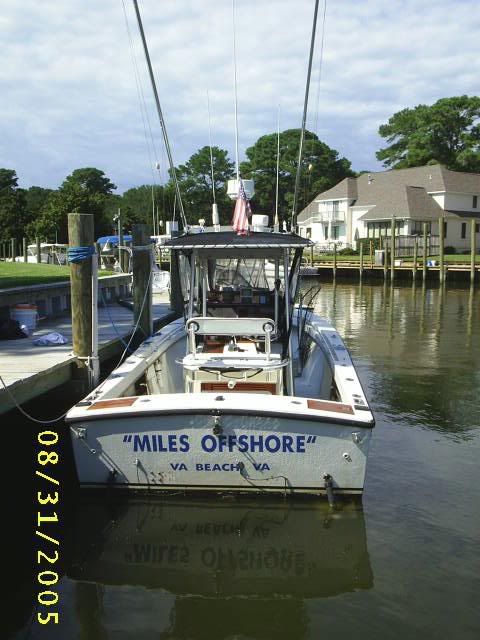 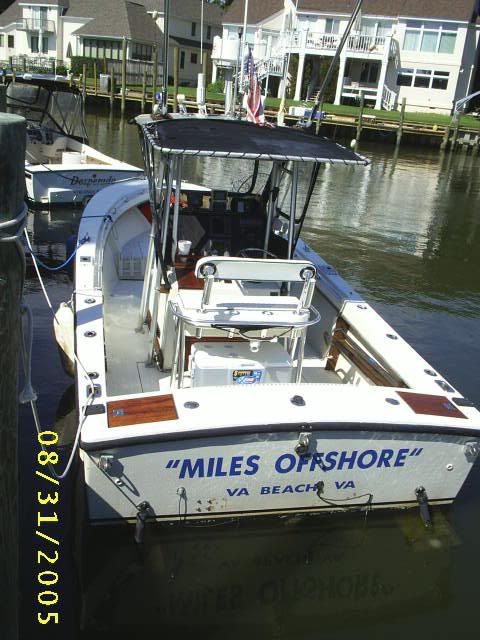 Motor removed 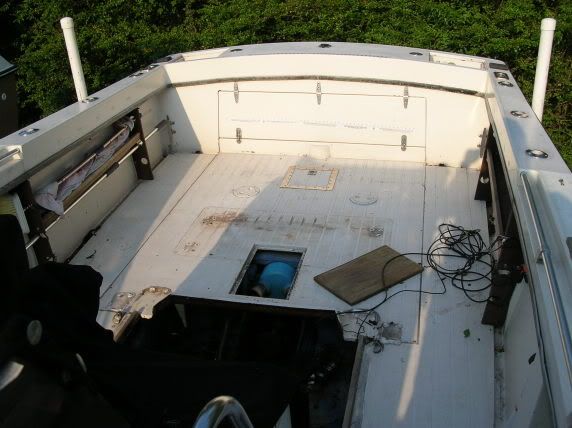 After two years since last wax job and boat sitting in a slip the shine from Collonite fleetwax still shines on 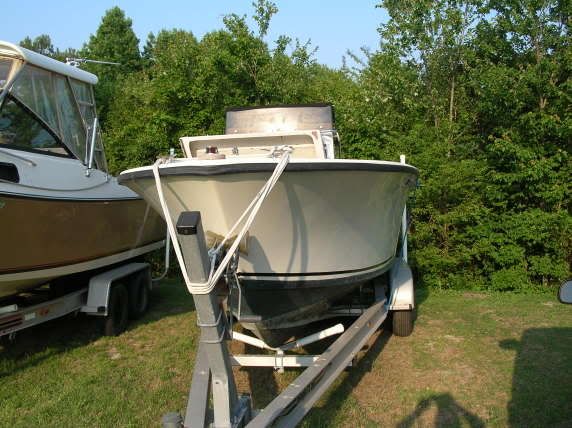 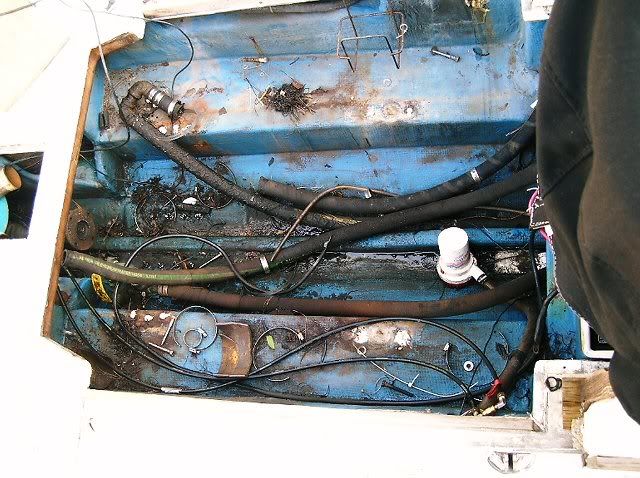 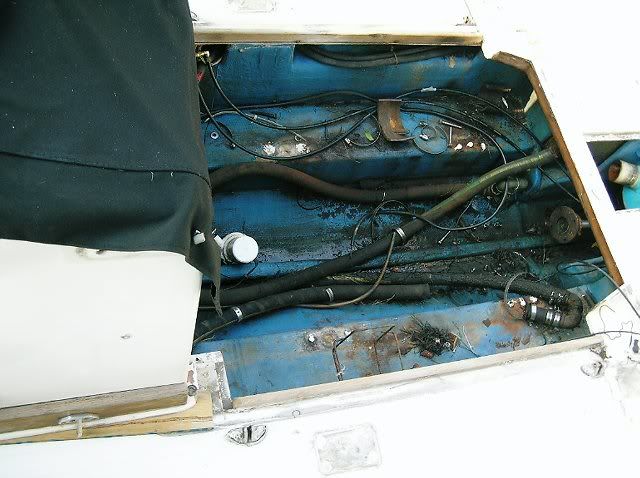 Broken motor mount- 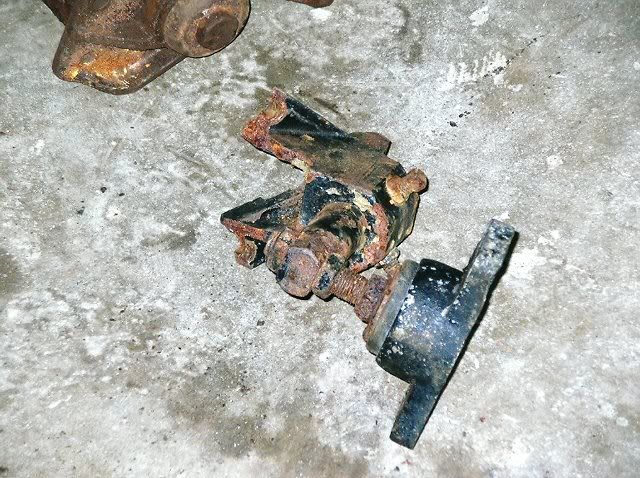     old plumbing  My muffler had some cracking in the pieces shown so some glass repair was done. After wrapping with glass cloth and resin the sheetmetal was waxed and staystrapped around the partially set up resin- when the resin repair cured the metal piece peeled right off and left a nice flange for the exhaust to clamp to. 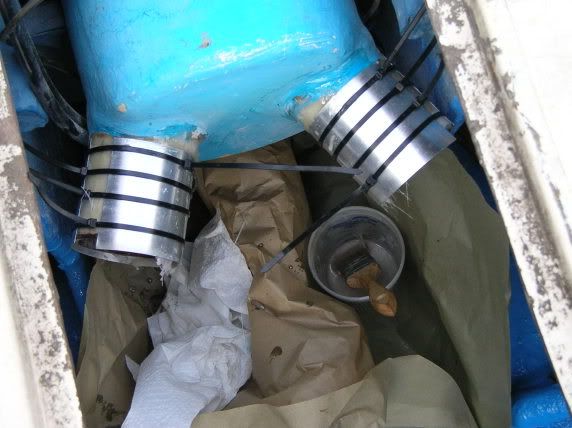 All sanded down , parts being reinstalled including the tranny- tranny got new rear seal, flushed etc. borg warner - velvet drive 1.52-1 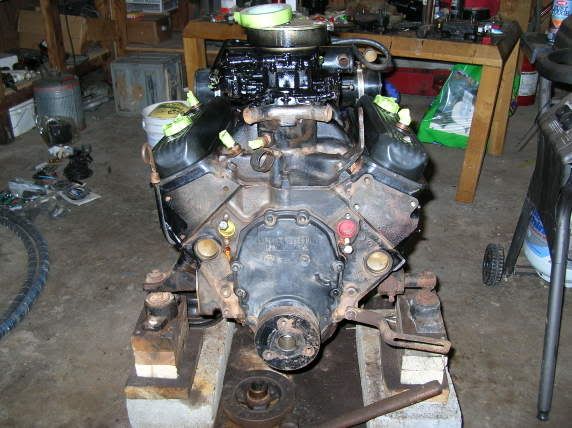 Heads sanded and painted BEFORE exhaust manifolds installed- its pretty tough to paint them after. the exhaust /mating surfaces were all milled for a perfect fit as were all the new parts- water pumps risers etc.  All put back together, painted and ready to go back to her home!!! 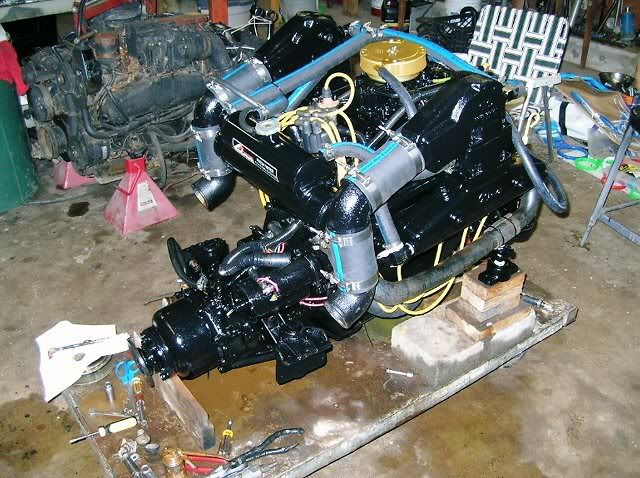 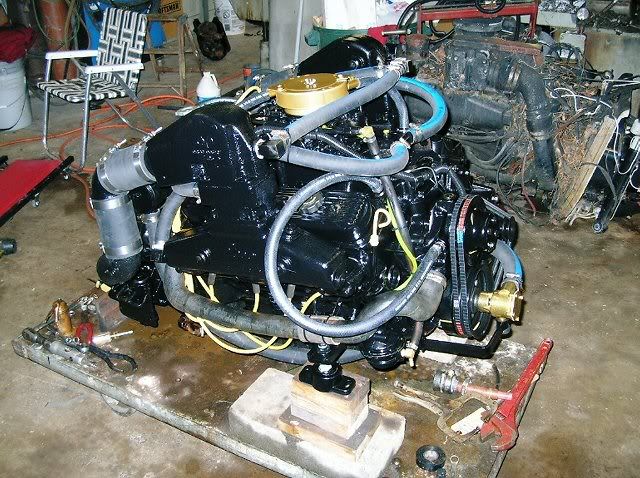 That pretty new powerplant cant go back in the boat without cleaning and repainting the bilge- 2 part epoxy paint I have always thought my stainless keel under my running gear was aftermarket stuff bought by the police (former police boat in its early life). However if you look closely you can see where the keel is bolted through and it appears that pads were made in the hull for this purpose and maybe it was a seacraft factory option. 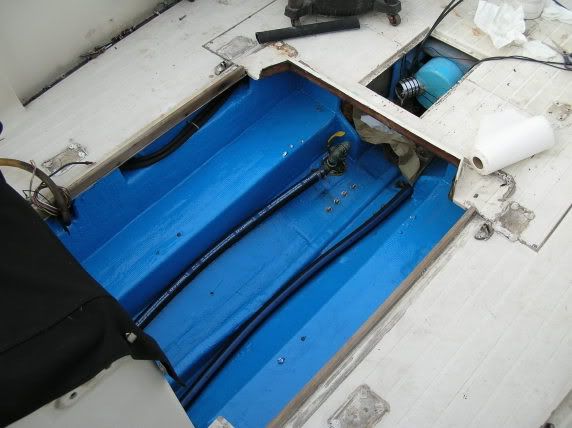 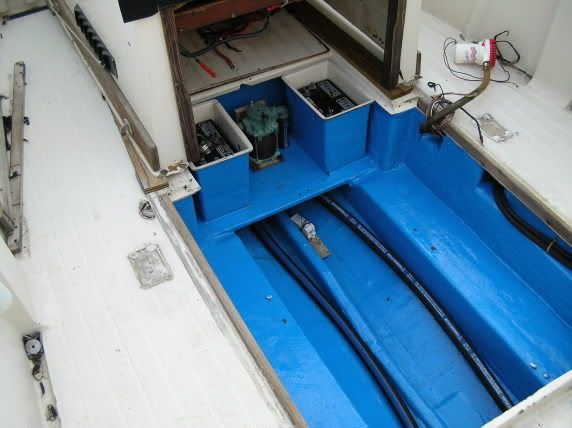 Dropping her back in the boat, it was getting dark so the pic is not great 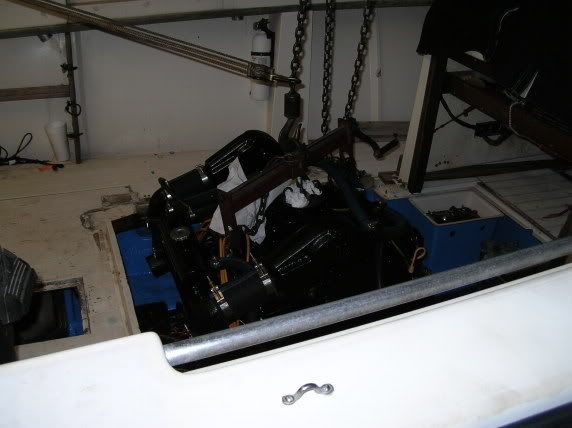 And here are a couple of shots with her set in, lined up and bolted back in place. The motor mounts use stainless lag bolts that screw directly into the huge seacraft- foam filled stringers- They are epoxied in so as they will need to be heated in order to remove them. 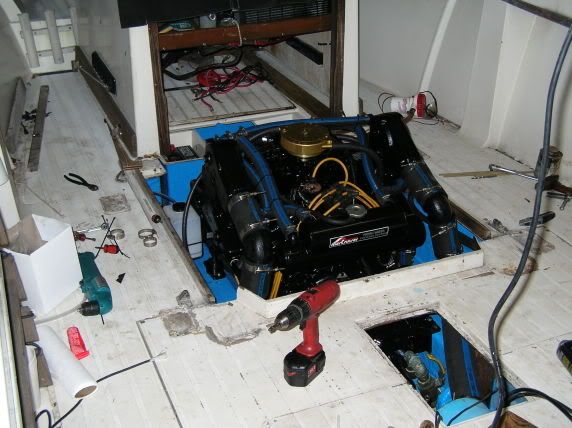 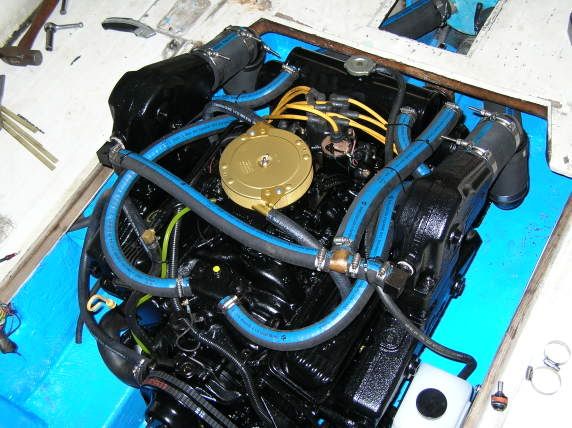 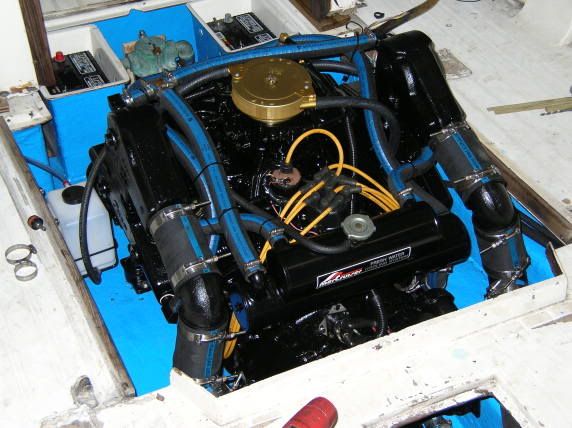 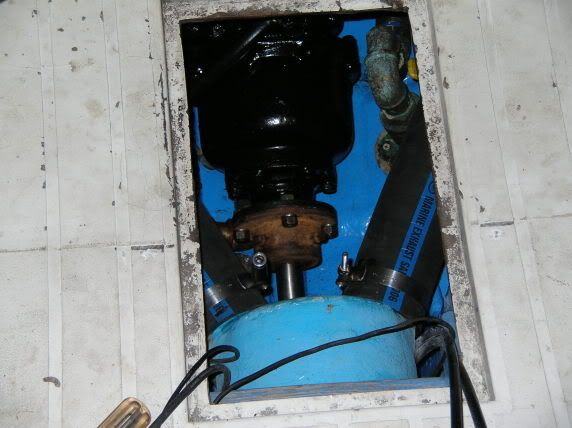 I hope this post isnt too boring and will maybe help someone else along the way- more to come-craig
__________________
"Lifes too short to own an ugly boat" |
|
|