
|
|
#61
 02-29-2008, 08:32 PM
|
|||
|
|||
|
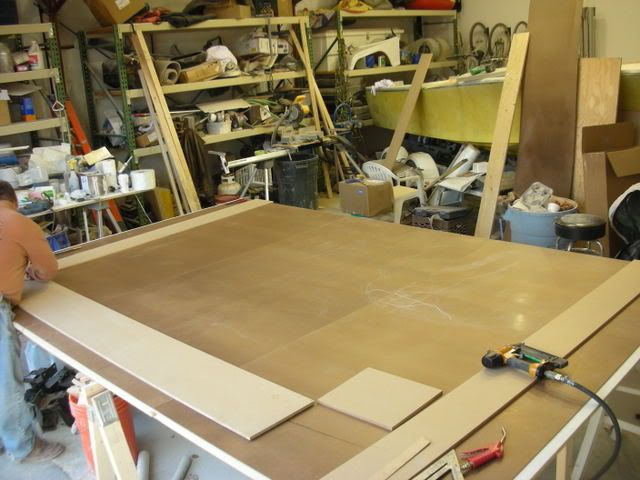
Zach the one hole is for the access to the livewell hoses to be hooked up and the one closest to the bow is a hatch with storage.
__________________
36' Yellowfin 1972 20' seacraft 140 suzuki http://www.classicseacraft.com/commu...ad.php?t=18607 
|
|
#62
03-02-2008, 10:35 PM
|
|||
|
|||
|
after I dry fitted the deck I lifted it back out and screwed and bolted a 1"x1" rimboard around the inner linner. I made a piece of right angle with a bunch of layers of stichmat for the transom.
 this is the azac. all the azac is doing is sandwiching the fiberglass that I installed on top. 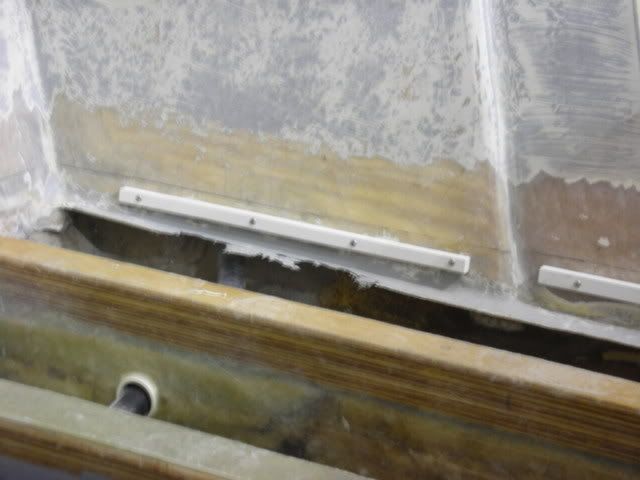 I smeared deck putty on the stringers and on the rimboard and dropped the deck in place.  after the deck was dropped into place the excess that squirted out the top was radiused. 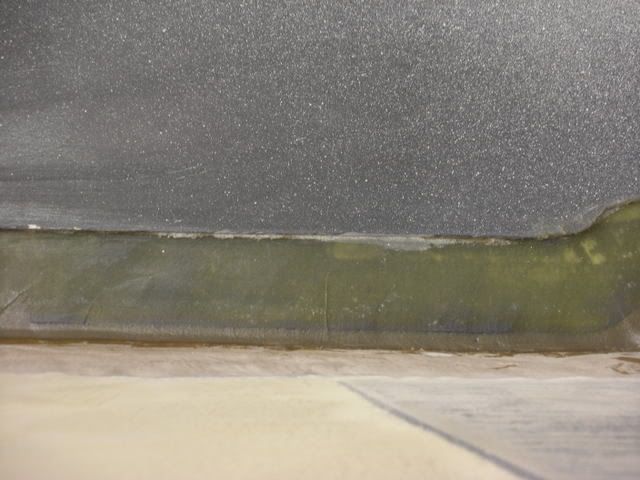 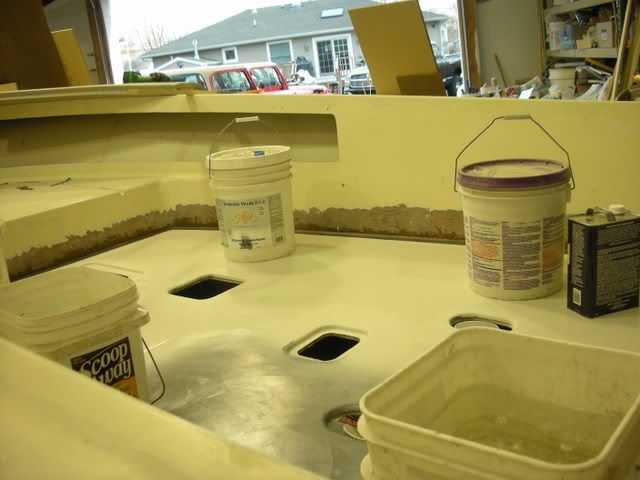 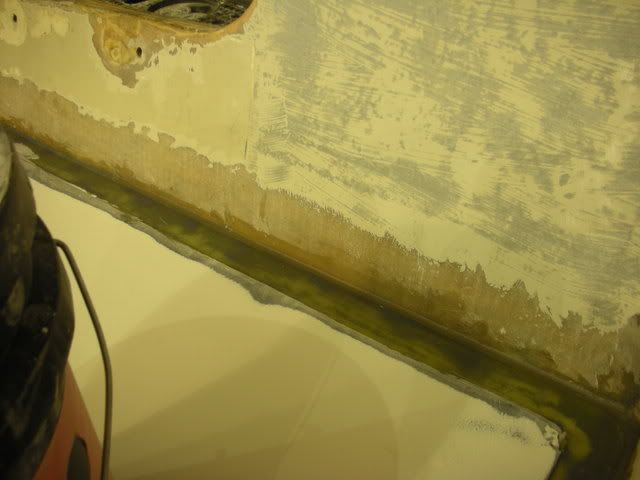 I papered the deck off and sanded any gubers off with 40 grit. I put layer of mat, layer of 1708, small layer of mat on top. 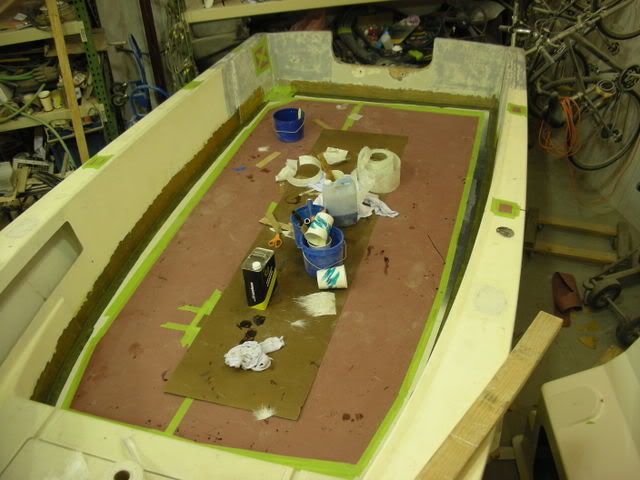 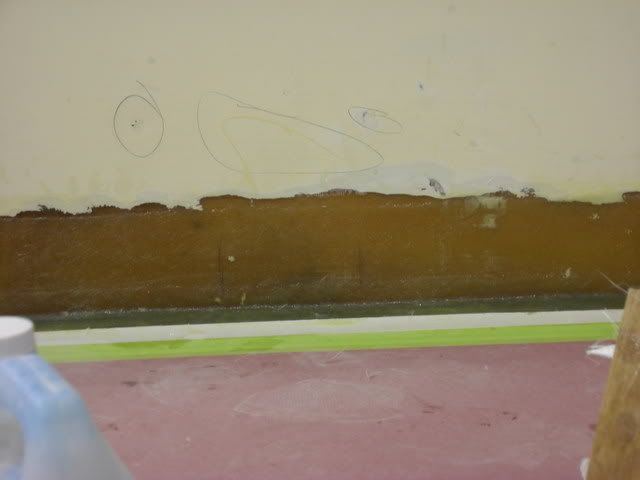 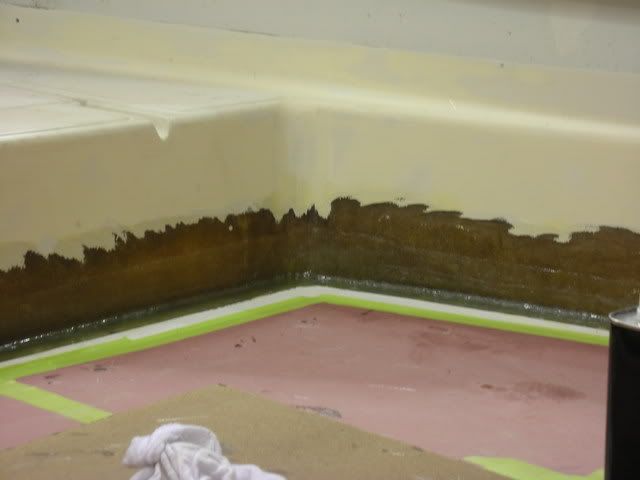 during the week before I had some help I cut some holes in the console. I got the battery switch box in from SSI here is the template 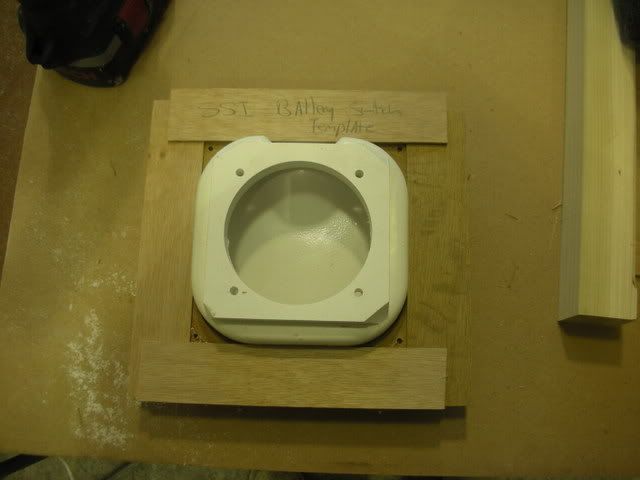 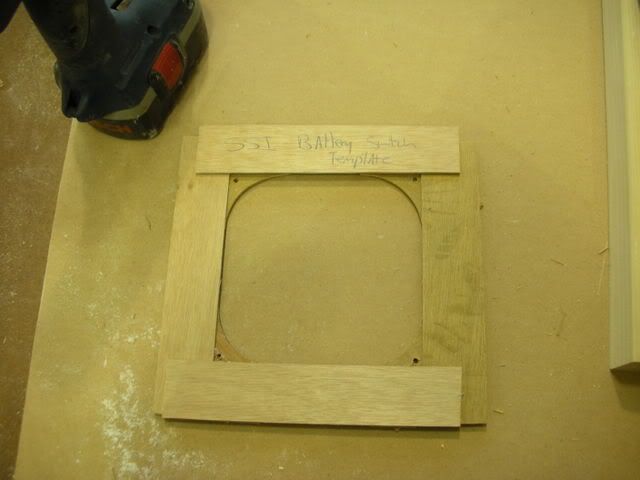 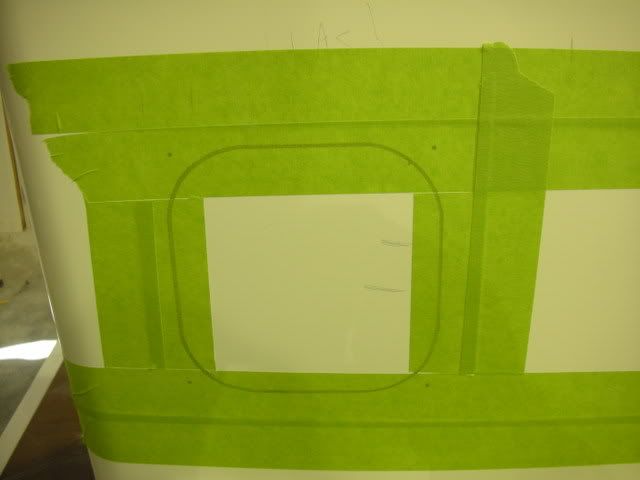 I drilled the holes for the rod holders to 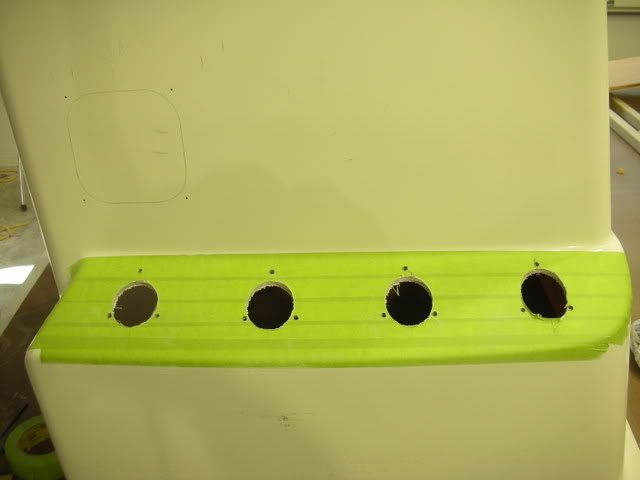 I fiberglassed some marine ply in the console for rigging, wires and saltwater washdown. 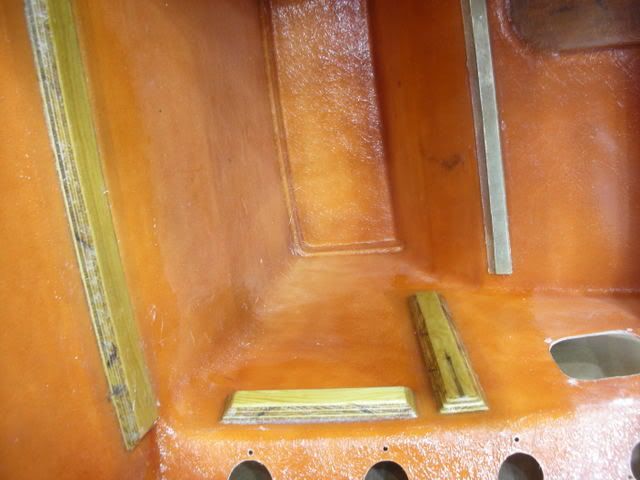 I ordered a whole bunch of sanding paper and fairing putty for this week to come.
__________________
36' Yellowfin 1972 20' seacraft 140 suzuki http://www.classicseacraft.com/commu...ad.php?t=18607
|
|
#63
03-03-2008, 03:25 PM
|
|||
|
|||
|
Looks great. I noticed from another post that you are putting a Hammerhead livewell in front of the console. How much space will be between the console and the livewell? Do you plan on doing anywork to make the livewell flush with the console?
I know these questions will be answered in a matter of time, I was just wondering because I am undergoing the same process currently and was looking to have Tommy build me a livewell to be used as the leaning post. I'm also curious as to why you decided not to have it double as a leaning post. Keep up the good work.
|
|
#64
03-04-2008, 06:56 PM
|
|||
|
|||
|
Hey Zach I am using one of Tommy's livewells from hammerhead boatworks. I had a couple of small boats with livewells in front of the console with no problems. I put the livewell in front of the console for a couple of reasons. for the weight I didnt want water coming in the scuppers when the livewell is full. It will also act as my trim tabs. I have a shut off on the drain and can regulate how much water I want in it. We throw the cast net in the bow and it is easier loading the well from there. I have a 1600 gph pump so by the time it gets the bow with the head pressure it is 1200 gph. Also my girlfriend likes the bench seat

__________________
36' Yellowfin 1972 20' seacraft 140 suzuki http://www.classicseacraft.com/commu...ad.php?t=18607
|
|
#65
03-11-2008, 10:11 PM
|
|||
|
|||
|
I have been busy the last 2 weeekends I made a deal with the guy that helped me laminate my deck that he could use my garage to lay one up for his 31 convertible.
 recessed drainage 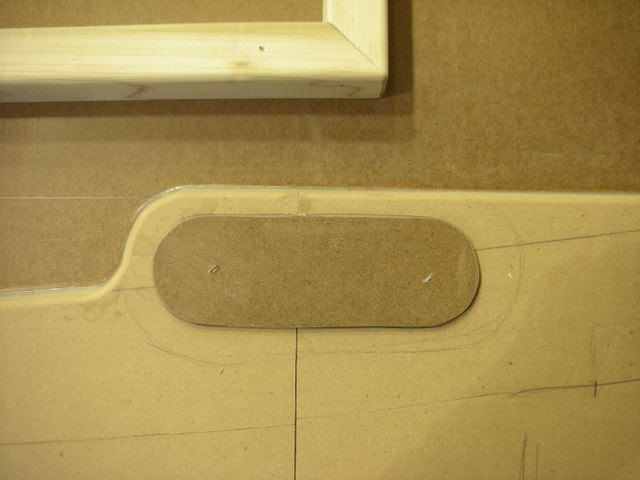 curve on the transom 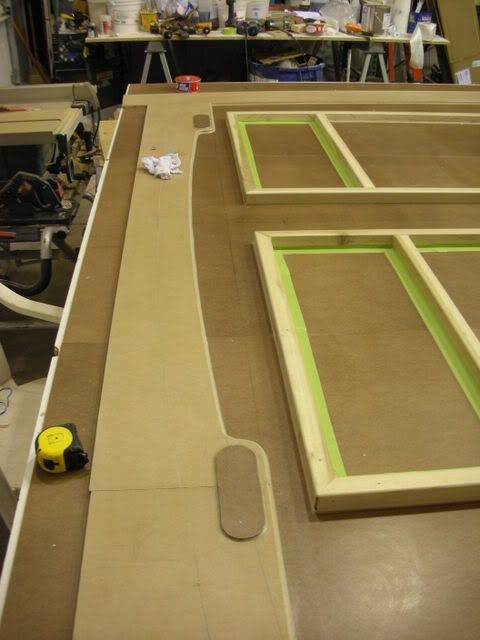 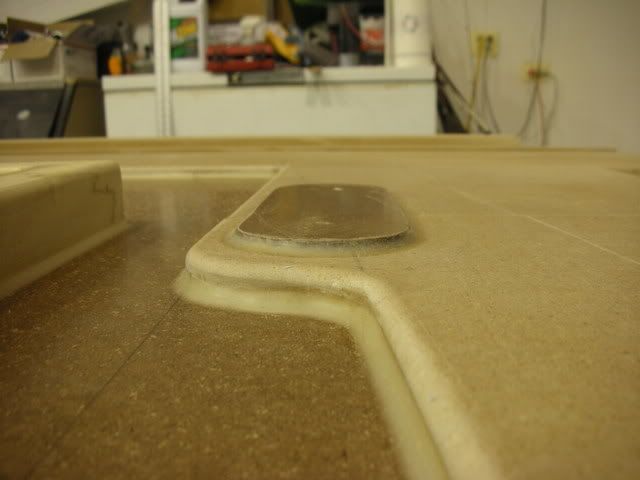 4 coats of wax 2 coats pva 1 gelcoat 2 layers of mat for skin coat 1 layer of mat 1 layer of core mat balsa core layer of stitch mat and done 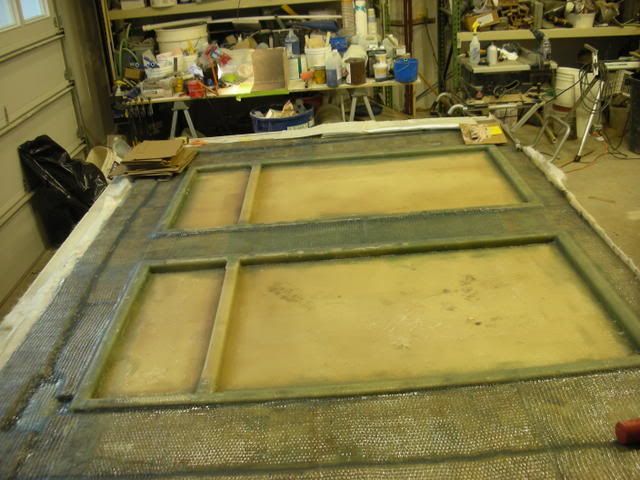 got some stuff done on the 20' too! I back filled the edge around the new deck with dynaglass with short hair 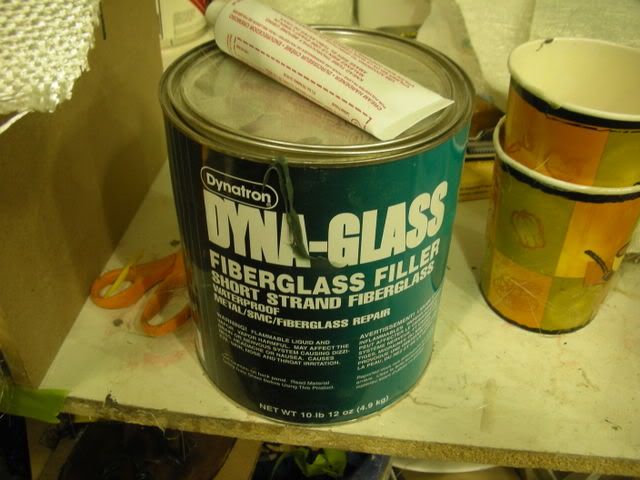 after that I quick faired the small leftover area 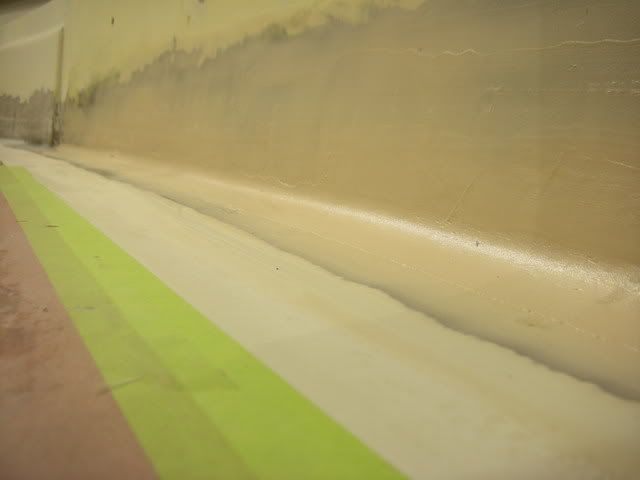 I also had to rebuild the back peice for the rigging between the angle of the transom it wasnt big enough here is the duratec applied 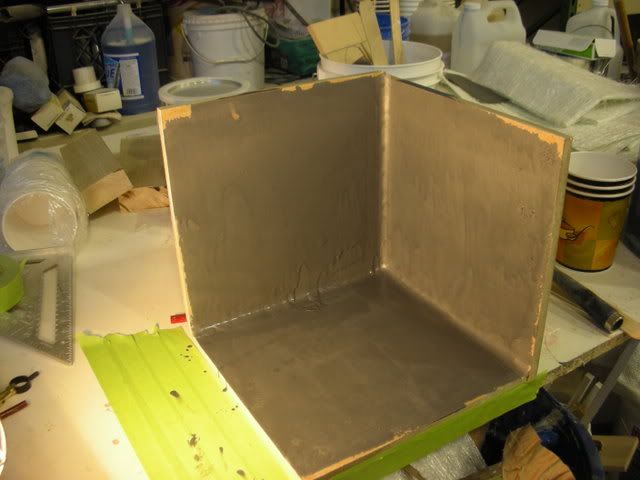  everything is really boring at this point and no one likes sanding and fairing thats it for now I am hoping by the weekend to be finish sanding the hull for primer.
__________________
36' Yellowfin 1972 20' seacraft 140 suzuki http://www.classicseacraft.com/commu...ad.php?t=18607
|
|
#67
03-12-2008, 11:13 PM
|
|||
|
|||
|
Stricks thanks it helps to know you are watching the post
did you find any easy way to sand the quick fair? I ran out of quick fair again so waiting for more to come in.
__________________
36' Yellowfin 1972 20' seacraft 140 suzuki http://www.classicseacraft.com/commu...ad.php?t=18607
|
|
#68
03-13-2008, 09:24 AM
|
|||
|
|||
|
I have been using the quick fair...I have been using a palm sander with 60 grit to take down the heavy stuff and then 150 grit after that! I really like this stuff sand nice...Are you gettinf pinholes in it if so what are you doing about the pinholes?
|
|
#69
03-14-2008, 11:25 AM
|
|||
|
|||
|
The quick fair should sand easily. I usually use 220 on a orbital or palm sander. Also I will sand by hand for finish work.
strick
__________________
"I always wanted to piss in the Rhine" (General George Patton upon entering Germany)
|
|
#70
03-15-2008, 09:48 PM
|
|||
|
|||
|
got my motor on thursday. It is a 2005 140 suzuki 4 stroke. I had it trucked to one of my warehouses(much cheaper trucking to a commercial address)
I fitted the riging box in the corner and deck puttied it on the inside and double bias to hold it in place . waited for that to kick and put a radius on the outside with some dyna-glass. 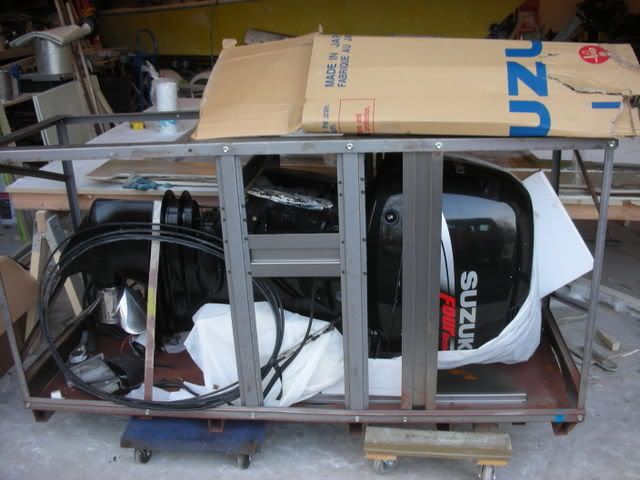  here is the box dry fitted 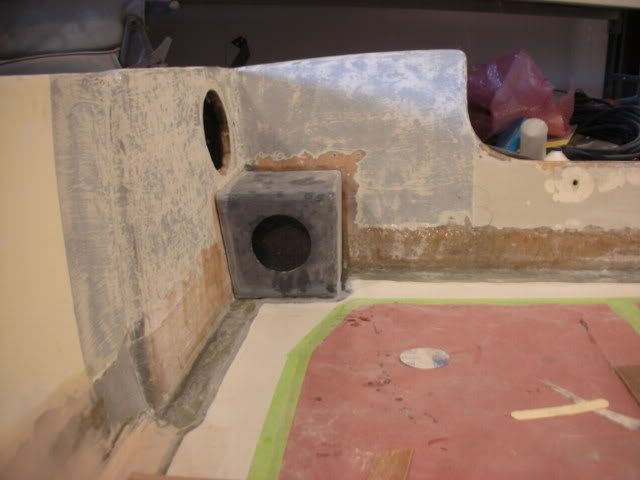 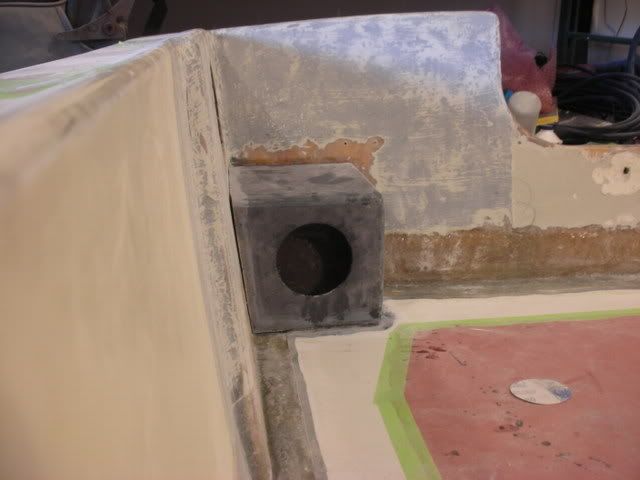 I am going to get a bunch of work done tomorrow hopefully till next time
__________________
36' Yellowfin 1972 20' seacraft 140 suzuki http://www.classicseacraft.com/commu...ad.php?t=18607
|
 |
| Thread Tools | Search this Thread |
| Display Modes | |
|
|


 Linear Mode

