
 |
|
|||||||
 |
|
|
Thread Tools | Search this Thread | Display Modes |
|
#1
|
|||
|
|||
|
Hello CSC,
So the gas tank access panel had begun sagging noticeably over the last year or so. I was plan on bracing it from underneath, as there's ~2 1/2" of clearance above the tank, with aluminum angle, or other materials based off suggestions offered. I'd like to know if anyone else has had to do this same repair, and if so, how they've remedied it? I'm undecided whether to just piggy-back the gas tank mounting screws or glue/resin-in new plywood mounting spots in between to screw into... 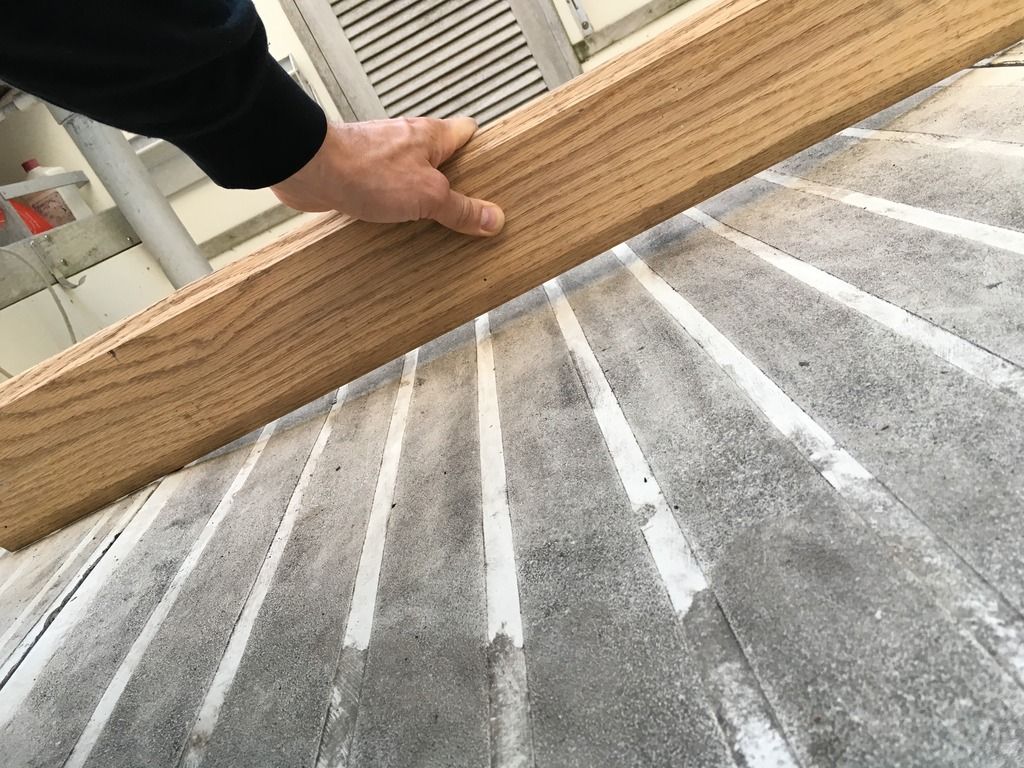 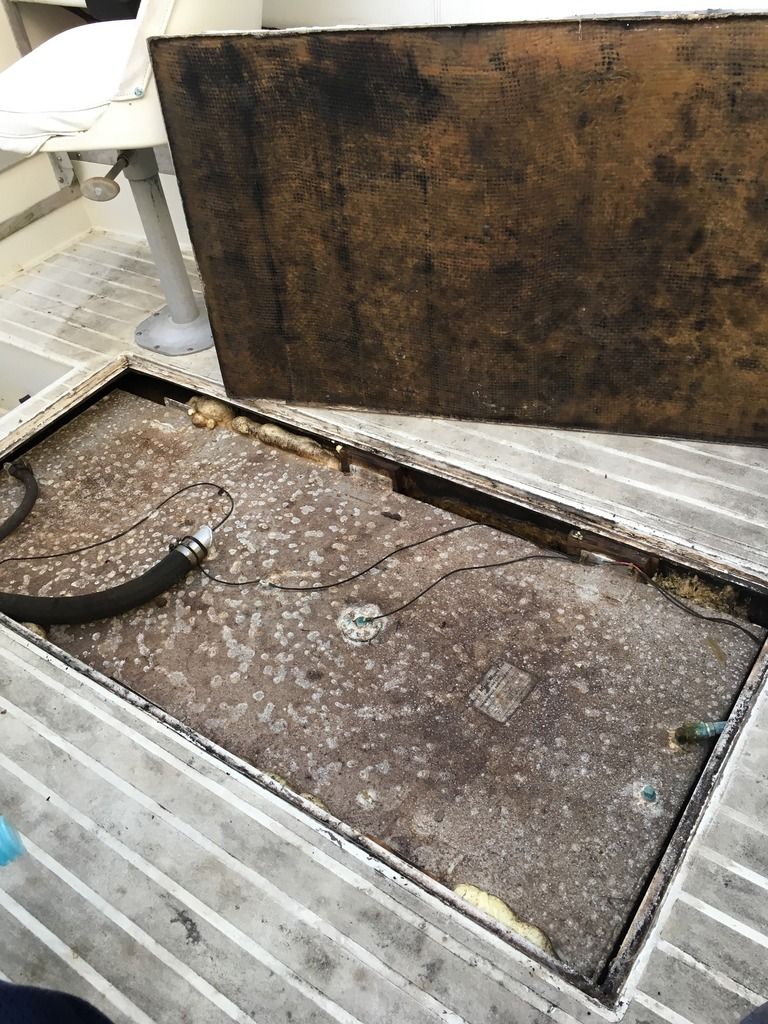 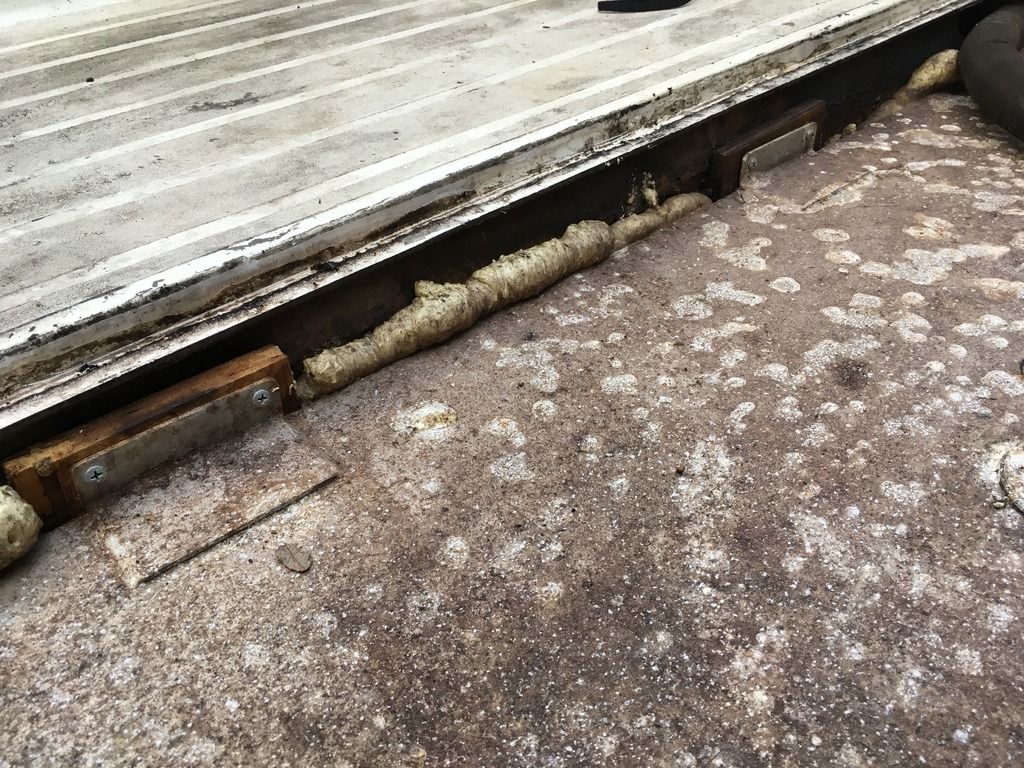 The tank looks surprisingly ratty for having been replaced in 2010. |
|
#2
|
|||
|
|||
|
Am I going about this the wrong way? So I guess the cover is made of (now-rotten) plywood sandwiched between the fiberglass. I know this is elementary stuff, but I'm new to this. I saw another thread whereas the cover was grindered clean of the backing and wood to build it back up. Anyone have a tutorial for this type of repair?
|
|
#3
|
|||
|
|||
|
Quote:
Since yours already has a significant 'dish' to it you will need either vacuum bag the layup against a rigid flat workpiece (maybe use spacers on hatch edges to bow it the other way) or use weights to flatten it when you put the new core in. |
|
#4
|
|||
|
|||
|
^Thanks for that...
found this fairly helpful also: https://www.boatdesign.net/threads/e...t-hatch.42834/ |
|
#5
|
|||
|
|||
|
Quote:
As for recoring the hatch, the first challenge will be to get the bow out of it as others have mentioned. One challenge in using foam core material is that resin doesn't penetrate it like it does balsa core, so it's harder to get a good bond all over the bottom side that you can't see, unless you use the vacuum bagging technique. Before you get too deep into the repair, check out Dave Pascoe's article on core materials. Balsa core is actually stronger than foam and bonds much better, so it's a great material provided you don't go drilling holes in it! A 1/2" core will be plenty stiff if you put a layer of 1708 over it, but I'd inspect the top of the hatch closely to see if you can determine how water got into the plywood, which deteriorates quickly if it gets wet because water follows the grain in all directions.
__________________
'72 SeaFari/150E-Tec/Hermco Bracket, owned since 1975. http://i188.photobucket.com/albums/z...Part2019-1.jpg |
|
#6
|
|||
|
|||
|
Quote:
With regards to the source of water, I'm thinking it is the screw holes; although parts of the edges were compromised also. The bottom fiberglass came off in one piece with just a little prying. I got my grinding wheel out, respirator, and ear/eye protection and didn't use any of them... yet. You can see that the original plywood goes right up to the edges, and is not beveled, like is recommended today. Last night's progress: 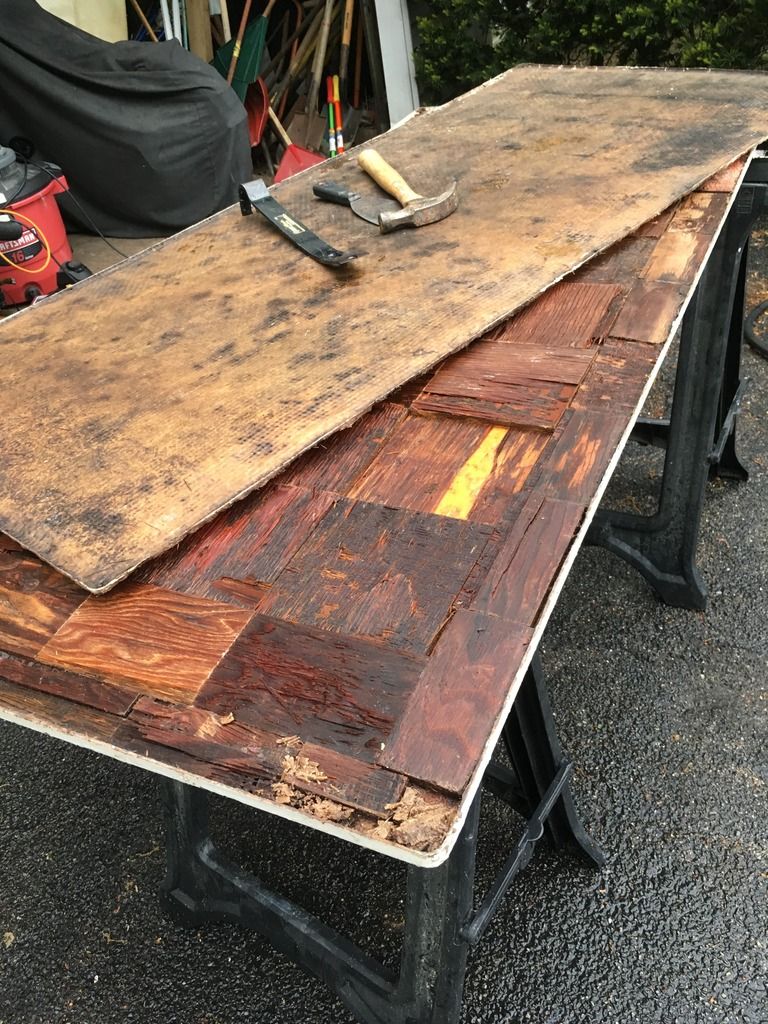 Fiberglass bottom removed, along with some plywood... 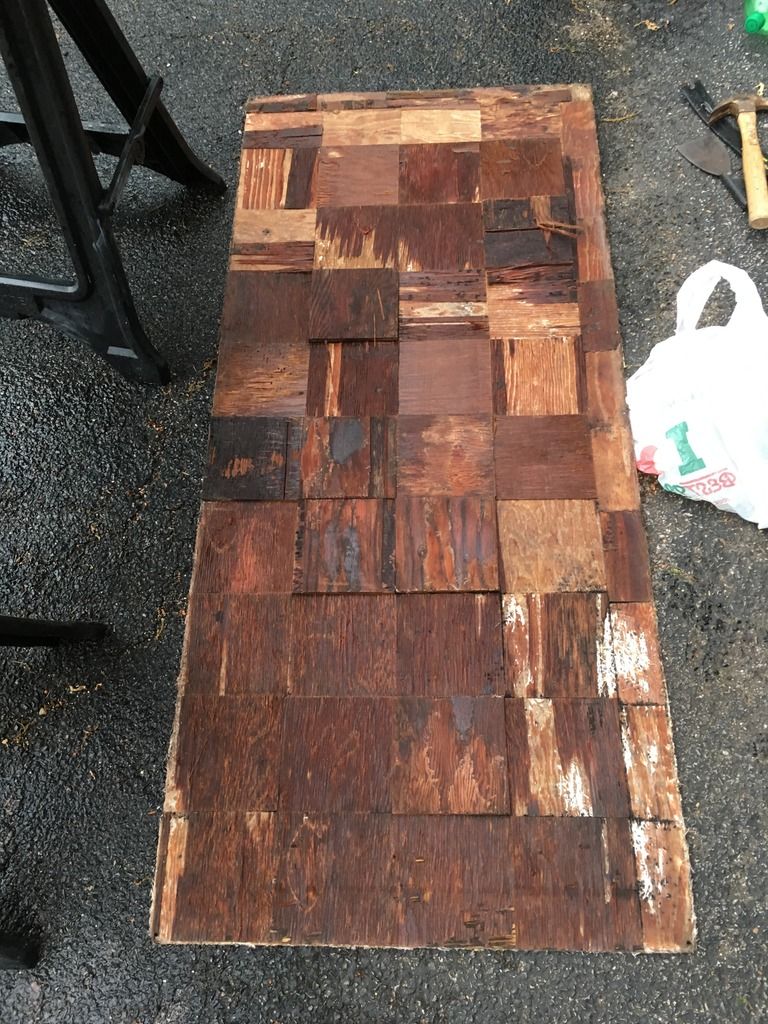 1/2" plywood originally used: 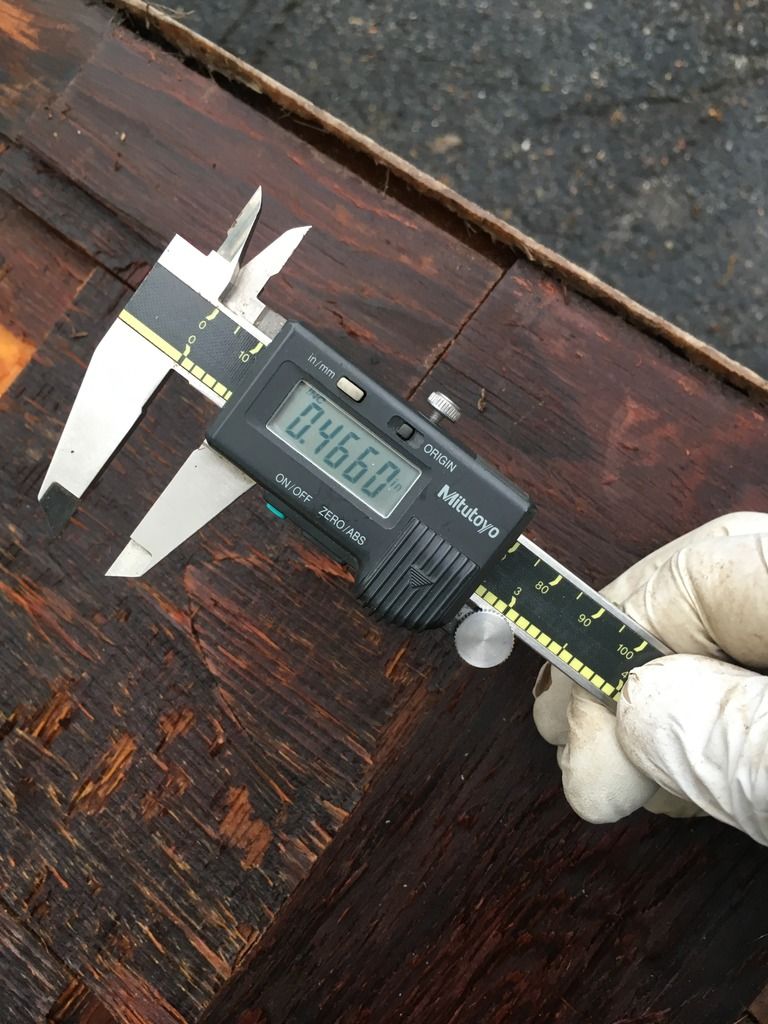 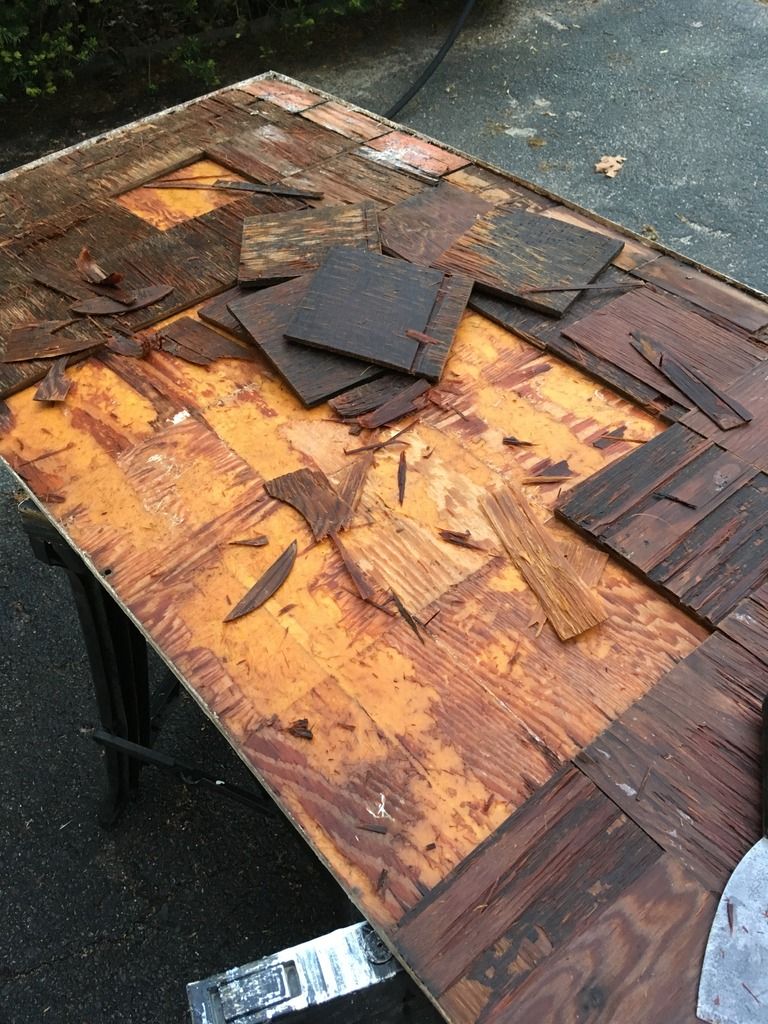 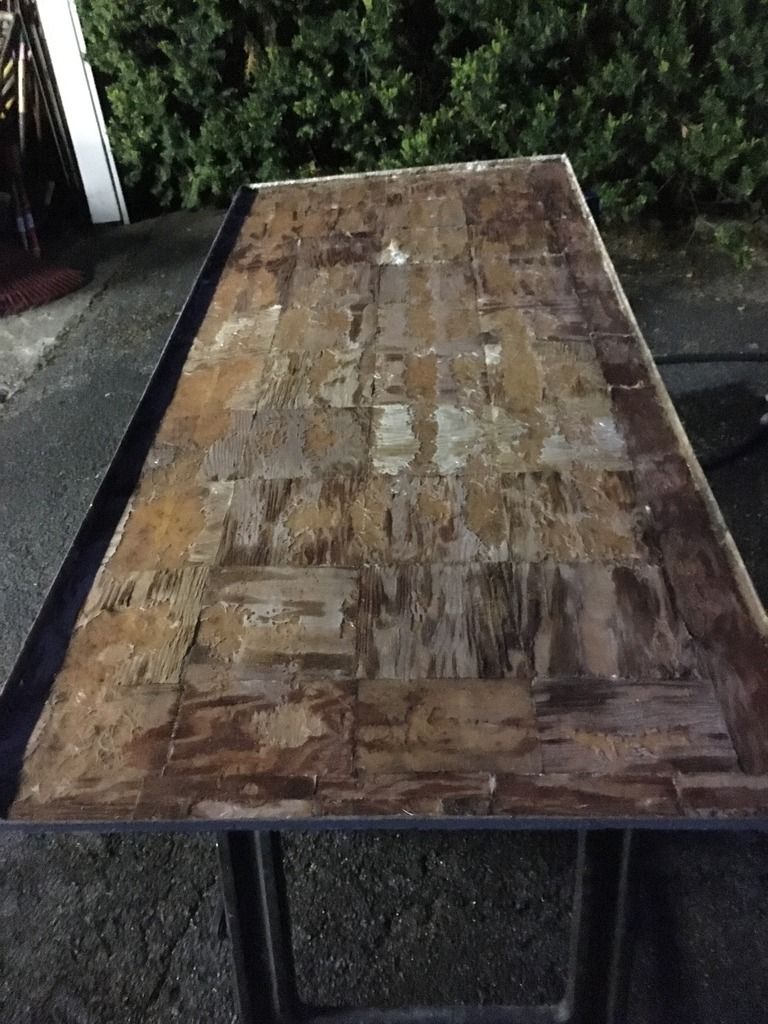 I still have some scraping/grinding/sanding to do. Doesn't the plywood remnants look like bacon!? Some of the wood scrapes off and looks like pot roast and/or pulled pork. Can't you tell I worked straight past dinner time? LOL The bow in the fiberglass is one thing. There are also "divots" in it, like heal marks or low spots from use. My wheels are spinning about how I can apply pressure and do so on a FLAT surface. I have a few thousand pounds of weights at home, and although "overboard", granite surface plates at work... I may get quotes from a pro with a vacuum table for the hell of it too. |
|
#7
|
|||
|
|||
|
Soak the wood in water for a day or so then go after it with a wire brush on an angle grinder.
Granite slab is perfect for pulling a vac on but you probably want to protect the surface - epoxy sticks real well to it - use poly sheeting as the top side of the vac bag and duct tape to seal it down to the slab if you are doing it with vac instead of weights. Put about 1/8-1/16 thick, ~1/2" wide strip of something (duct tape works) under the edges of the hatch when you do it so you induce a reverse dish - it also keeps resin from running out the old screw holes. Get a cheap vac pump (Harbor Freight or EBay?) - I like rotary vane pumps but piston pumps are ok too - do not use a shop vac; while it will kinda work, you run the risk of igniting the fumes and that is a bad day. The bottom sheet of glass was never properly attached on any 23 SC tank hatch I have seen - the core should have had the edges beveled and the bottom glass should have been bonded to the underside of the hatch around the edges instead of just laying on the wood and barely touching the hatch edge. |
|
#8
|
|||
|
|||
|
Now you have me thinking FLexpat, regarding the home-made vac. I'll do some research.
I've read that about the shims, or wedges around the perimeter. I was thinking door frame shims, but it'd be nice to have it continuously supported all the way around. There's just a bit of stubborn plywood remnants left; I could probably grind at it at this stage. Tonight I'll tape off the holes, lay it flat, and fill with water to soak. It won't be much weight, but it also couldn't hurt in flattening it out some. Maybe support it on saw horses along the long sides only to see if it helps with the low-spot in the middle. Maybe stick a few pounds in the middle also. |
|
#9
|
|||
|
|||
|
You're almost there !
Clean up all old wood remnant. Be careful not to go through the skin! Grind glass clean. I used (2) 1/2" pcs of ply glassed together but you can use (1) pc of 3/4" I guess. You don't need to vacuum bag. Use a flat table, and when you set new wood on top of 3-4 plys of wetted mat ( laminate resin ) - you'll use clamps and cross pcs of wood to sandwich the new wood down to the skin. Let kick, then glass on top and your done. The replacement wood - I'd make it 1-2" shorter on all sides than the area you're covering - angle it on all (4) edges so it does not make a sharp angle against the skin. On your final glassing, covering the wood, in addition to covering the wood and skin, cut 3-5 extra strips of mat to add additional mat to the area where the wood is not ( the 1-2" ) along the (4) edges - this way, you'll never drill through wood core again... |
|
#10
|
|||
|
|||
|
Remember the actual fiberglass is very thin, the bow will come out without too much problem.
I used one piece of 3/4' plywood for my larger hatches as backing/core. There was a slight bow like yours on my front hatch cover, however after cleaning the old crap out I turned it over and laid it flat on concrete, then stood on it, it took out the bow quite easily. Cut the plywood as described above lots of epoxy mixed with cabosil sandwiched between the plywood and roughed up glass, laid it on the driveway with the boat trailer jacked up, set the trailer tires back down centered on the plywood, cleaned up the epoxy that oozed out, came back a few hours and a few brews later.... all flat and epoxied together. Finish and seal the wood as above. Remember.....screws are not your friends in wood coring!! If you want to go crazy, where the present screw holes are, picture #4, you will want to re-use their locations. After the wood is epoxied to the cover and before you seal the plywood, bore 1/2" to 5/8" holes in the new wood only, then fill with epoxy/cabosil and you won't have to drill through the wood, just through the new fiberglass plugs. I know it's overkill, but not hard to do. Good luck! |
 |
| Thread Tools | Search this Thread |
| Display Modes | |
|
|