
 |
|
|||||||
 |
|
|
Thread Tools | Search this Thread | Display Modes |
|
#11
|
|||
|
|||
|
"After the wood is epoxied to the cover and before you seal the plywood, bore 1/2" to 5/8" holes in the new wood only, then fill with epoxy/cabosil and you won't have to drill through the wood, just through the new fiberglass plugs. I know it's overkill, but not hard to do."
This is what I have done on all that could be done. The West 610 (I think) with the mixing nozzle is too easy. |
|
#12
|
|||
|
|||
|
Thanks DonV, et al. I will do that with regards to making sure the screw holes are sealed off from the wood core. -Is the reason you drill the wholes AFTER attachment to the top just for positioning purposes?
What is everyones thoughts on drilling holes in the plywood to fill with epoxy? (To bond top and bottom layers). That was suggested in the link I posted. Unnecessary? |
|
#13
|
|||
|
|||
|
This is what I have done on all that could be done. The West 610 (I think) with the mixing nozzle is too easy.[/QUOTE]
Man you're taking all the fun out of it!!!  It's a really good idea though!! It's a really good idea though!!
|
|
#14
|
|||
|
|||
|
Quote:
In other news there doesn't appear to be any warping, bows, or divits left in the bare fiberglass hatch shell. They came out; as other point out, it is very thin and forgiving. I tried filling it with H2O to soak, but that didn't go well. It leaked, poured-out, and/or evaporated in no time. Finding time and level ground with my kids running around was also a challenge. Probably won't get back on this project until next week... I need to purchase plywood and epoxy/fiberglass supplies... How much resin should I get? I'd like to have some left over for other projects... gal or 1/2 gal of resin? http://www.uscomposites.com/epoxy.html For the ply I want to double check the depth/clearance to that fuel bung. I think with the 3/4" of sag, the bottom of the failed cover was making contact (original 1/2" plywood). Adding 1/4" to the plywood thickness from stock should therefore clear with 1/2" to spare. -Need to make sure. |
|
#15
|
|||
|
|||
|
I would seriously consider using end grain balsa instead of plywood. It will save a lot of weight, is cheaper than Corecell, will bond to the fiberglass better, and if you do happen to get a water leak in one spot it won't follow the grain and spread everywhere like it will in plywood. You might also consider using vinyl ester resin, which will be a bit cheaper but with properties almost as good as epoxy.
__________________
'72 SeaFari/150E-Tec/Hermco Bracket, owned since 1975. http://i188.photobucket.com/albums/z...Part2019-1.jpg |
|
#16
|
|||
|
|||
|
where can I source the end grain balsa in 4x8? ... I keep hitting 2x4 sheets, and extrapolating the price is making me nervous. I haven't called lumber yards yet. EDIT: ahhh, end grain balsa, so it's "cubed" or "quilted" like the original plywood was.
Corecell isn't a consideration at $335 a sheet. |
|
#17
|
|||
|
|||
|
Here's one source.
__________________
'72 SeaFari/150E-Tec/Hermco Bracket, owned since 1975. http://i188.photobucket.com/albums/z...Part2019-1.jpg |
|
#18
|
|||
|
|||
|
So I'm wrapping this job up; here's some pics...
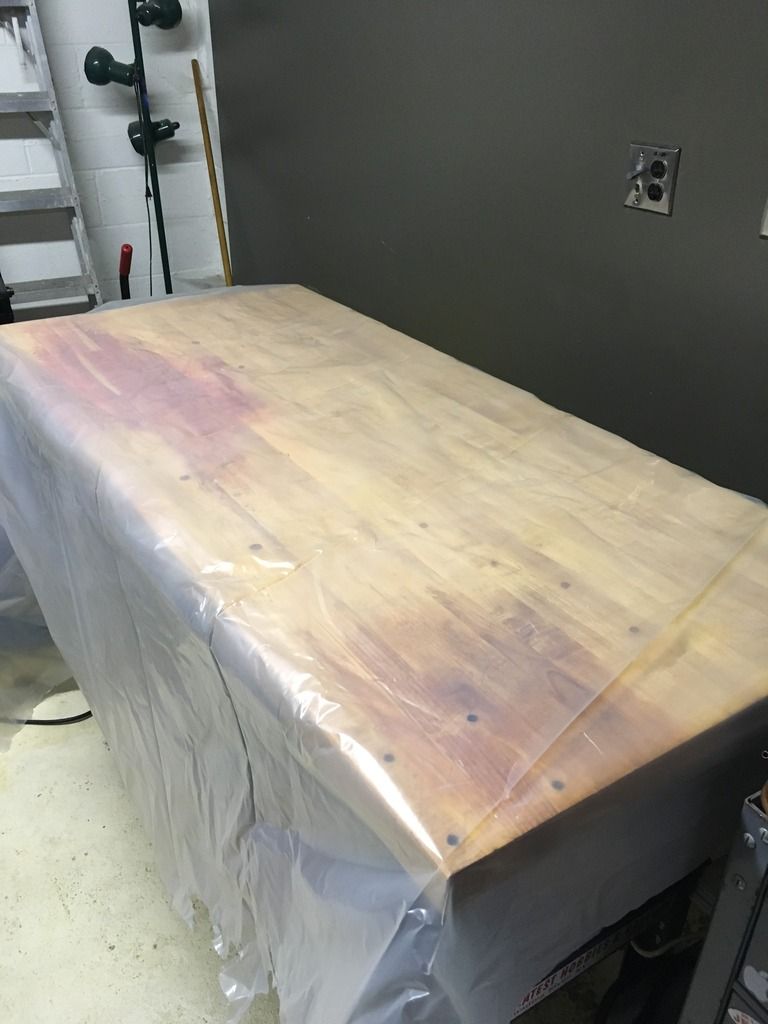
Measuring clearance: 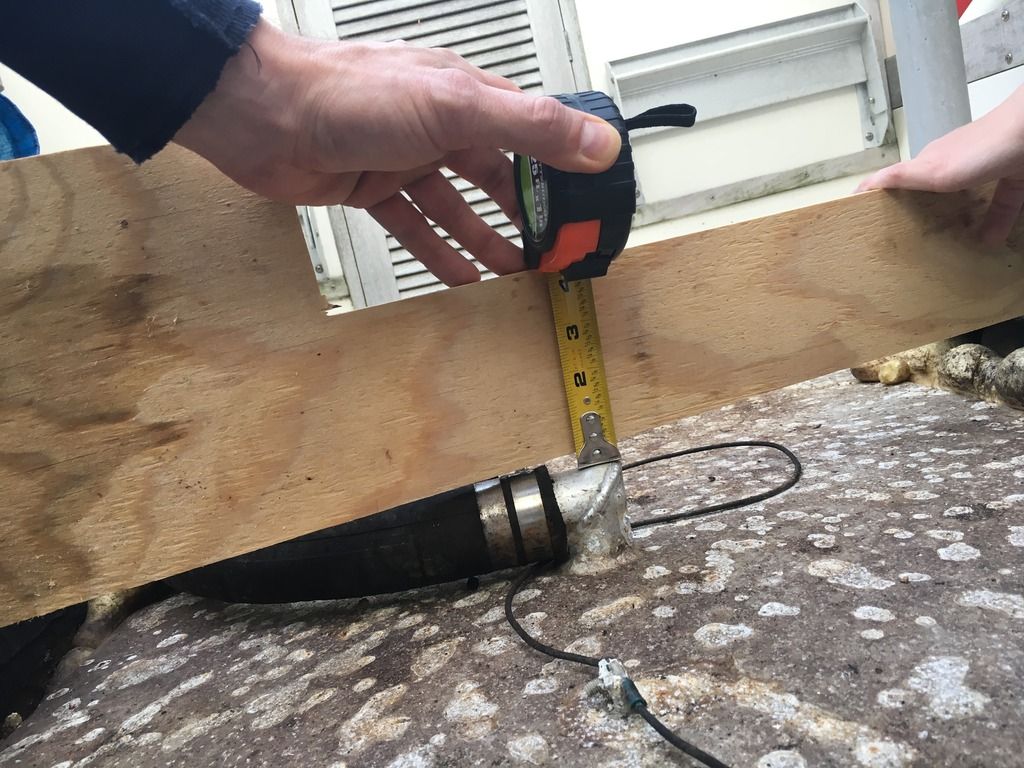 My helpers:  There's only maybe 3/16" clearance from the lip to the fuel hose on the tank bung. 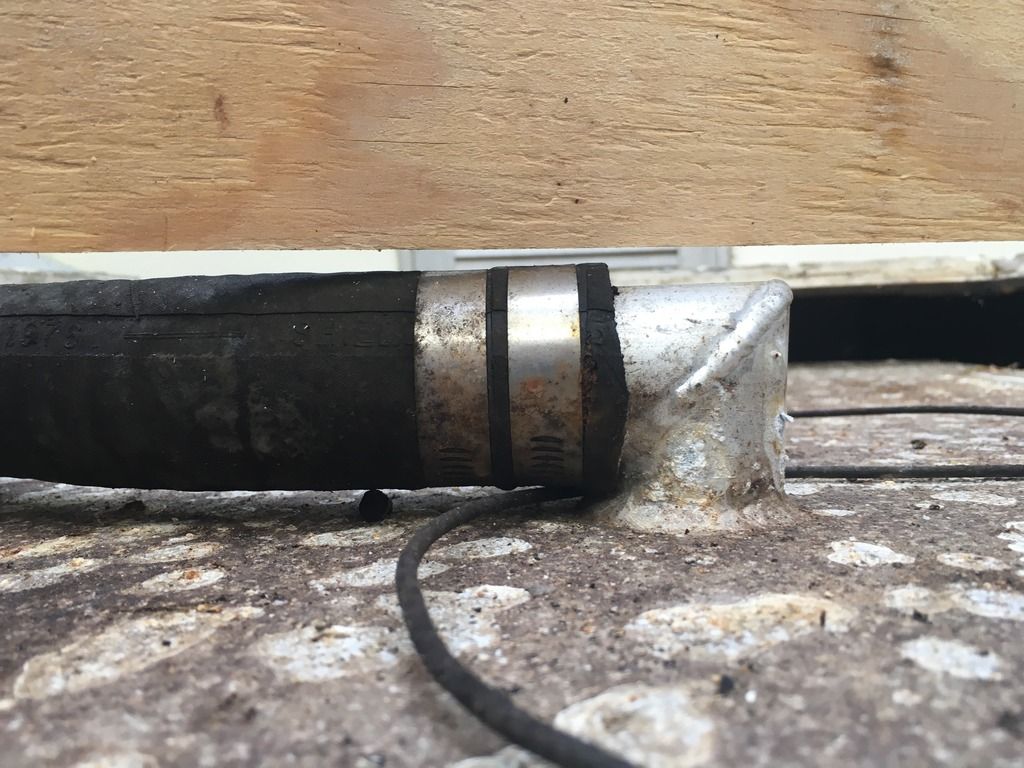 5/8" depth: 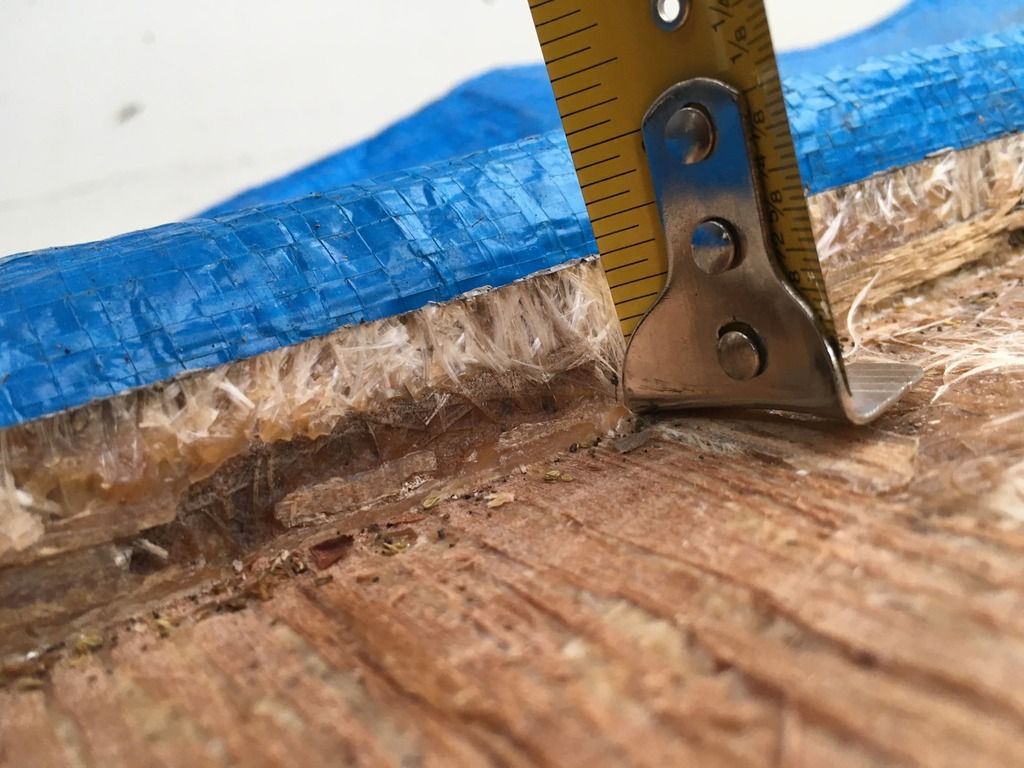 I bought 5/8" plywood w/ waterproof glue. Routed chamfers on edges and sanded: 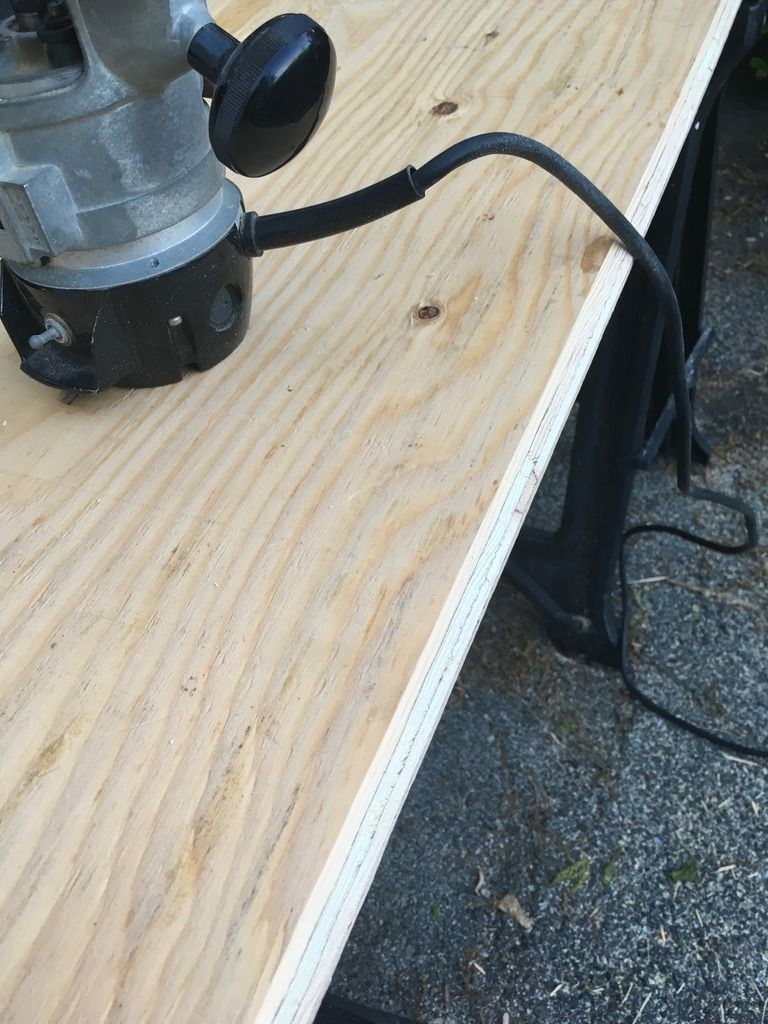 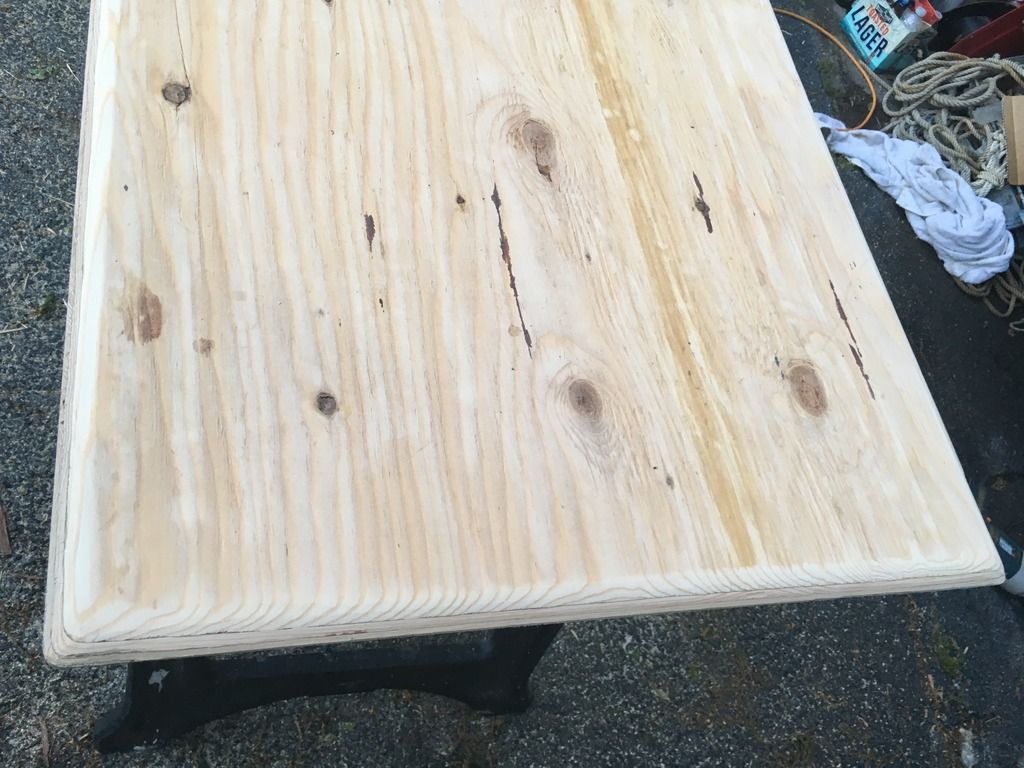 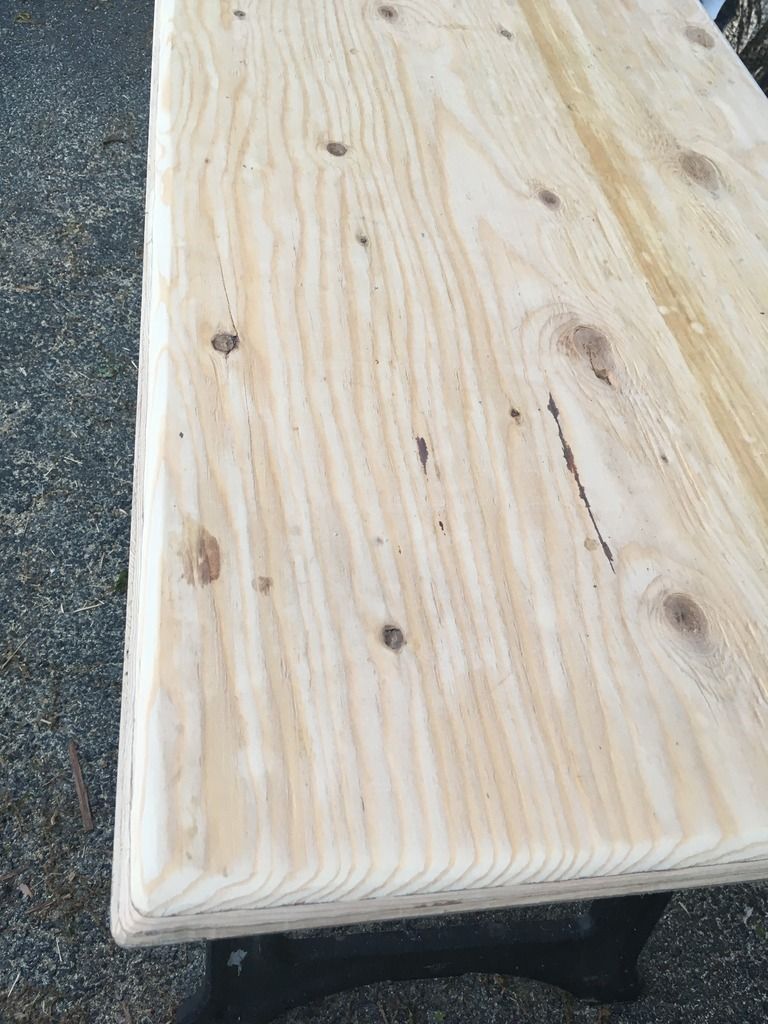 Due to my small car, I had to have HD cut it for me on their saw rack. It was "off" and/or the plywood/rack was not square and thus they cut it 1/4" shorter in length than I wanted despite being "on the money". Frustrating, but whatever: 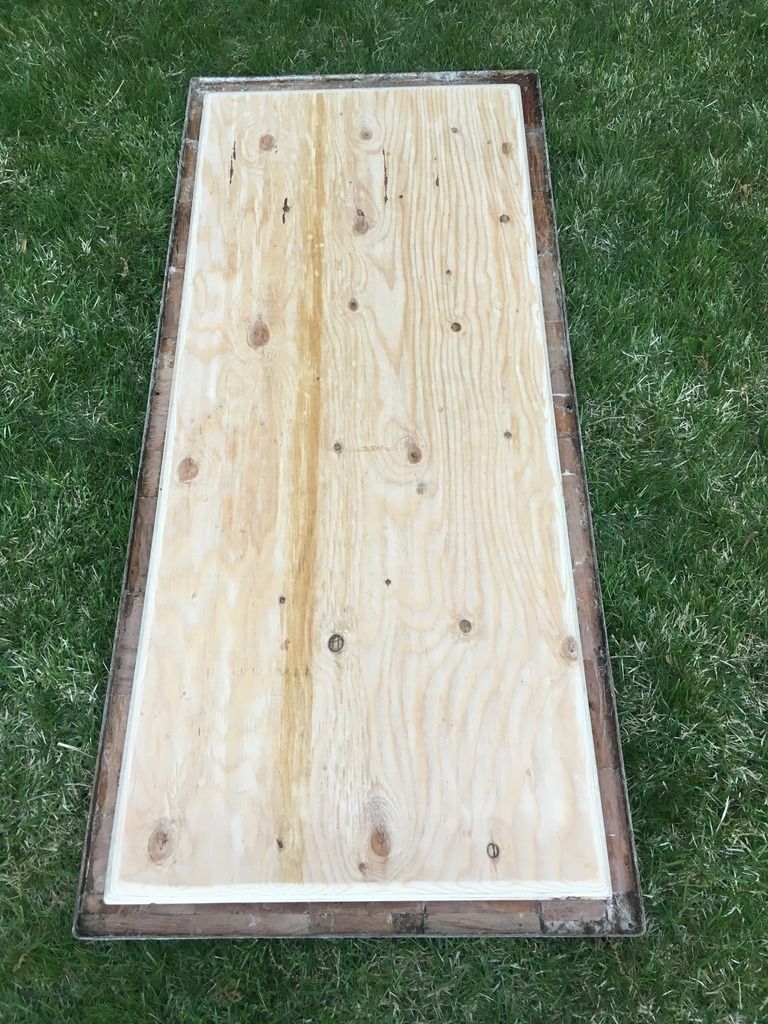 Also, it had a bow in it; my second regret. Left it a few days but unfortunately, this didn't work in taking it out. The bow was intentionally places so the floor will crown outward. Moving along: 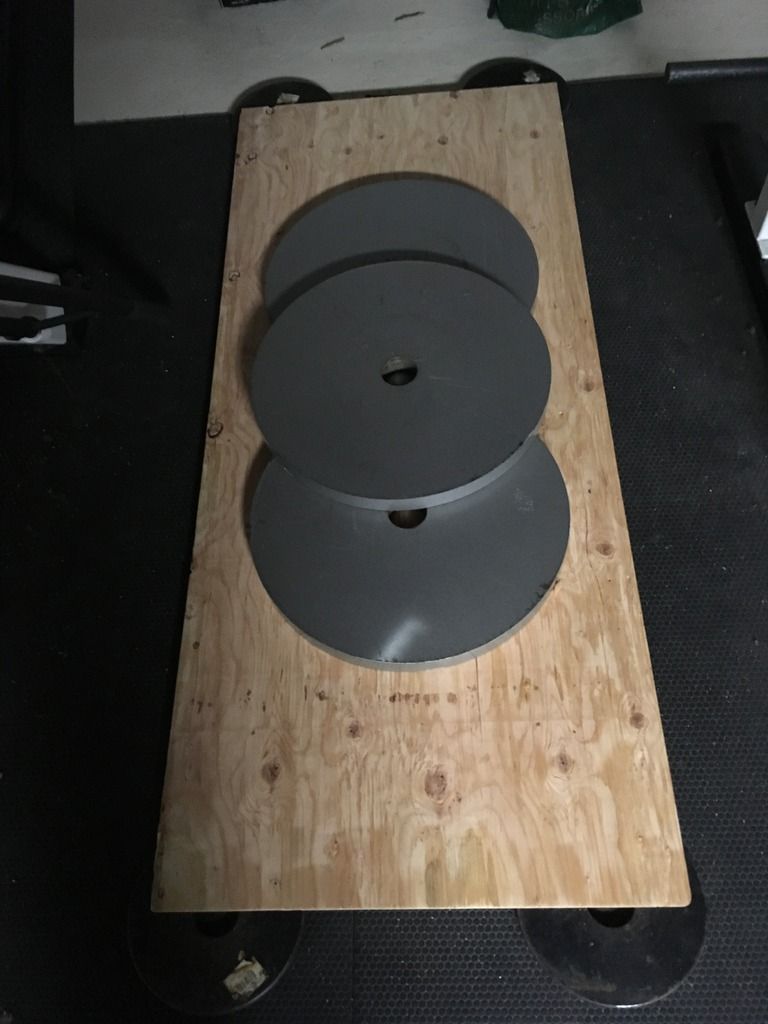
|
|
#19
|
|||
|
|||
|
I was planning on doing this step on the 3' x 8' granite surface plate at work, but it was just easier logistically for me to do it at home... as scheduling time to do the multiple steps w/in 24 hour windows was quite an ominous burden, as well as finding something FLAT enough to do this job. I had to remove the screwed-on steel shelves from my work bench, all the stored crap on them, and remove my vise... but it was the perfect length, width, and ergonomic work height!
 Some of the supplies: 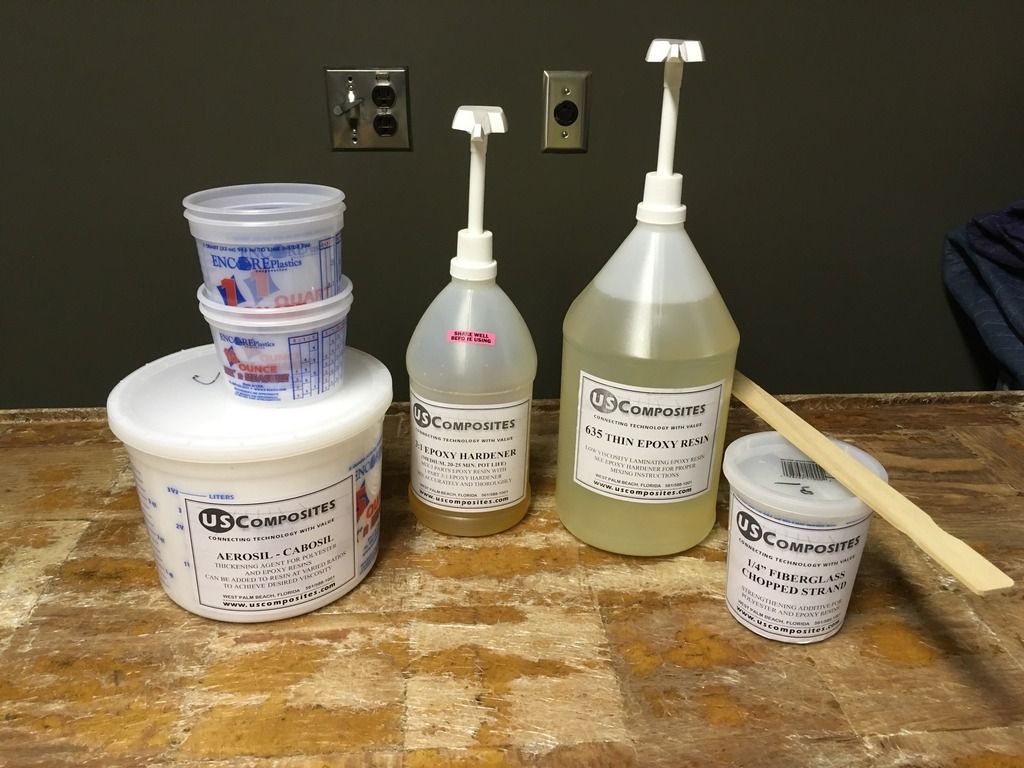 Edges and bottom coated: 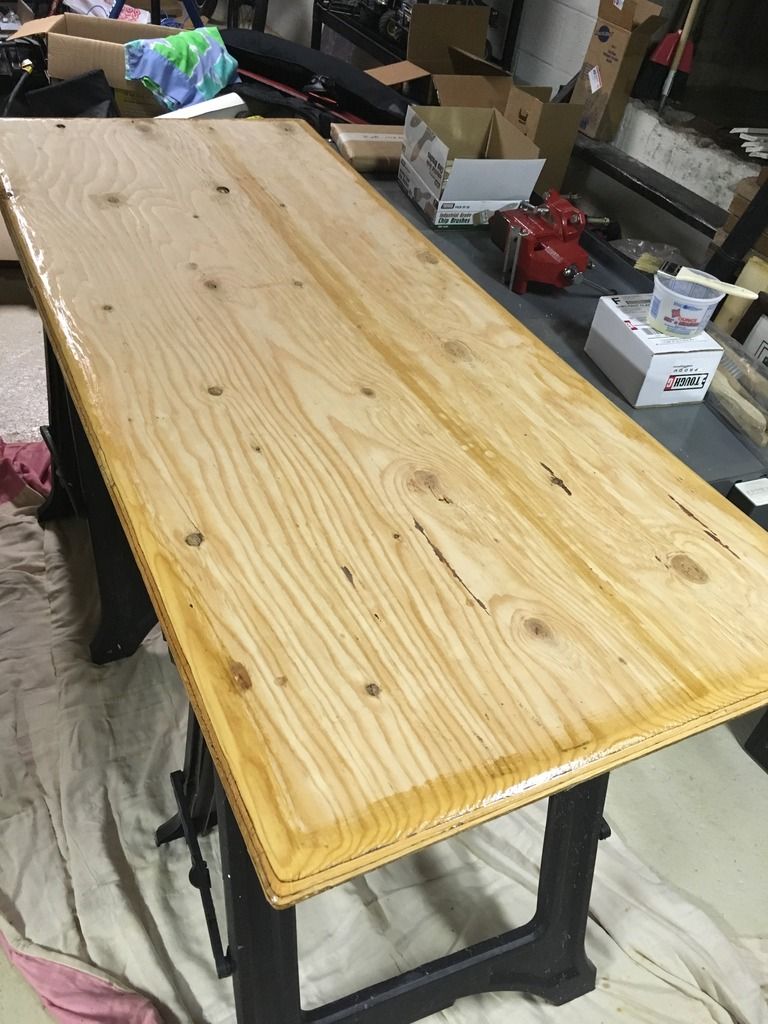 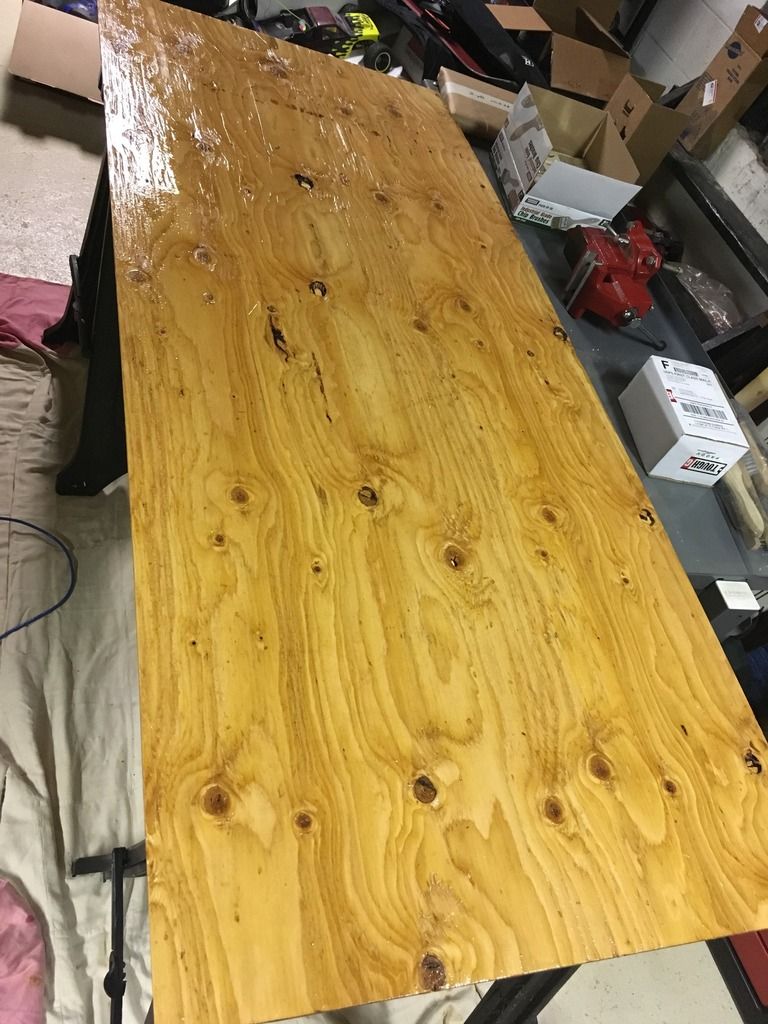 I also bought 1.5oz mat to use between hatch shell and plywood, but decided it was unnecessary. Peanut butter (jelly) time! Yes, I had to make more than that. I troweled it on both the hatch shell and the plywood w/ a 3/6" v-knotched trowel. I used the excess "ooze-out" to further radius-blend the edges: 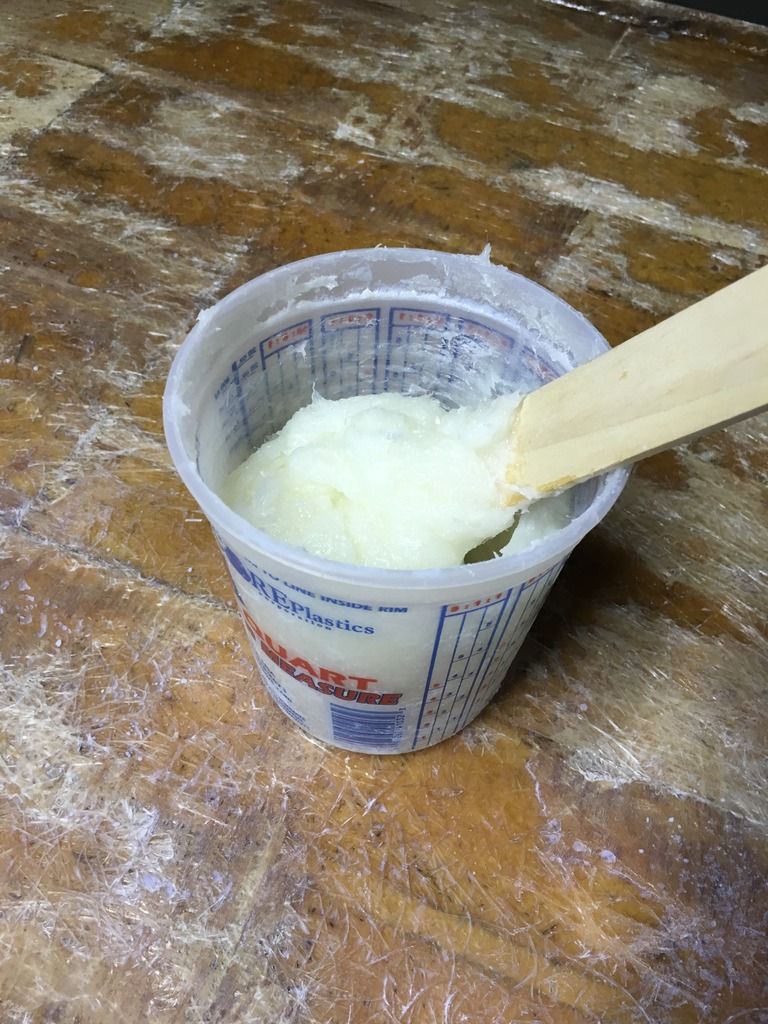 I had to clamp the edges because they were not lying flat, despite the weight: 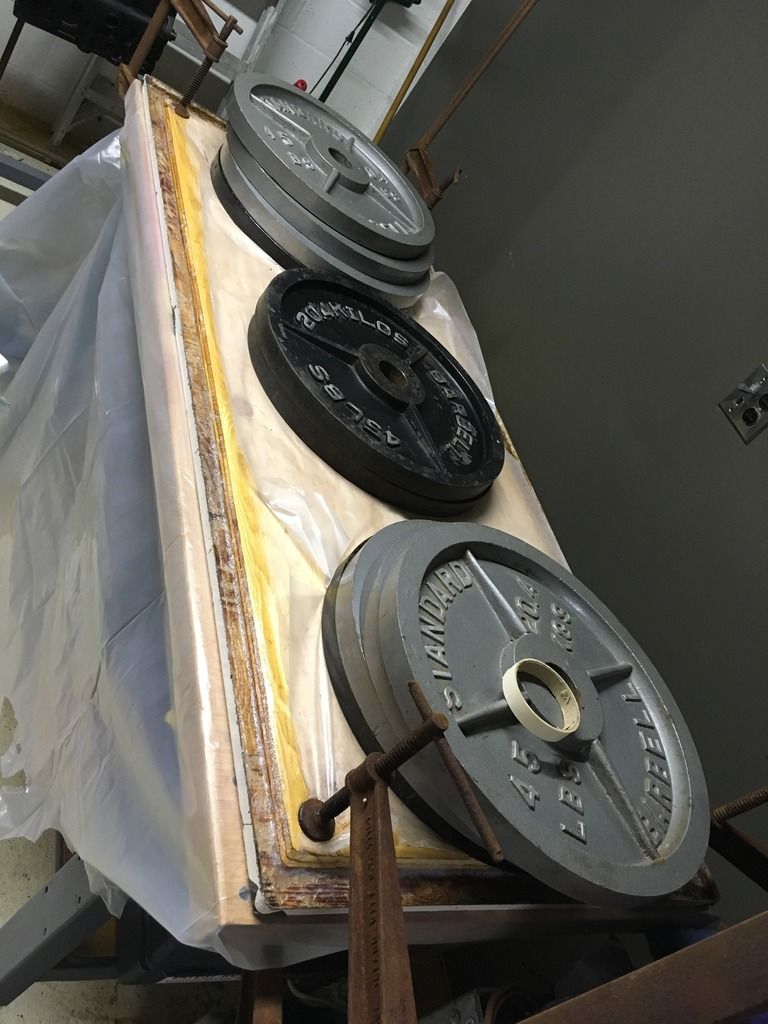 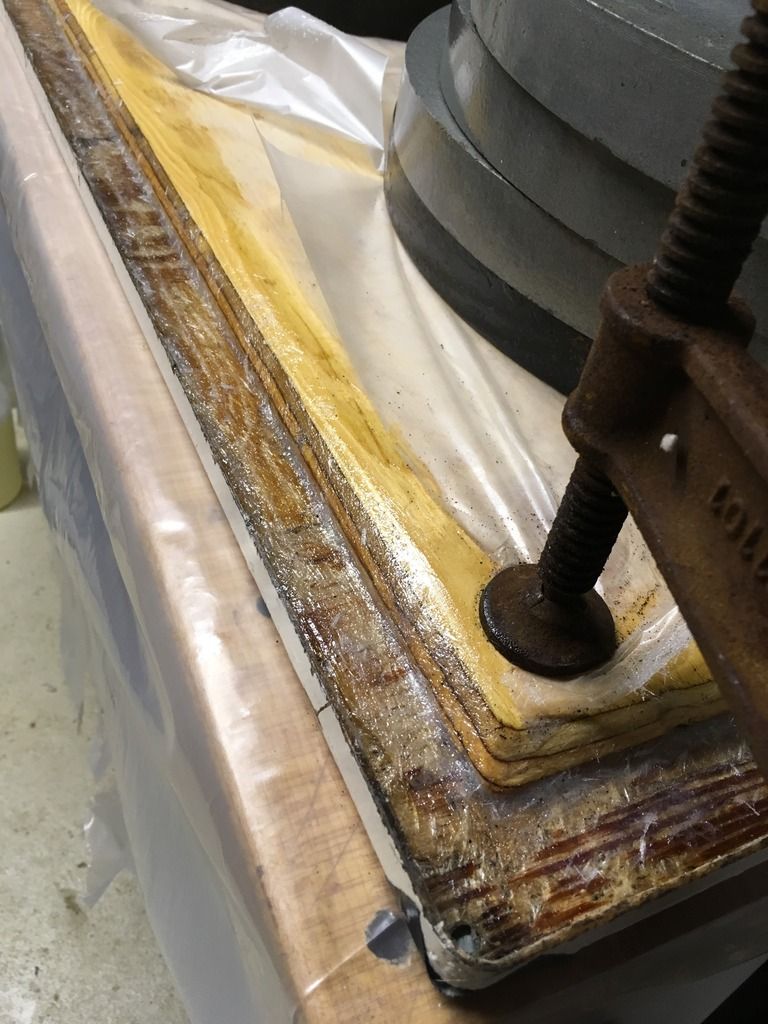 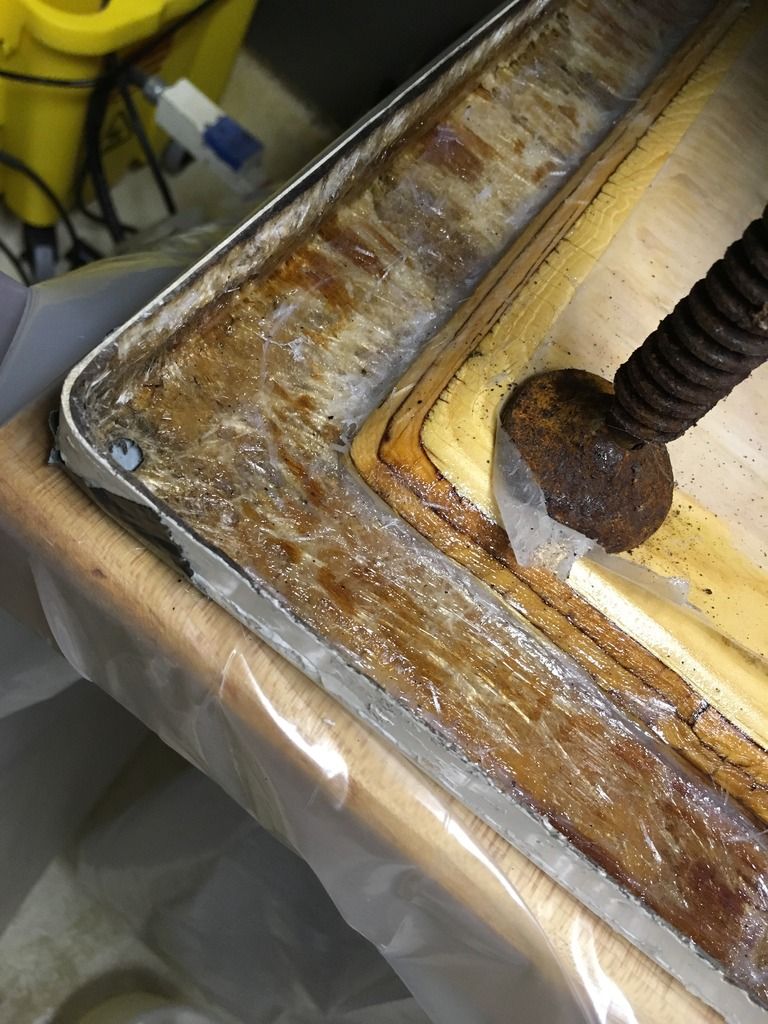 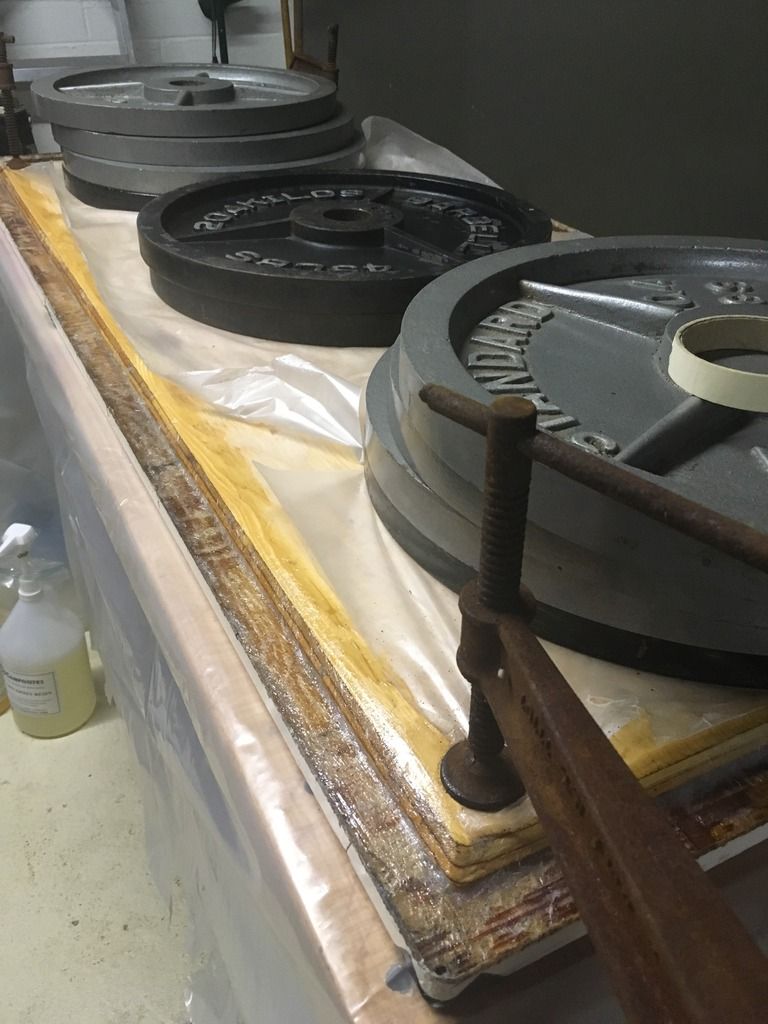 Epoxy-coated: 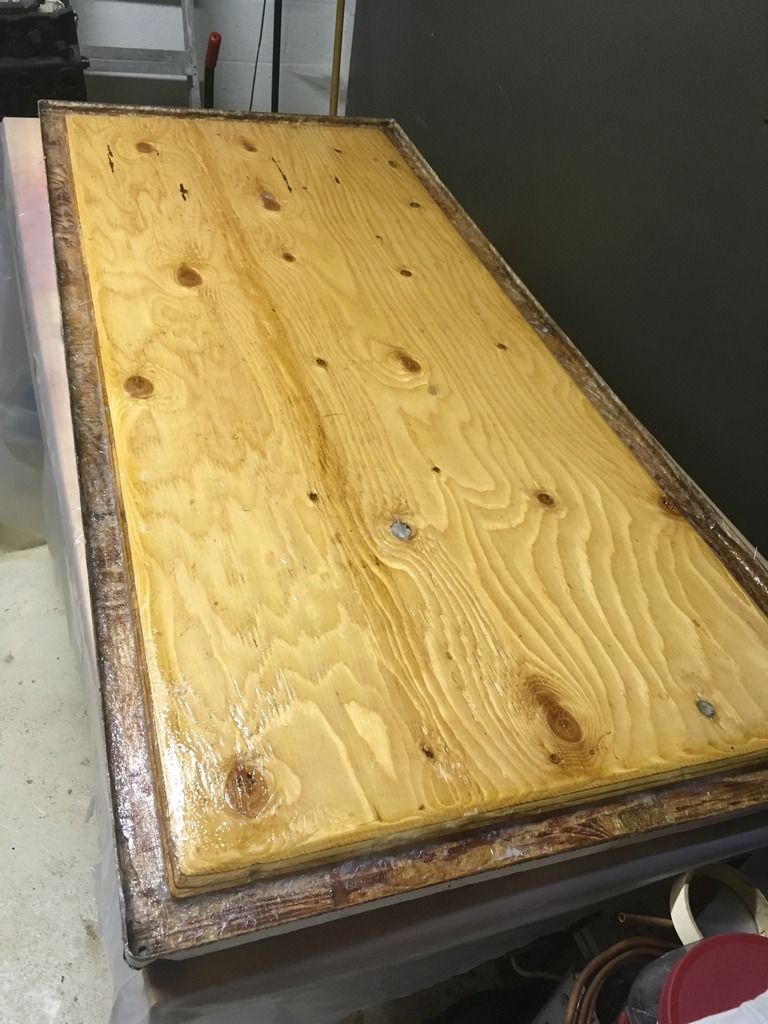 I taped the holes and edges, than the first coat of 1708 biaxial: 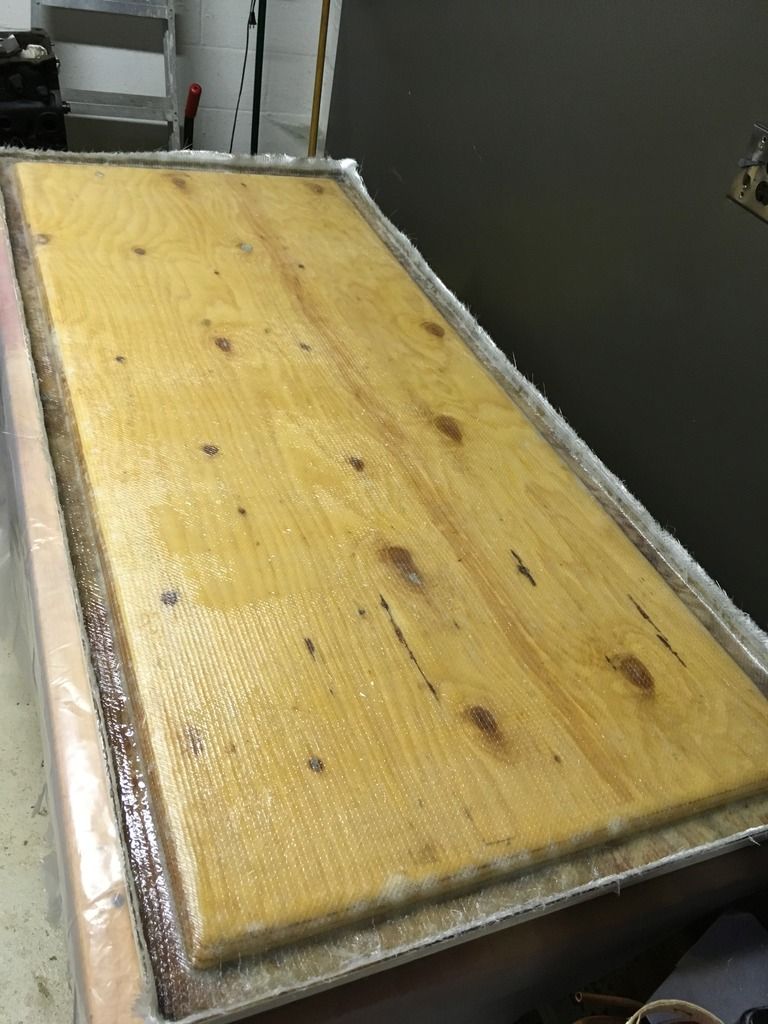 Not too bad for a rookie... I used both a 3/4"x3" and 1/4"x1" detail rollers from US Composites. Good inexpensive tools. 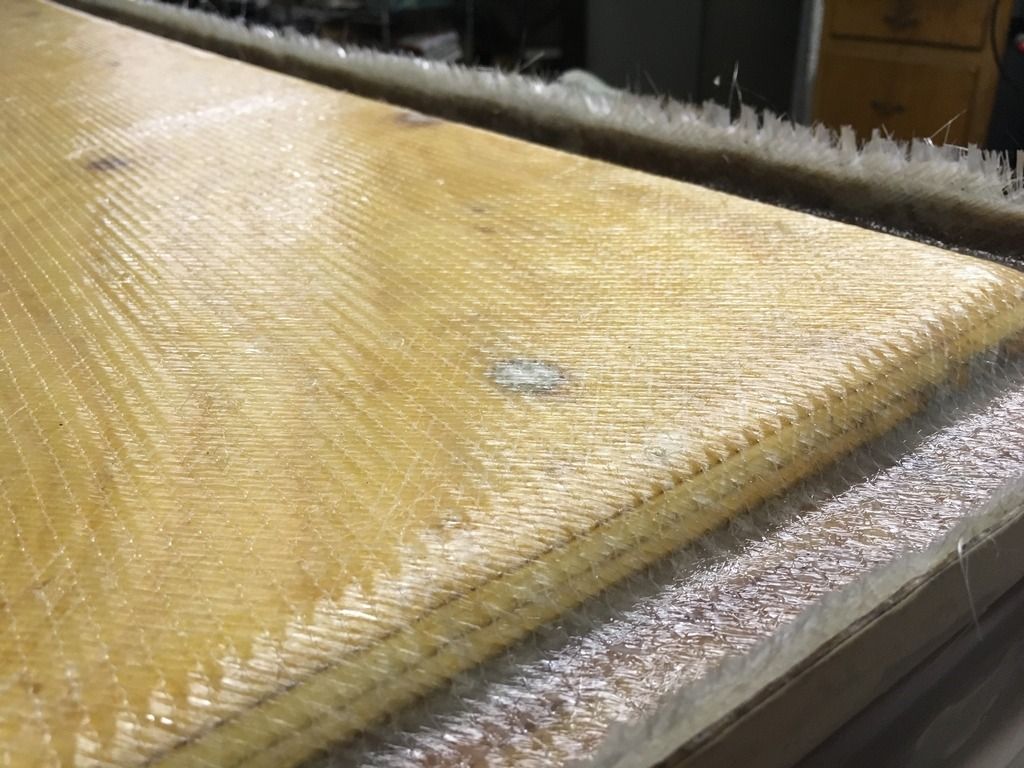 Second layer: 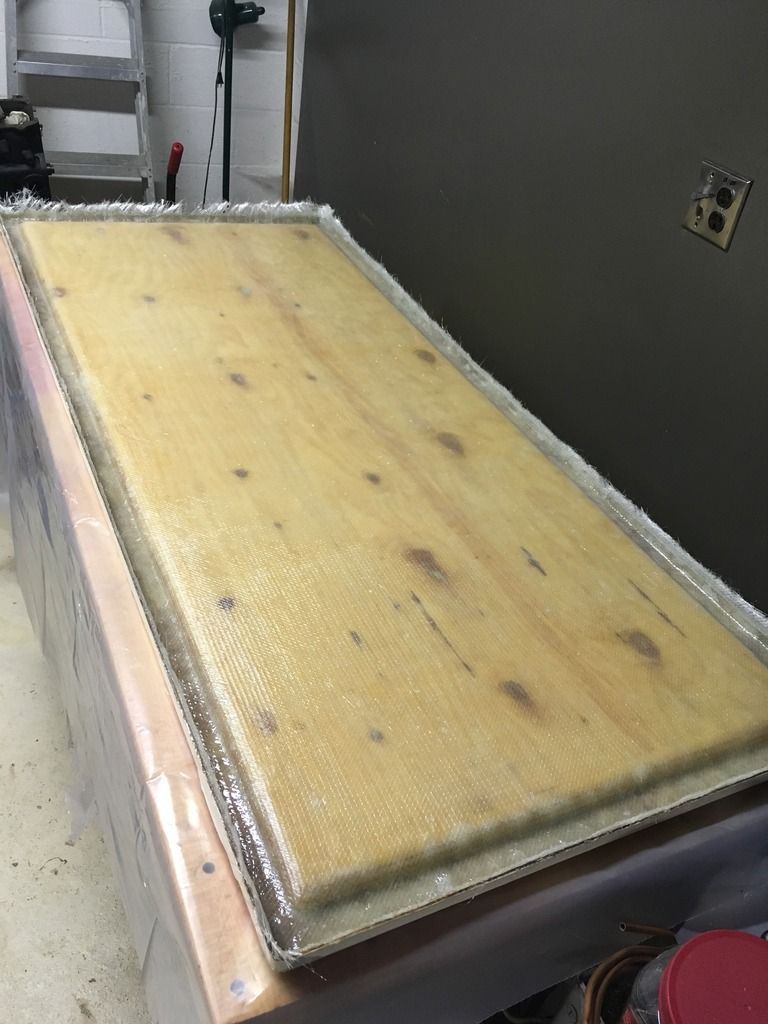 Trimmed edges with a razor blade before fully cured. I did this after each coat: 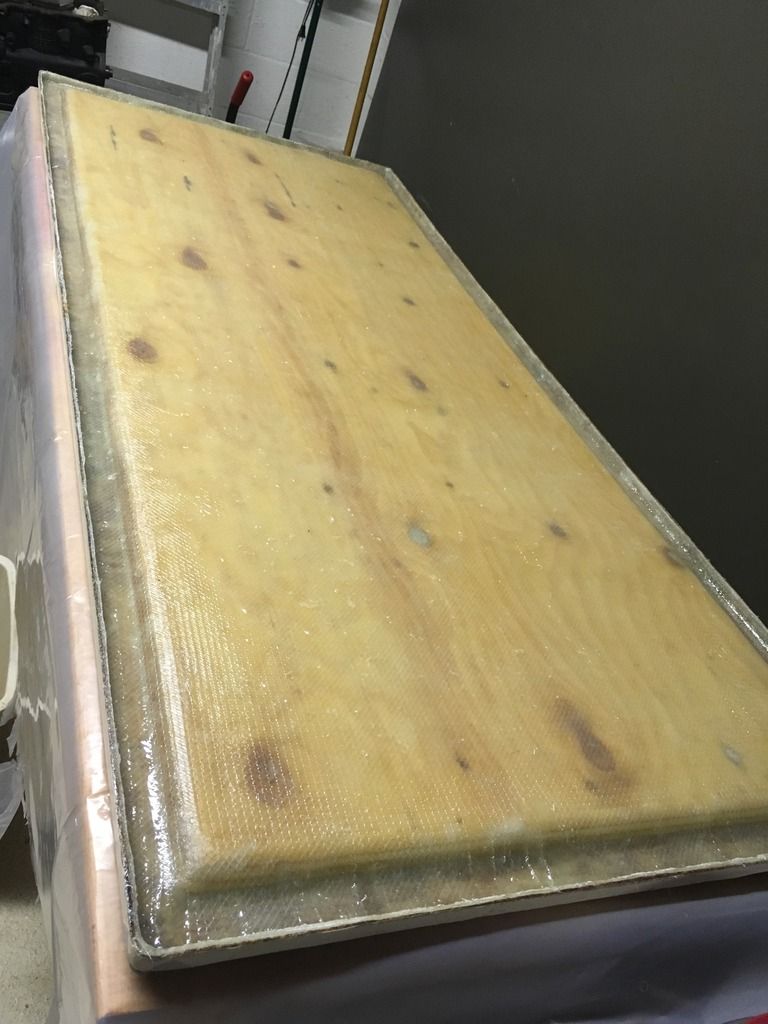
|
|
#20
|
|||
|
|||
|
You'll notice that the 6 attachment screw holes are outboard of the plywood core... just about at the edge adjacent to the lip. So I'm not worried about penetrating the core material or drill/resin-filling sleeves, however I am worried about overtightening and bowing/stressing the fiberglass. I was thinking about using (rubber?) spacers, or build up that thickness w/ glass-filled epoxy... or just barely snug the screws when reinstalling. Thoughts?
Additionally, is there any benefit to gel coating the bottom of the hatch cover prior to reinstallation? I have waxed white gel coat and don't want to mess with multiple coats, but just wanted to hear thoughts. I bought it to patch the chips on the top of the hatch cover (etc). Also looking for recommendations on sealant to reseal the hatch/screws to the floor. Based off my research, I was thinking silicone is my best bet... and I believe I have a tube of clear at home, but would welcome suggestions! |
 |
|
|