
|
|
#21
 01-29-2008, 08:13 AM
|
|||
|
|||
|
nice!!!

|
|
#23
01-29-2008, 05:07 PM
|
|||
|
|||
|
That tank is too nice to put in a boat!! Nice work, what is the top of your laminating table made of?
|
|
#24
01-29-2008, 11:30 PM
|
|||
|
|||
|
thanks guys I am trying to keep things rolling.
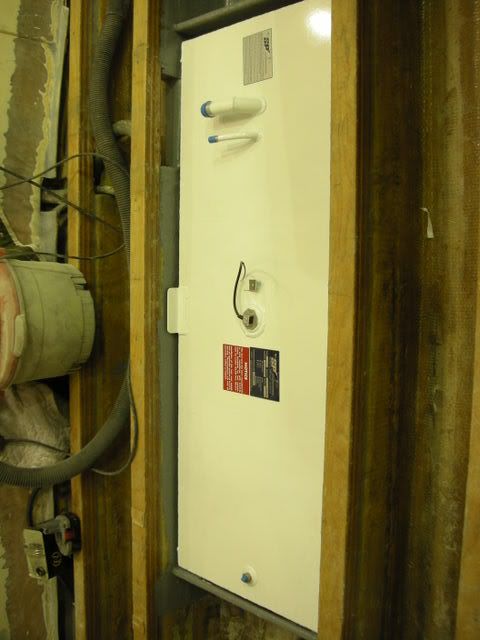
Strick I am putting a suzuki 140 on it. It is going to be fun laminating down the middle! Captloyd I have built 5 or 6 decks and interiors this way and it works out really well. It shouls take me within an 1/8 of where I have to be. Tunaorlater SP tanks did a really nice job with the epoxy coating. The laminating table is melamine. 3 4x8 sheets butted up to each other and 5200 together underneath. They sell it at home depot for 23 bucks a sheet. It is like formica with particle board in the middle. I got everything centered on the mold and made the forms for the hatches and the access plates in the floor. I decided to go wtih a Hammerhead 45 gallon livewell, I like the construciton and the layout of the interior. The way its mounted it pretty slick. There is a flange that mounts to the floor and the outside shell slides over it. The hoses come up from underneath for a clean install.
__________________
36' Yellowfin 1972 20' seacraft 140 suzuki http://www.classicseacraft.com/commu...ad.php?t=18607
|
|
#25
01-30-2008, 10:54 PM
|
|||
|
|||
|
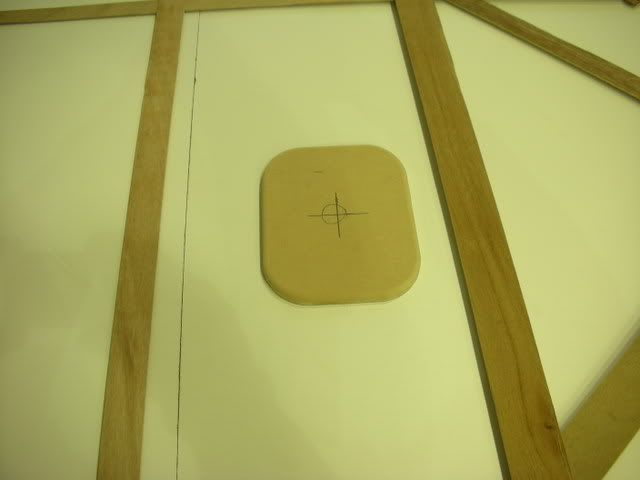
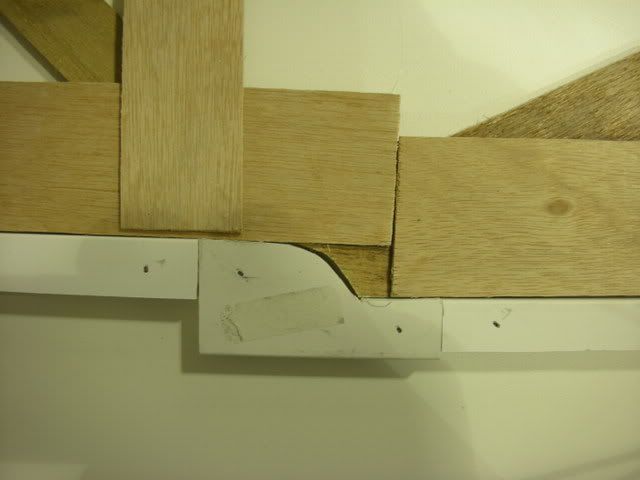
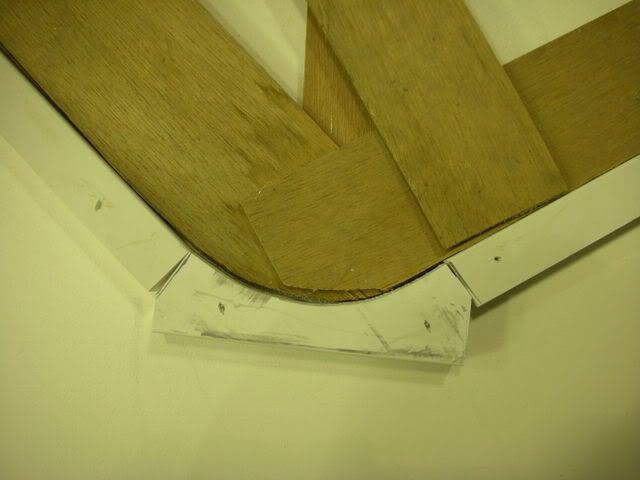
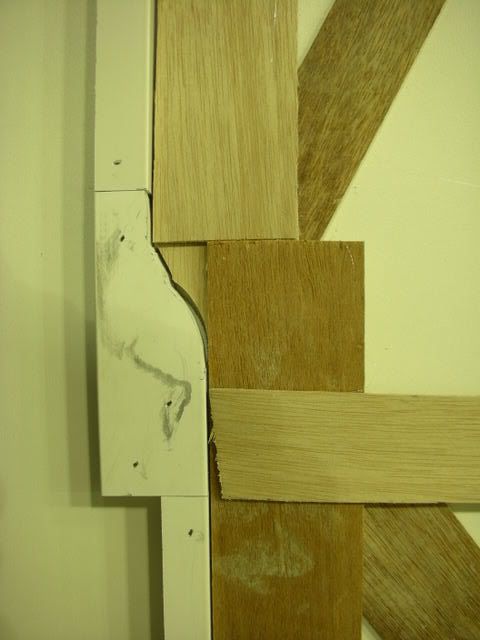
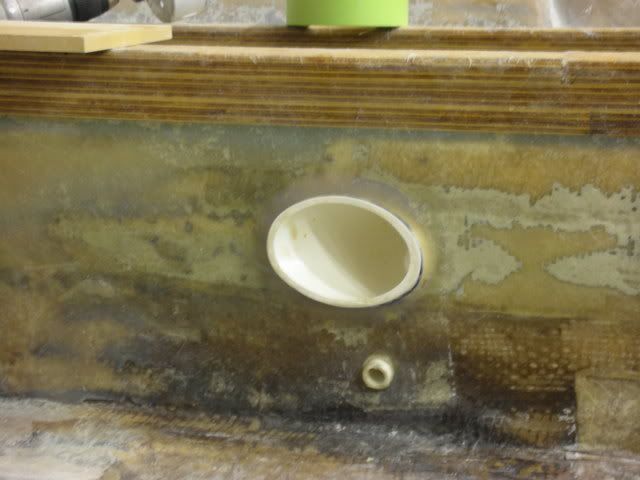
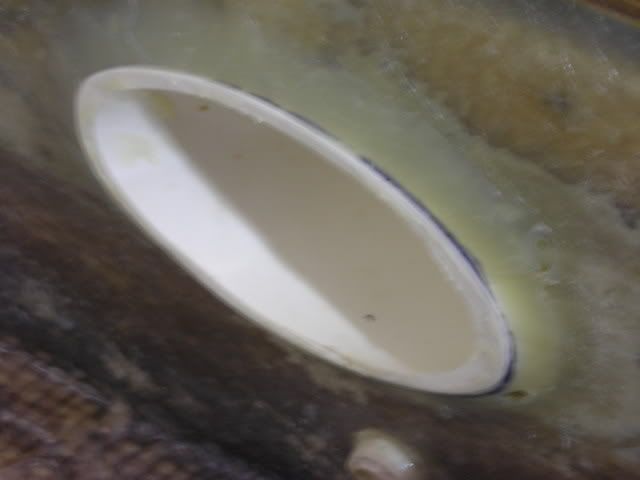
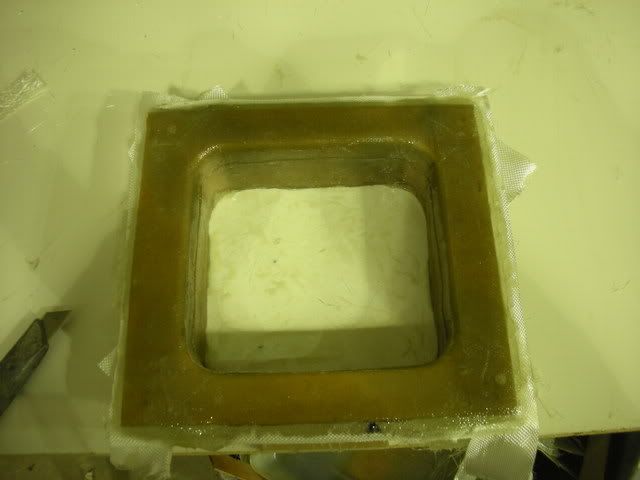
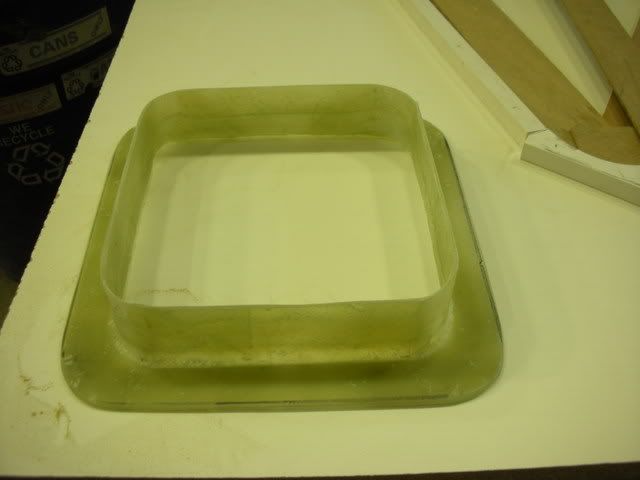
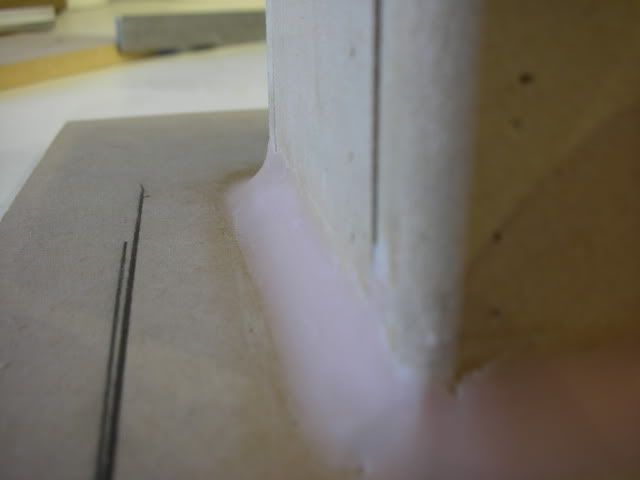
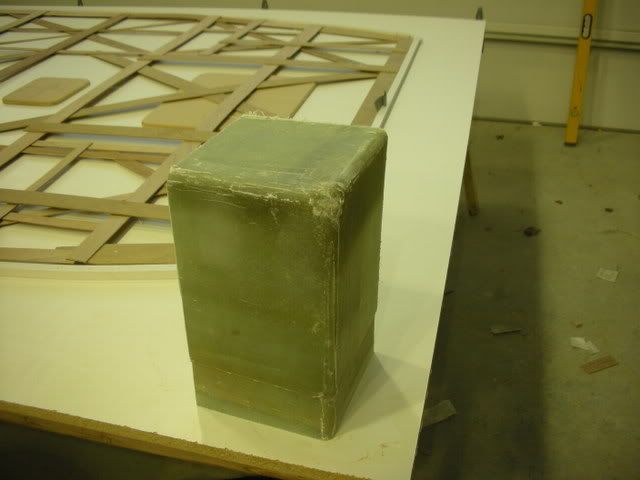
I am waiting for a couple of things before I lay the floor mold up. I made the rim board of the floor mold out of azac board becuase it is flexable and very smooth. I pulled a string down the middle to center all the hatches and accesses. I have 2 freinds coming over to help do the laminating for the floor as It would be to much for one person. In the mean time I made some molds for different things,I made 2 floor flanges for where the rigging comes through the floor in the console and one for where the livewell hoses come up under the well These are to keep things from rolling into the bilge and to keep water off the top of the gas tank. The other pic of the square one is for the back corner of the boat where the engine rigging will come out. I made a groove in the mold at the bottom where the floor will get glassed into it. I installed a 3 inch rigging tube thru the stringer on a 45 degree angle for the livewell drain and intake hose. here are some of the picks. I also test fitted the gas tank and everything it going to work out.
__________________
36' Yellowfin 1972 20' seacraft 140 suzuki http://www.classicseacraft.com/commu...ad.php?t=18607
|
|
#28
02-01-2008, 08:50 PM
|
|||
|
|||
|
sponge I did some research and the amount of money it would cost me to vaccuum bag is to much. I am laying the thin layer of thin plastic down over it to squagee the excess resin out with out harming the layers of glass. Tryder thanks for the praise. would you have done anything different on your 20 that you restored?
__________________
36' Yellowfin 1972 20' seacraft 140 suzuki http://www.classicseacraft.com/commu...ad.php?t=18607
|
|
#29
02-02-2008, 06:42 AM
|
|||
|
|||
|
Billy the Kid
Nice job and great pictures. I cut the deck out of my 18 ft SCraft and was looking at deck replacement threads for ideas. Did you consider using the Nidacore with the finished fiberglass surface? I thought it would save me a lot of faring later on. Are you gong to fill the space between the stringers with foam? Is there a way to do it so water can drain rather then get trapped and absorbed? Are you resting the new deck on the flange left from the old deck? I saw one deck which rested on wood that was fastened under the old deck. I hope mine comes out as well as yours thx Ed
|
|
#30
02-02-2008, 12:30 PM
|
|||
|
|||
|
Hey Ed I did consider Nidacore but the problem was mounting anything to it can be a problem if it is not done a certain way. The other problem is cutting access holes into for the bilge it loses a certain amount of structural intergrity so you can only cut the hole a certain size before it becomes flexible. The new deck it getting mounted to the stringers and a couple of batts I still have to install. I just left 2 inches of deck all the way around to keep the inner liner from flexing a twisting. Once you cut the angle of between the floor and the sidewall it becomes more flimsy than it already is. I decided to do it this was rather than 3/4 marine ply was Because I wanted to keep the wieght down for one. a peice of 3/4 marine ply with 3 layers of mat on top and 2 on bottom is going to way upwards of a 100 pounds. Divynicel of the same size should way about 40 pounds. Also I want intergrated hatches into the fiberglass. I want the deck to have some what of a finished surface once laid up, I dont want to have to fair out the entire surface with fairing putty. Thats where the duratec comes into play once rolled into the mold it will absorbed the voids in the fiber glass. I have done decks for express boat and convertibles in the same fashion and they came out really well. Also where ever things are going to be mounted on the deck I am inserting 3/4 marine ply for a good mounting surface.
__________________
36' Yellowfin 1972 20' seacraft 140 suzuki http://www.classicseacraft.com/commu...ad.php?t=18607
|
 |
|
|


 Linear Mode

