
 |
|
#21
|
|||
|
|||
|
Hi Shine:
I decided to jump in on this one a little more in detail. Maybe I can help a little bit. Distribution of weight must be considered first. The more you move things forward the better it is on these 8 beam SeaCrafts. I moved my center line (bow / stern) 12 to 18 forward which of course will effect how far down the stern will squat. If you dont take this factor into consideration you could place your scuppers below the water line. Which has cause many problems on SeaCrafts. I moved my tank forward, I removing the step down storage section under the CC and adding a extra 20 gal. of gas. I also moved the batteries the oil tank and a 15 gal fresh water tank under the CC as well. I also moved the live well forward from the transom. The live well center line is now 42 forward of my transom. I decided to go with a single motor on the transom and did not raise the floor if I wanted to go with twins I think raising the deck and going with a twin flotation bracket would be the best way to go. The center line of my scuppers is 5 ½ up from the bottom corner of the transom. Review ALL the pictures of boats sitting in the water on your thread and you can see the differences in how they sit and how the scuppers would be effected. My scuppers are a straight shout out the back from the deck.   Livewell Tank and the stern of my gas tank is under the Seat and tuns to the hatch just infront of the CC door.   FellowShip . Just for the Grins   Official 23 SF Antique Classic SeaCraft Owner |
|
#22
|
|||
|
|||
|
If I could jump in here with a question. Fellowship, where is the water line in relation to the scuppers?
|
|
#23
|
|||
|
|||
|
Hi Cheg:
On my boat, taking under consideration all I said about what I did moving things forward my water line is approx ½ down from the top 90 degree corner edge of my trim tab bracket that screws into the transom. With a single engine on the transom or a bracket with flotation for twins it should be somewhere like mine. With a twin engine configuration the 23 will squat more and that water line would be higher on the transom. Thats why for me if I were to ever go with twin configuration I would want to raise the deck. The SeaCraft design is a VERITABLE Deadrise hull and it sits in the water different that a straight 24 degree deadrise hull does. My boat sits on a bunk type trailer. The bow of my boat does not rest on the bow side of my bunks. There is a gap of approx 1-2 between the boat hull and the bunks. If this is true on my trailer it is also true sitting in the water. This is part of the reason why moving things forward on SeaCrafts is important. It helps in the bow to stern teeter totter effect to be reduced to a minimum. This needs to be factored into you over all re building plan. If not, your SeaCraft might look Great, it might right grate in ruff seas but it will effect you sitting at the dock or drifting around in open seas. This is why many guys want to close off the transom and put a bracket on But if you add too much weight then the next issue is all the scupper threads on this sight. Think About It. FellowShip . Just for the Grins   Official 23 SF Antique Classic SeaCraft Owner |
|
#24
|
|||
|
|||
|
Thank you to everyone for the data. I have enough information now to plan the boat.
I do not want to redesign the boat, although I am able to do this - redraw to boat from scratch and redesign the weights. It would mean making a model and I fiddle with weights and spit new out hydrostatics . One of the appeals of choosing a re-build is that all that work is done, all I need is original locations and weights and I can move everything around and maintain the CG and waterline the designer had in mind. Far be it for me to change a well balanced design  Also, the fact that this forum exists was a major consideration in choosing a seacraft to rebuild. Without a source like this forum, I would have to do a lot more work Im getting very excited to use this boat, Im hoping to have it ready for power by May.
__________________
http://www.boatbuildercentral.com/  my rebuild thread: http://www.classicseacraft.com/commu...ad.php?t=22090 |
|
#25
|
|||
|
|||
|
Great info. Thanks.
|
|
#26
|
|||
|
|||
|
If it were me starting with what you have. Here is what I would do:
1. Core the sides (it will be bullet proof) 2. Put the consel were it was intended by the factory or maybe a just a hair forward. Remember every inch you move the consel forward equal's more pounding on your feet. 3. Move the fuel tank forward so that the front of it is even with the front of the consel. 4. batteries in the consel 5. Build your new deck and bond it to the top of the stringers. Since your stringers have already been raised 2 inches there should be no need to raise it any more. I'm not sure about your year boat but the boats built in the 70's were self bailing at the original height. 6. build the livewell above deck just behind the leaning post. Again I'm not sure about the 80's boats but the cockpit sole on the 70's was bonded to the top's of the stringers and it should have been no dead air between the stringers and the bottom of the sole. But then again that may vary depending on if a boat was built on a Monday of a Friday On my 75 it was a tight bond:   PS do away with the flat butt and put a nice arched transom on that boat if you are going to go with a bracket  strick
__________________
"I always wanted to piss in the Rhine" (General George Patton upon entering Germany) |
|
#27
|
|||
|
|||
|
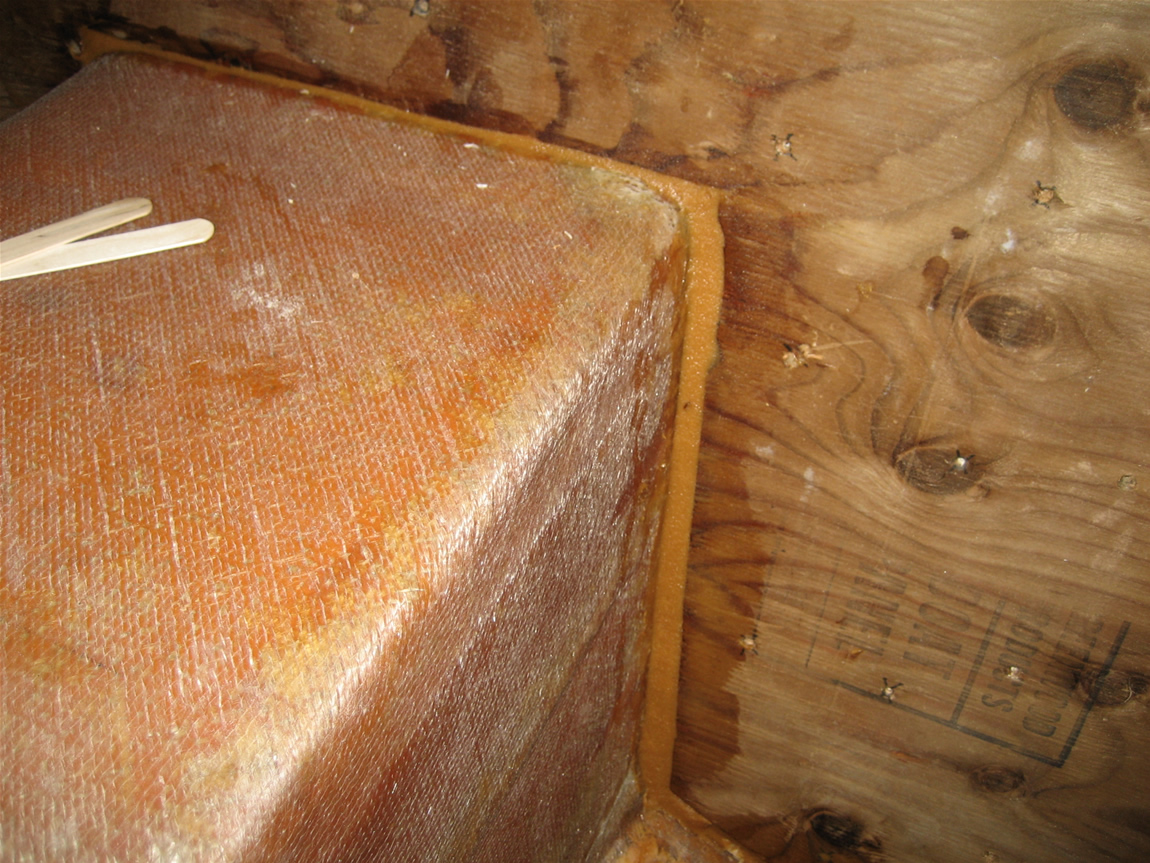
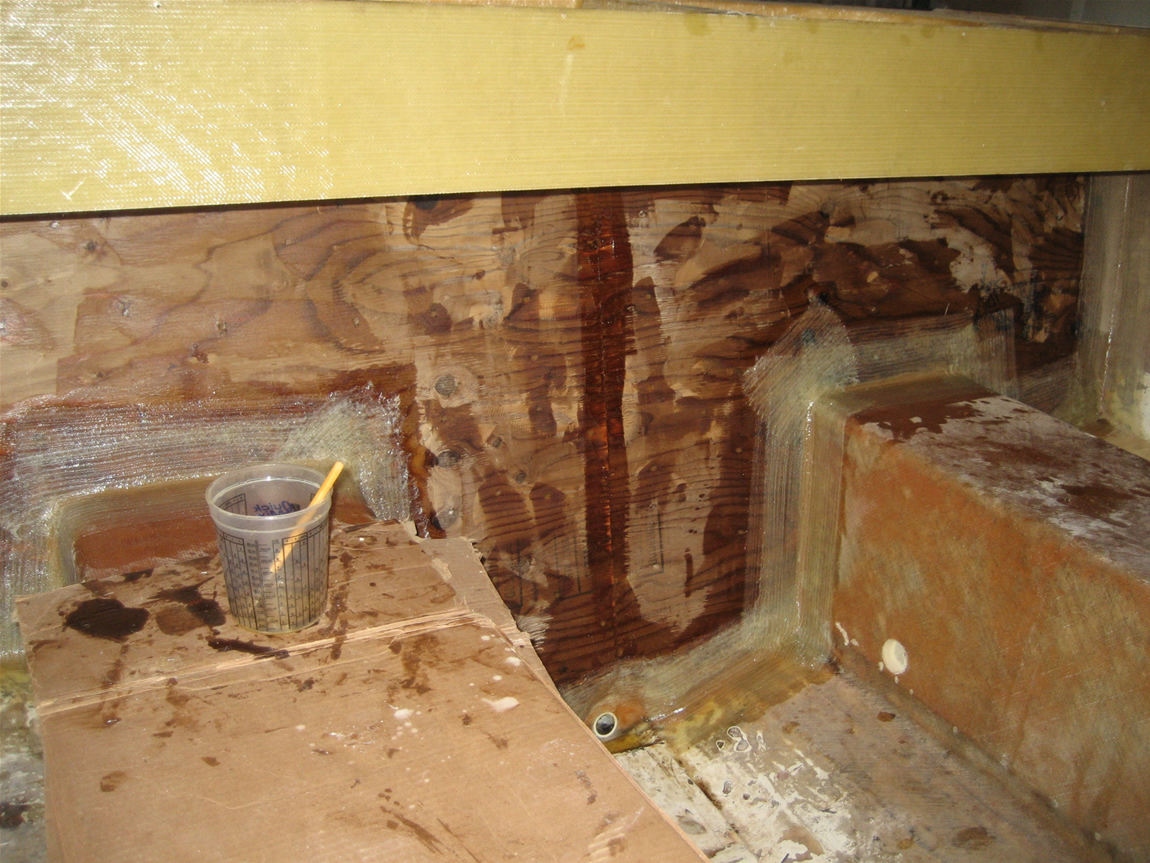
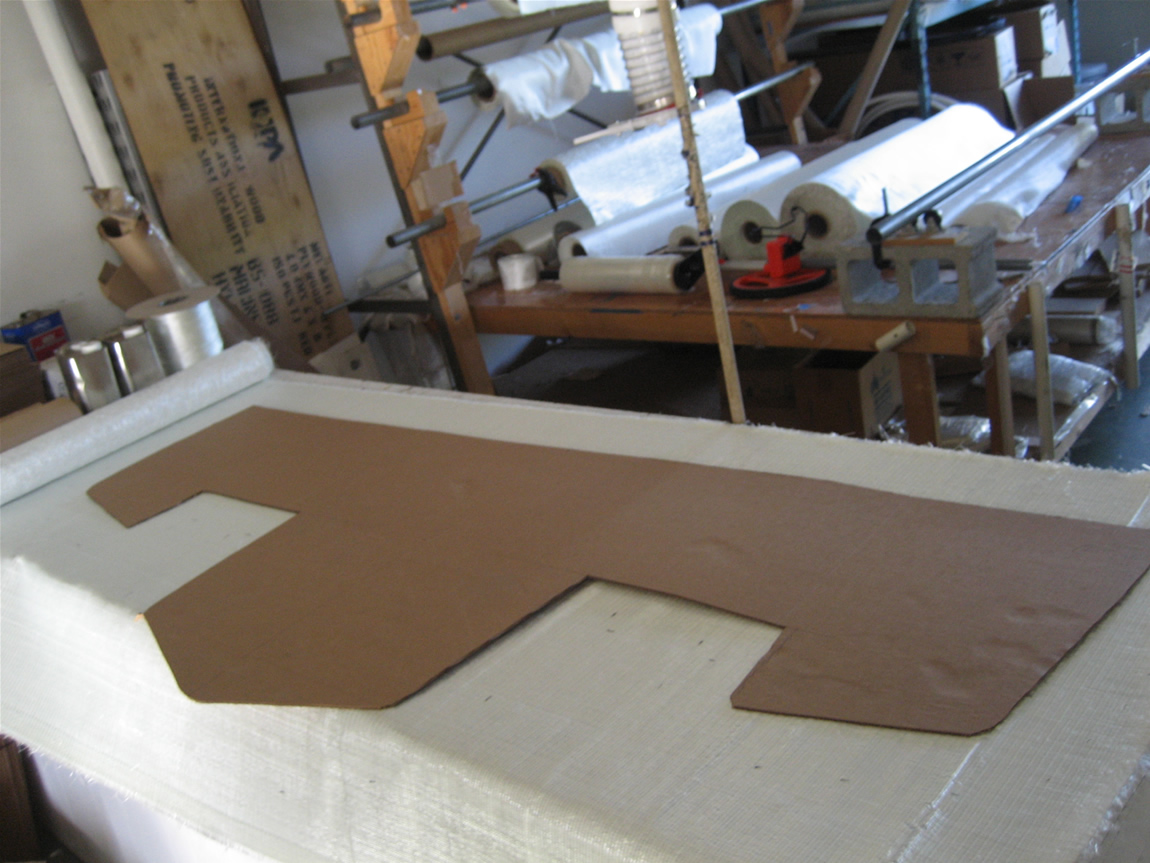
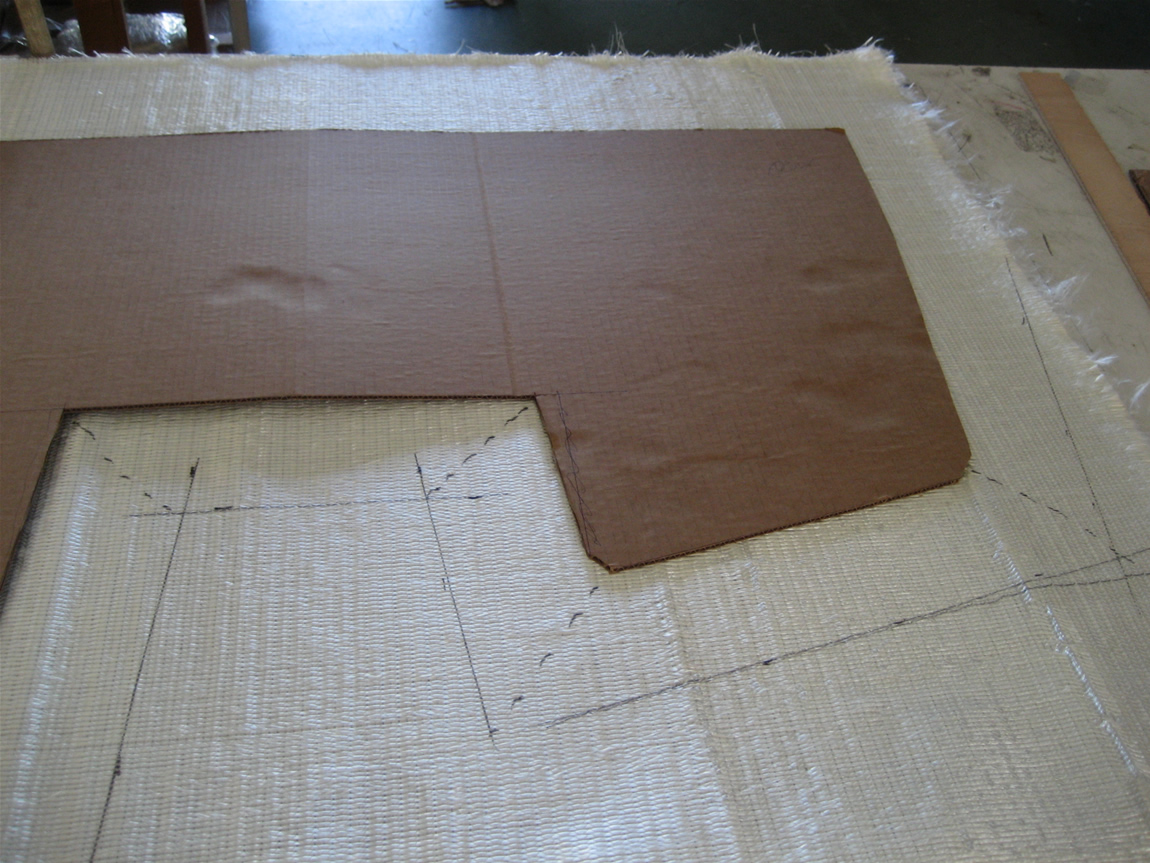
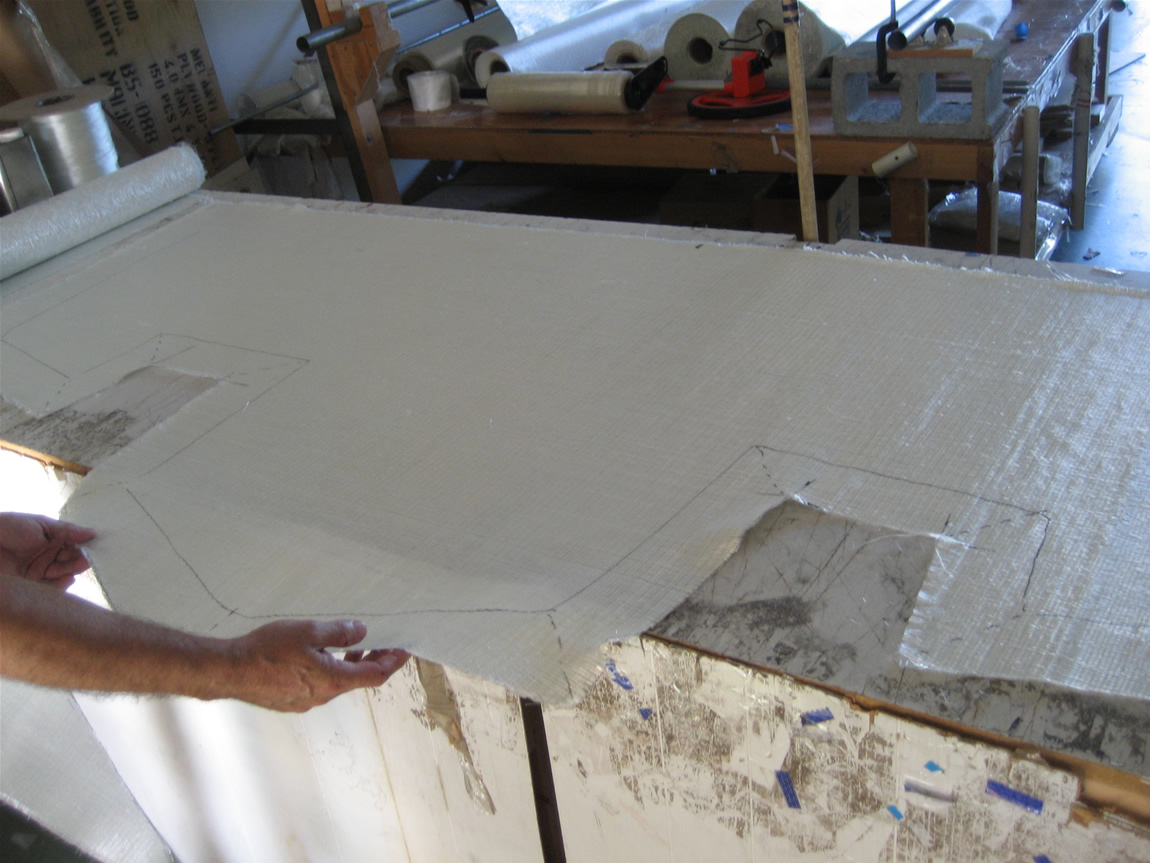
additional layer of 3/4" ply epoxied into place, tabbing of 3 layers of tape are in, now we are cutting the wide biax for the new inside skin. Found a 109 gallon tank that will work, have not bought it yet, still want to find two tanks that will fit (without having to pay $500+ for each one !)
__________________
http://www.boatbuildercentral.com/  my rebuild thread: http://www.classicseacraft.com/commu...ad.php?t=22090 |
|
#28
|
|||
|
|||
|
reinforcing stringers (building thickness to 3/16" minimum everywhere). what you see on the stringers in these shots is 3 layers of 1810, all wet on wet. Will do other side this afternoon. I am going to add a couple layers of tabbing also (stringers to hull).
  We still have two more layers of 1810 to go on transom.  8O 8O
__________________
http://www.boatbuildercentral.com/  my rebuild thread: http://www.classicseacraft.com/commu...ad.php?t=22090 |
|
#29
|
|||
|
|||
|
holy cr*p those things look beefy
 foam filling? foam filling?
__________________
__________________________________________________ ________________ 1974 23SF |
|
#30
|
|||
|
|||
|
Quote:
After building the required thickness, i will re-tab the inside of each stringer. There are no signs of delam, but the glass job was not the best, so for peace of mind Im going to re-tab.
__________________
http://www.boatbuildercentral.com/  my rebuild thread: http://www.classicseacraft.com/commu...ad.php?t=22090 |
 |
|
|