
 |
|
#31
|
|||
|
|||
|
transom core is epoxied in place.
Dry fit, wet out surfaces with neat epoxy, apply epoxy glue (a mix of silica and wood flour), clamp/screw into place. both surfaces were very flat with a very nice fit, did not need a ton of glue. Used about 2 quarts of epoxy (before thickening) Total core thickness is 2.25" Design did not call for that much, but a had the 1.5" foam core, and it didnt add much weight. With the full size bracket, the loads are spread out over a large area, so the transom core really only needed to be 1" 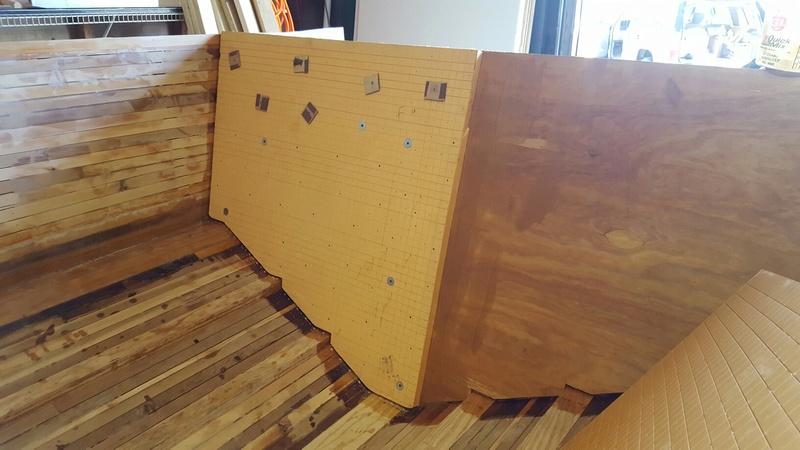 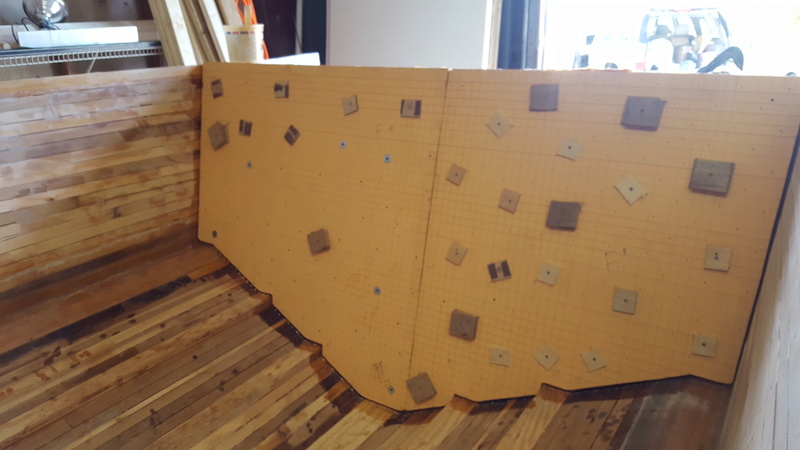 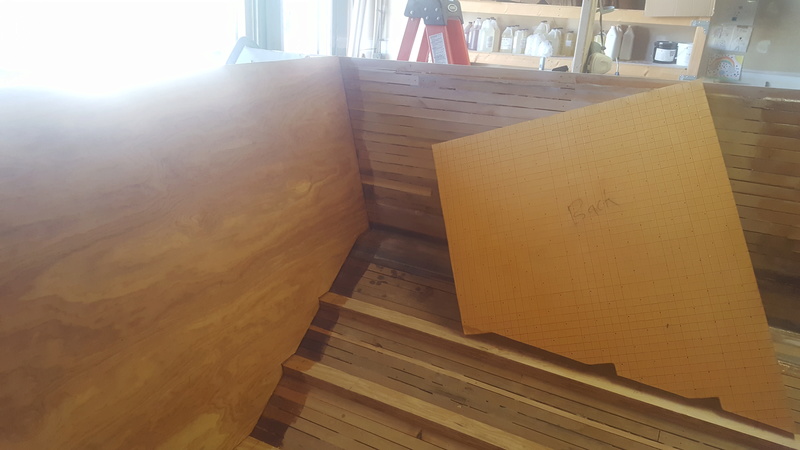 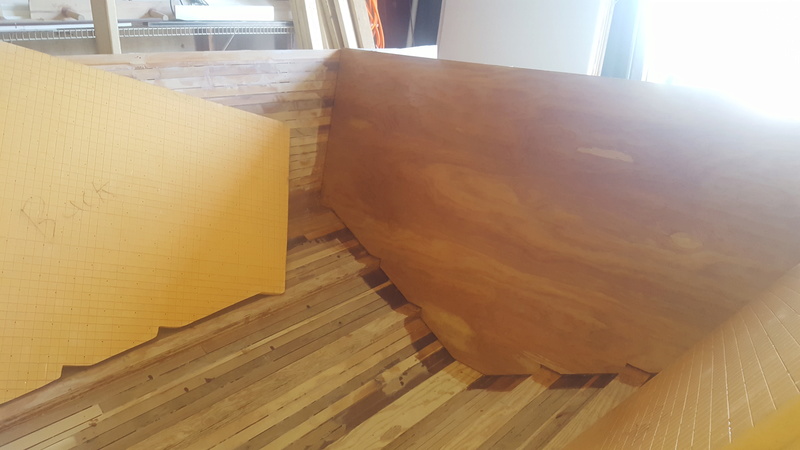 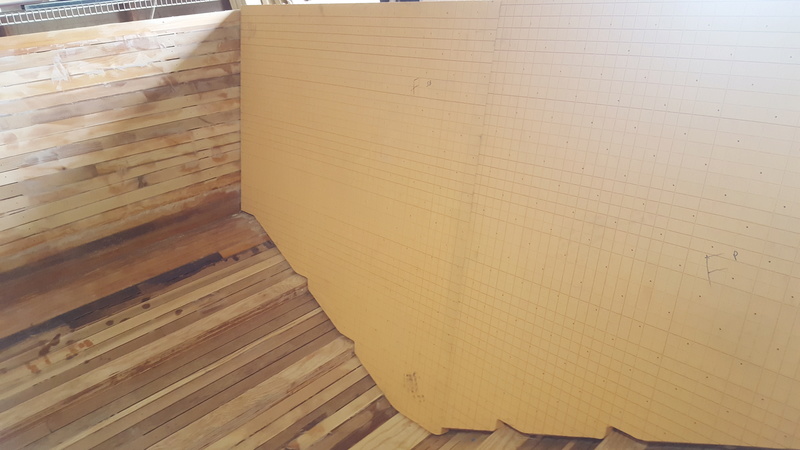
__________________
http://www.boatbuildercentral.com/  my rebuild thread: http://www.classicseacraft.com/commu...ad.php?t=22090 |
|
#32
|
|||
|
|||
|
Quote:
Tank comes out. Lift hull off trailer with fuel fill hose. Wait til morning. Repeat as necessary. Fall for the race boat. Shine, Wish you were my neighbor. Bones too. Sweet work. |
|
#33
|
|||
|
|||
|
Really amazing work. When I was a boy I can remember seeing such work in Willie Roberts shop in Tavernier. We were friends of the family and he spent many afternoons showing me the process of building boats from hand laid molds. Glad to see that kind of craftsmanship is still alive in capable hands.
Can't wait to see the finished project!
__________________
[b]The Moose is Loose ! |
|
#34
|
|||
|
|||
|
Quote:
 Quote:

__________________
http://www.boatbuildercentral.com/  my rebuild thread: http://www.classicseacraft.com/commu...ad.php?t=22090 |
|
#35
|
|||
|
|||
|
more prepping for the wide cloth along the bottom. *Will be running two 30" wide lengths that overlap one another in the space between strakes (under where stringer will be), also overlap up the chine. *Second strip overlaps the keel.
The strakes have been trimmed where they extended all the way through the hull, so glass will go over them. Pictures below are of the first strip area before glass. *Wetting out wood, filling gaps, making a fillet along bottom of strake. 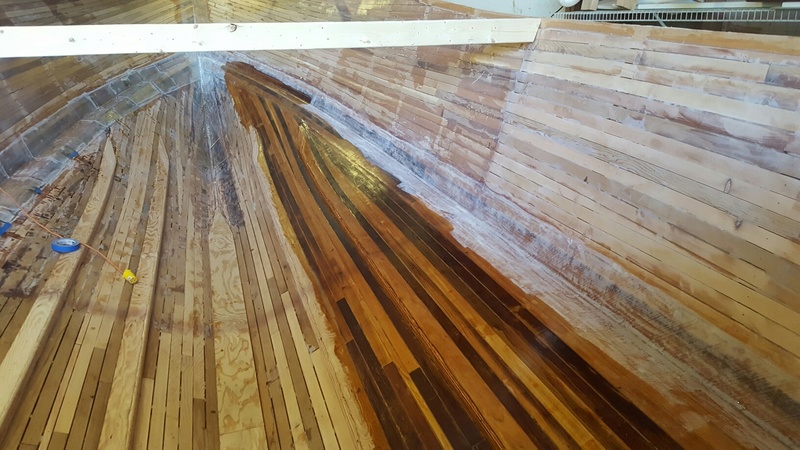 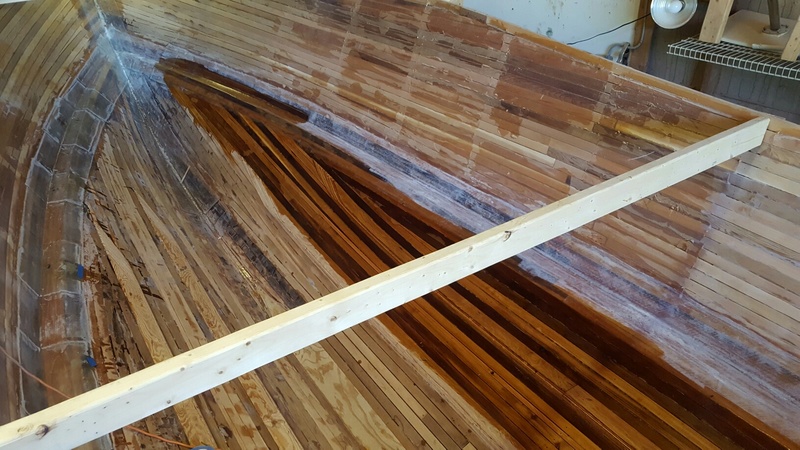 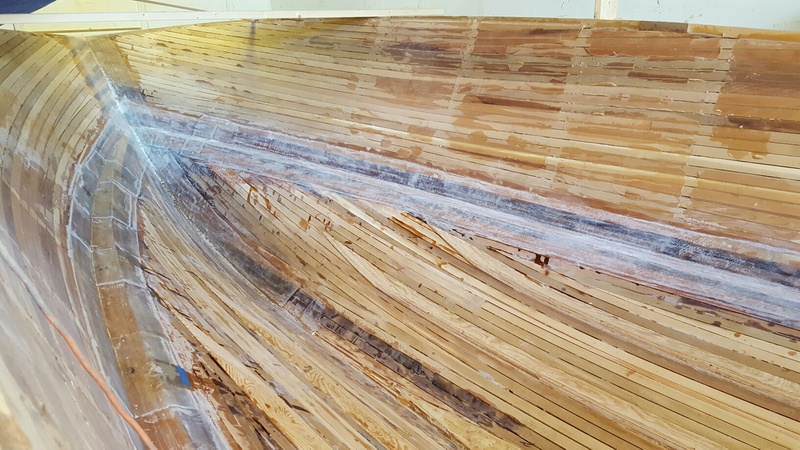 my helper 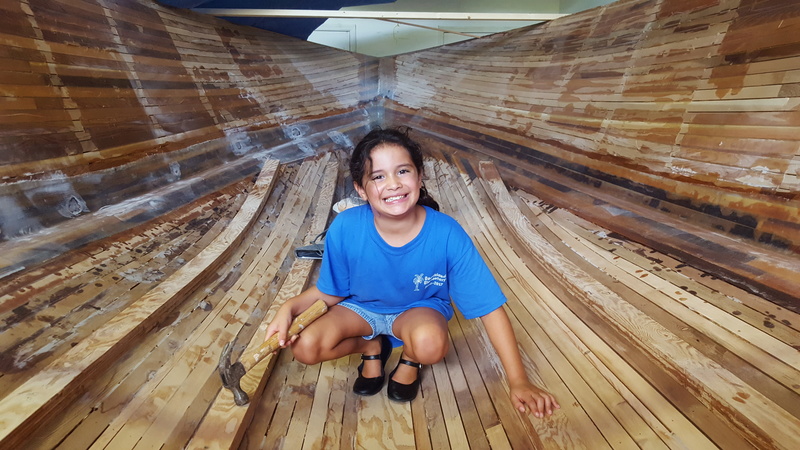
__________________
http://www.boatbuildercentral.com/  my rebuild thread: http://www.classicseacraft.com/commu...ad.php?t=22090 |
|
#36
|
|||
|
|||
|
I guess I forgot to post the pictures here of the bottom glassing.....Slow but steady progress. *The last of the hull bottom glass is in. *Hull bottom glass is 2 x DB1700, with some places having 4 layers (overlaps)
Next is the transom. *Before glassing the transom I need to get started on the sides (transom glass needs to overlap the sides). *Picture shows dry fitting the first layer of inside glass layer. *I will be laminating the sides of the hull in transverse strips of biaxial cloth. *Wetting out a single long piece of glass on the inside is asking for trouble when working by yourself in this heat. *Laying the glass this way means a little waste (with the overlaps), but thats not so important as having a good quality lamination. 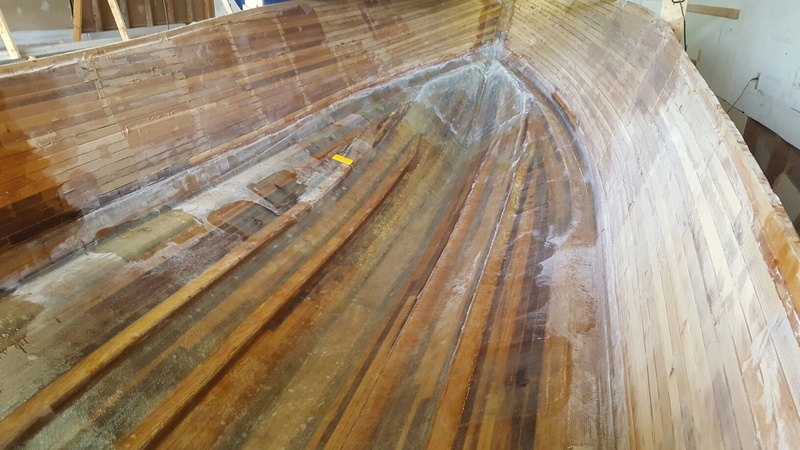 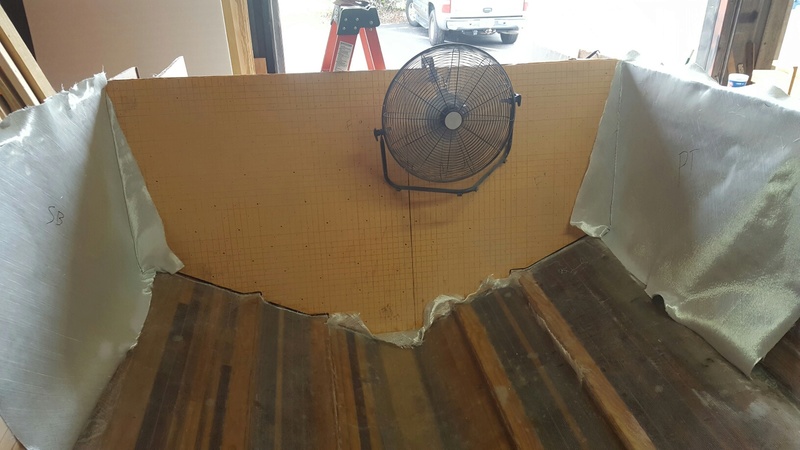
__________________
http://www.boatbuildercentral.com/  my rebuild thread: http://www.classicseacraft.com/commu...ad.php?t=22090 |
|
#37
|
|||
|
|||
|
tabbed in the transom. DB1708 tabbing 18" wide strips. Next up is the inside transom skin, going to recruit a helper for that big job..
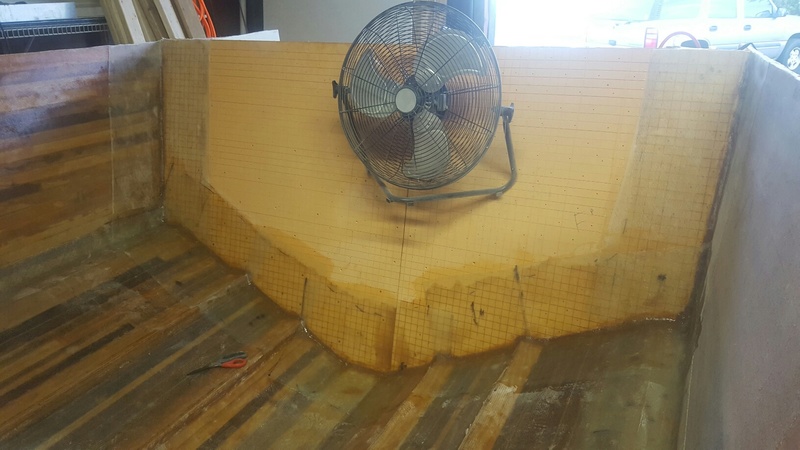
__________________
http://www.boatbuildercentral.com/  my rebuild thread: http://www.classicseacraft.com/commu...ad.php?t=22090 |
|
#38
|
|||
|
|||
|
mr shine
my cuz jessie use fan motar fer his jonny bote top speed bout 20 mph dat big bote of yours mite need 2 blower fans i like what u are doin sam |
|
#39
|
|||
|
|||
|
Dang Spidey, your cuz Jessie actually had a safety shroud around the fan blade, I'm impressed. Ya just gotta love a redneck john air bote!!!
|
|
#40
|
|||
|
|||
|
I would love to have that fan in my warehouse !
While I wait for some extra help on the transom layup, I starting with the stringers. *Stringers are H130 and H160 divinycell in 2". *The core is a mix of single cut and double cut. *It would be nice to have plain sheet material for this, but filling the kerfs is not such a big deal considering the deal I got on the foam. * In the original design, the stringers are flat and close to parallel to the waterline. This gave really nice depth/freeboard *up in the front of the boat, but it also necessitated either forward seating or a step up to hide where the sole intersected the chine. *I redrew the stringers so that they are 6" higher at the bow and sloping back to the original height at the transom. *You can see on the chalk line the new shape. *I will still have knee high decks at the bow. 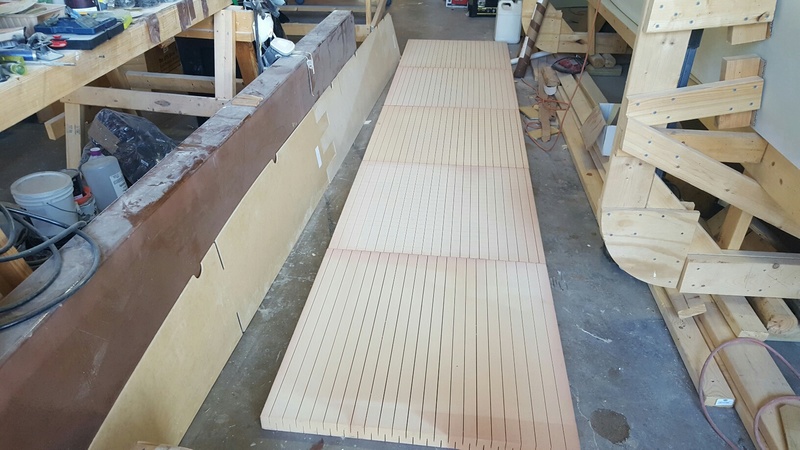 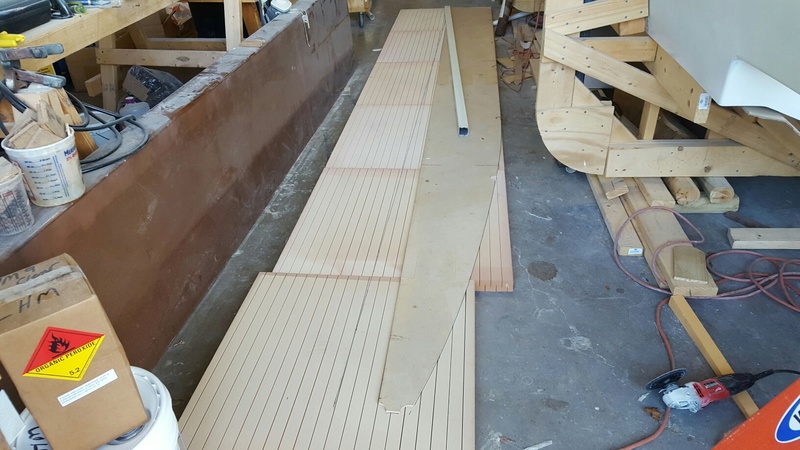 epoxy gluing the pieces together 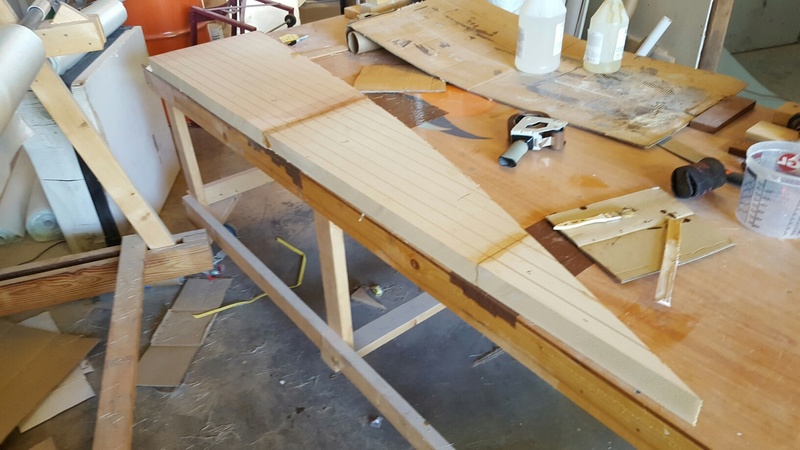
__________________
http://www.boatbuildercentral.com/  my rebuild thread: http://www.classicseacraft.com/commu...ad.php?t=22090 |
 |
|
|