Classic SeaCraft Community  

Go Back   Classic SeaCraft Community > General Discussion > Repairs/Mods.
FAQ Community Calendar Today's Posts Search

Notices

Reply
 
Thread Tools Search this Thread Display Modes
  #1  
Old 07-15-2013, 07:56 AM
flyingfrizzle flyingfrizzle is offline
Senior Member
 
Join Date: Sep 2012
Location: Eastern NC
Posts: 1,653
Default 1974 20' sceptre transom replacement and i/o to outboard bracket conversion

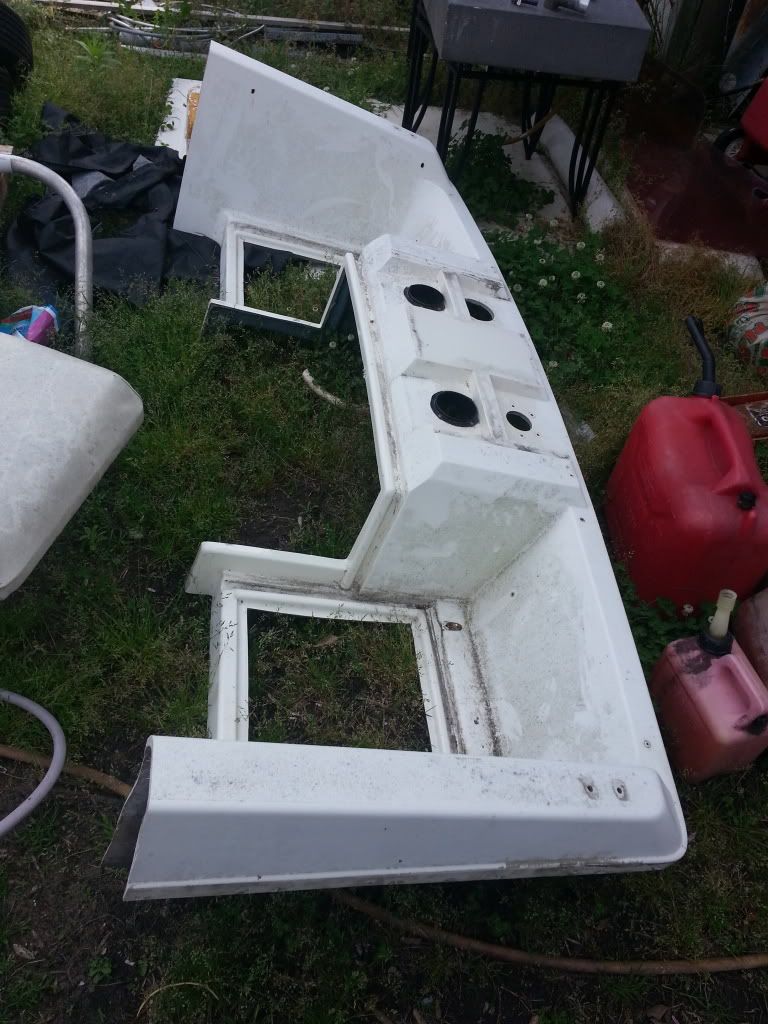
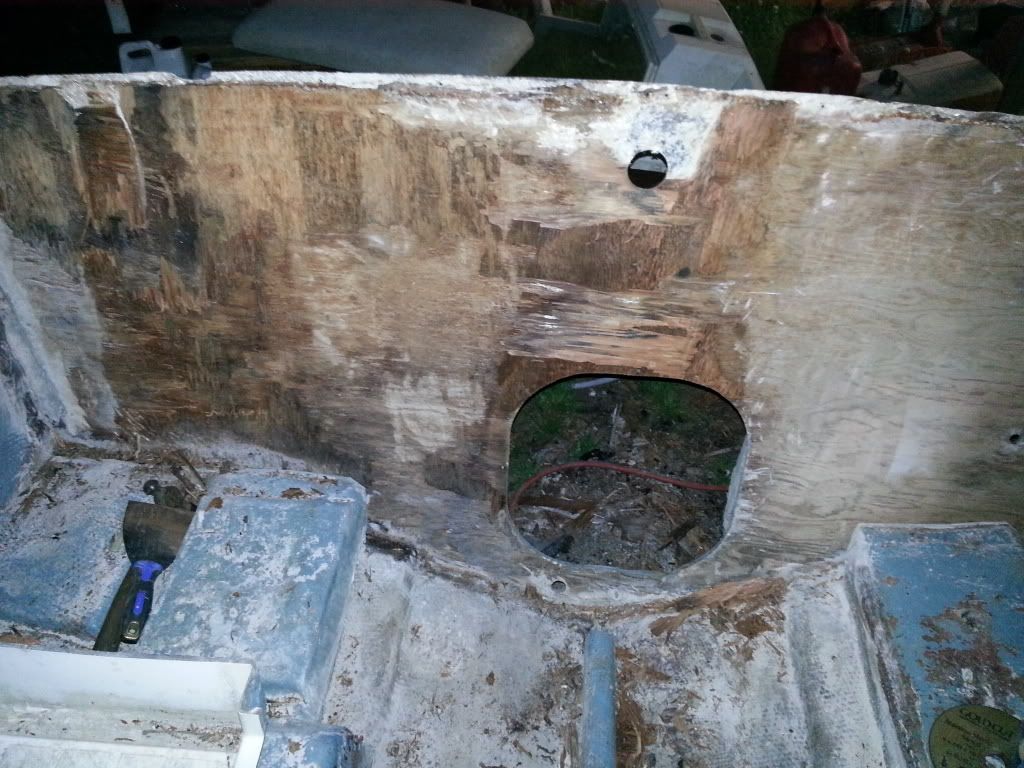
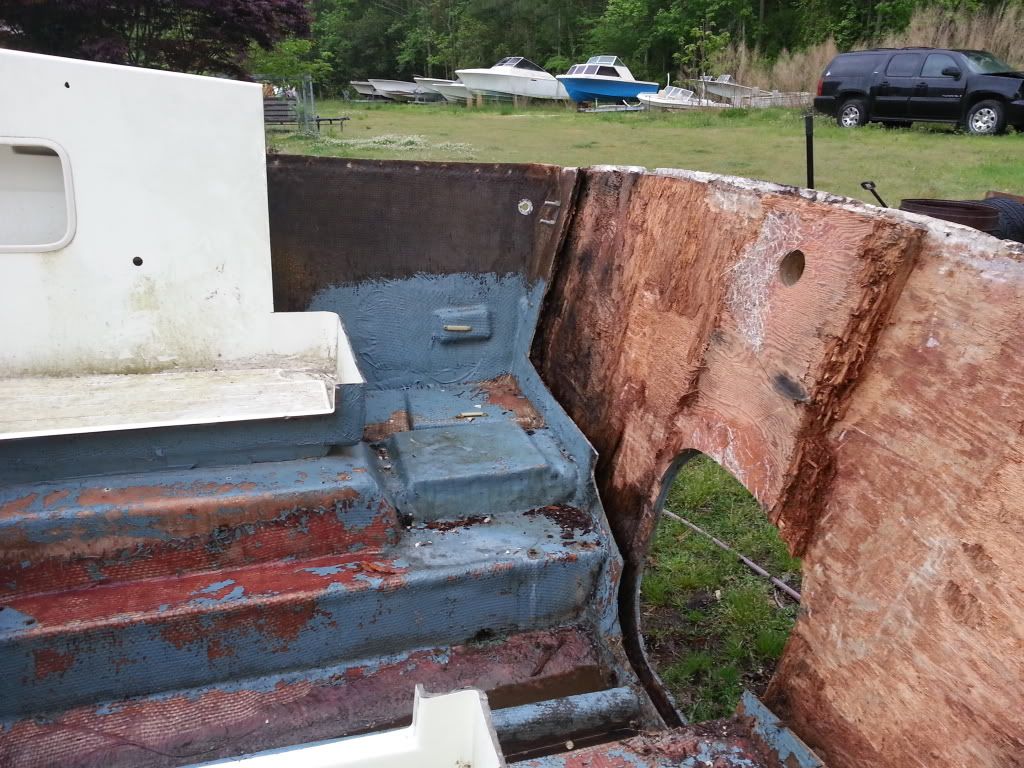
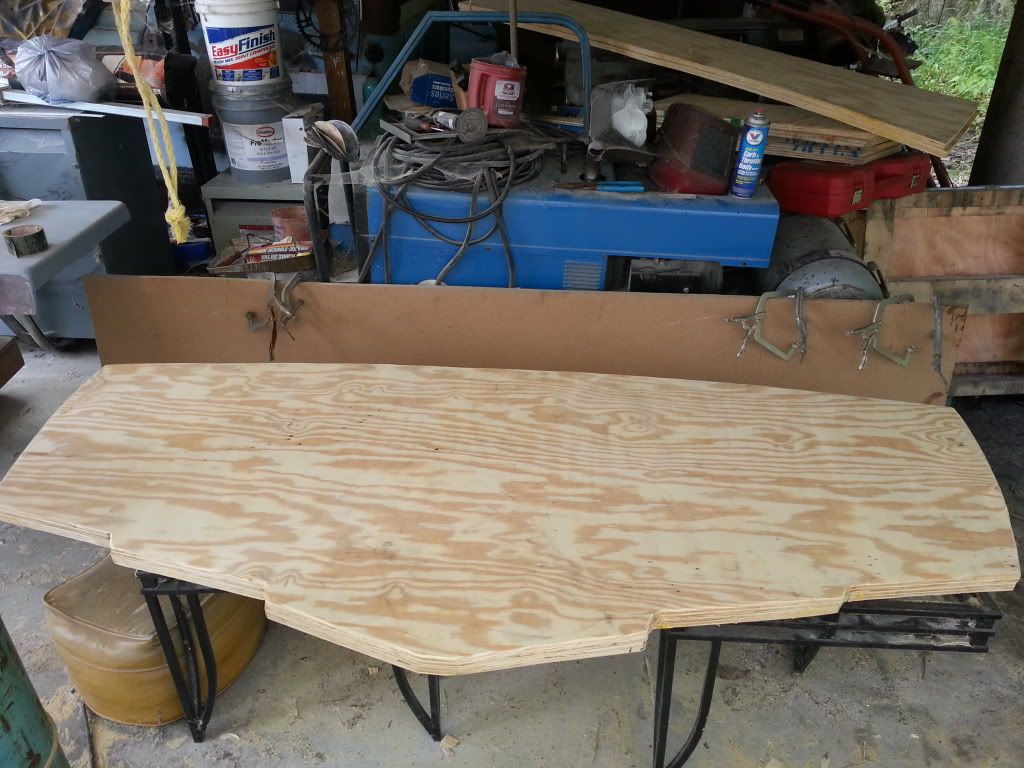
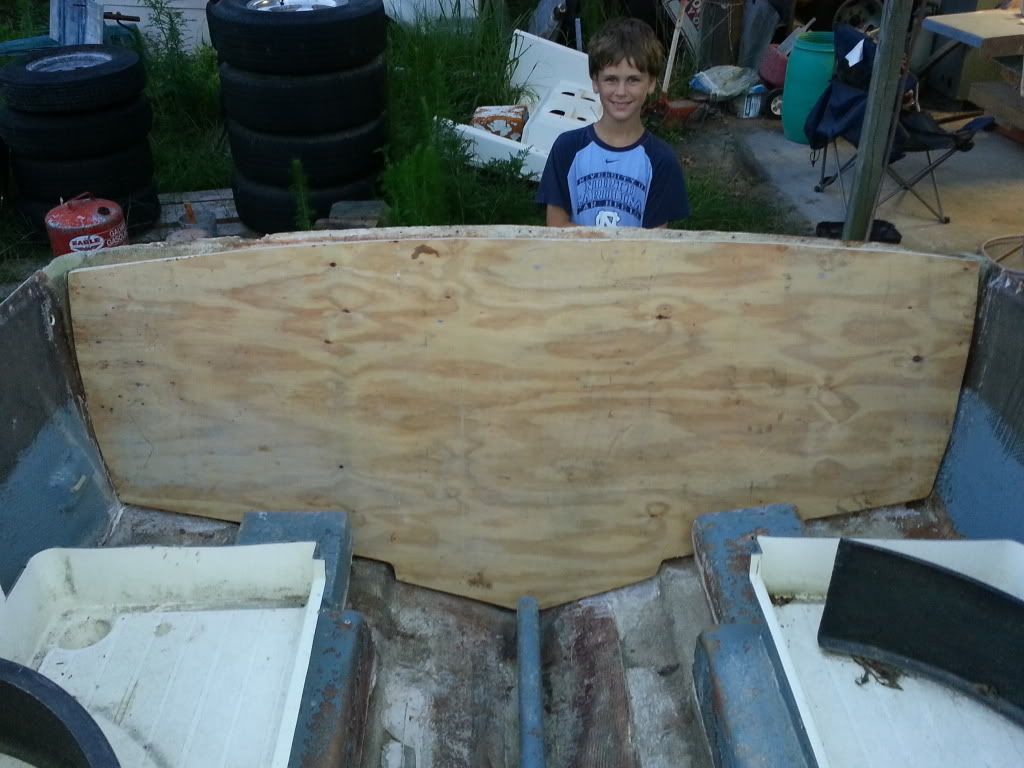
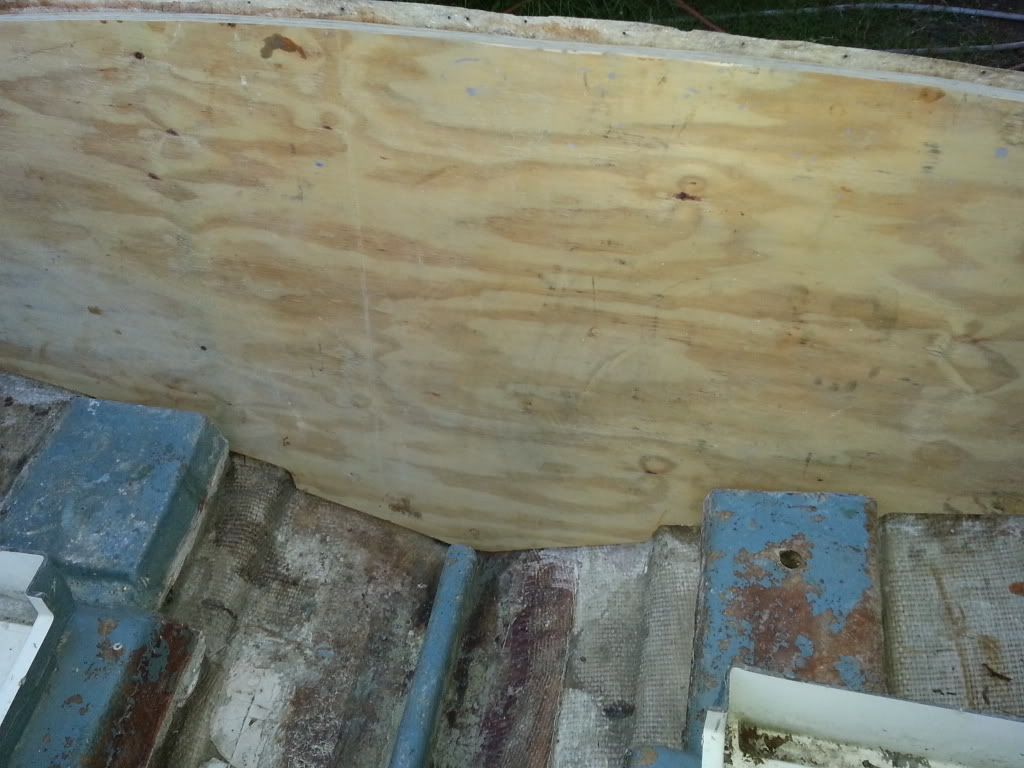
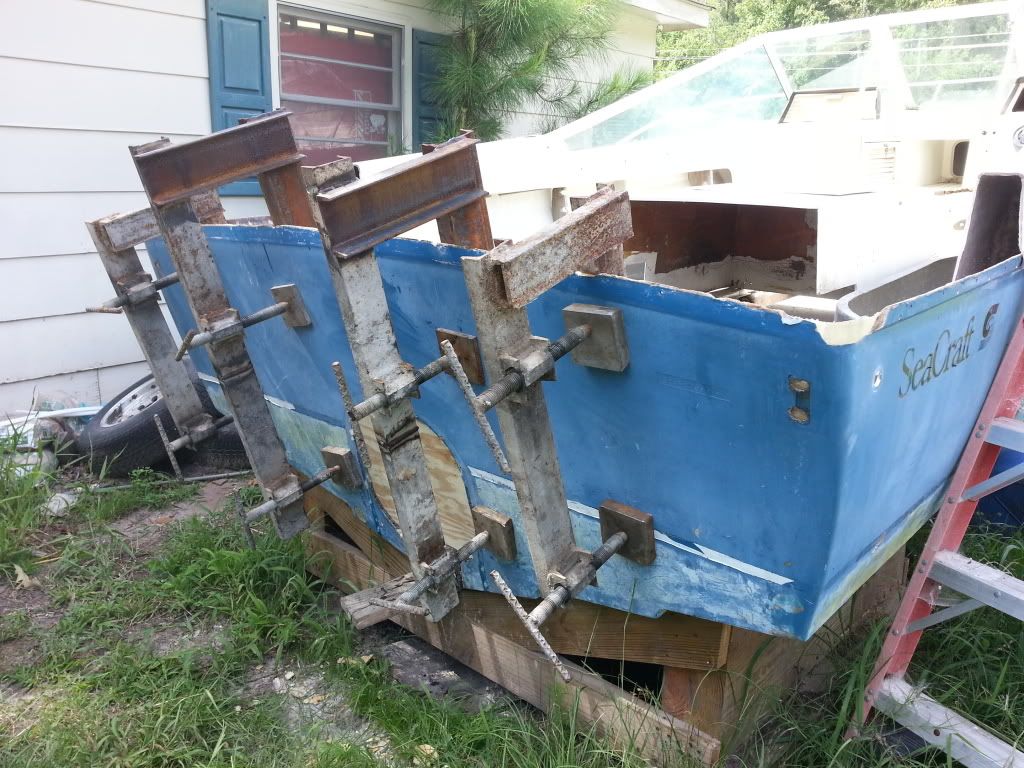
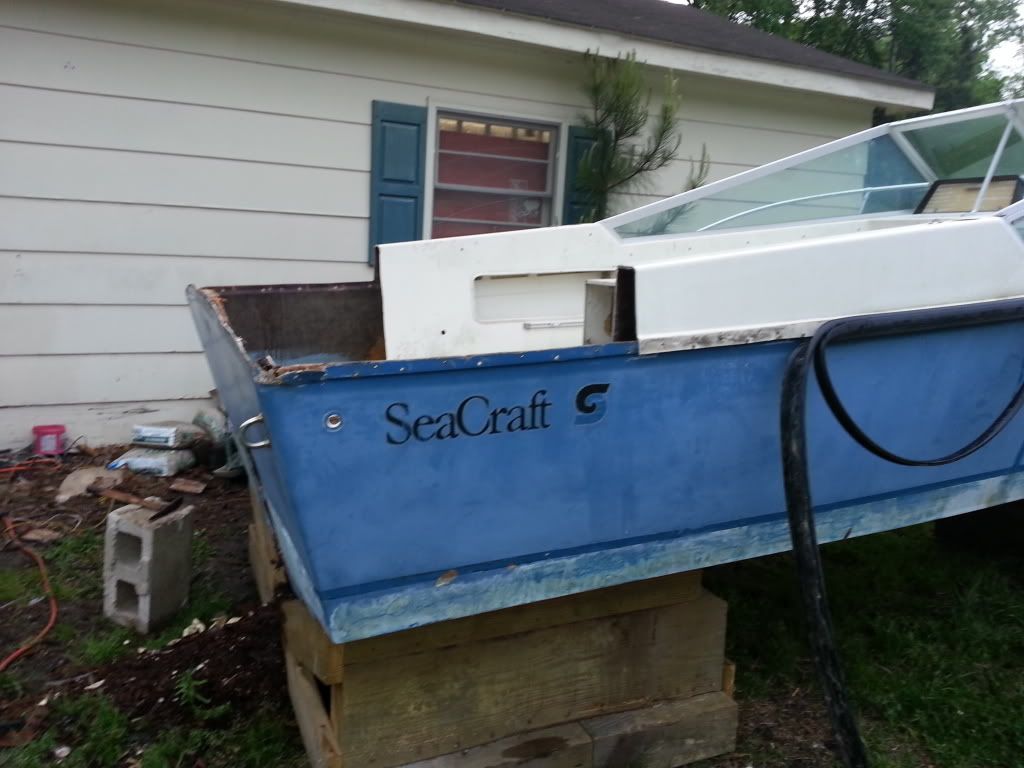
Finally got base ball season behind me, with 2 kids playing and one making all-stars it has been hectic trying to make all the practices, games and the boats have became a standby. Tried to get back on pace and started getting the transom ready for replacement. Removed the old wood and cleaned up the rear of the boat to prep it for the new wood. Cut back the stringers a bit and removed the old battery mount block. Cut out the ply and bonded two 3/4 pieces together with two layers of thick matted roven between them. Fitted the section in and tapered the edges back for a good fit and got everything ready to install.


__________________
Current SeaCraft projects:
68 27' SeaCraft Race boat
71 20' SeaCraft CC sf
73 23' SeaCraft CC sf
74 20' SeaCraft Sceptre
74 20' SeaCraft CC sf
Reply With Quote
  #2  
Old 07-15-2013, 05:43 PM
erebus erebus is offline
Senior Member
 
Join Date: May 2012
Location: Cape Cod
Posts: 428
Default

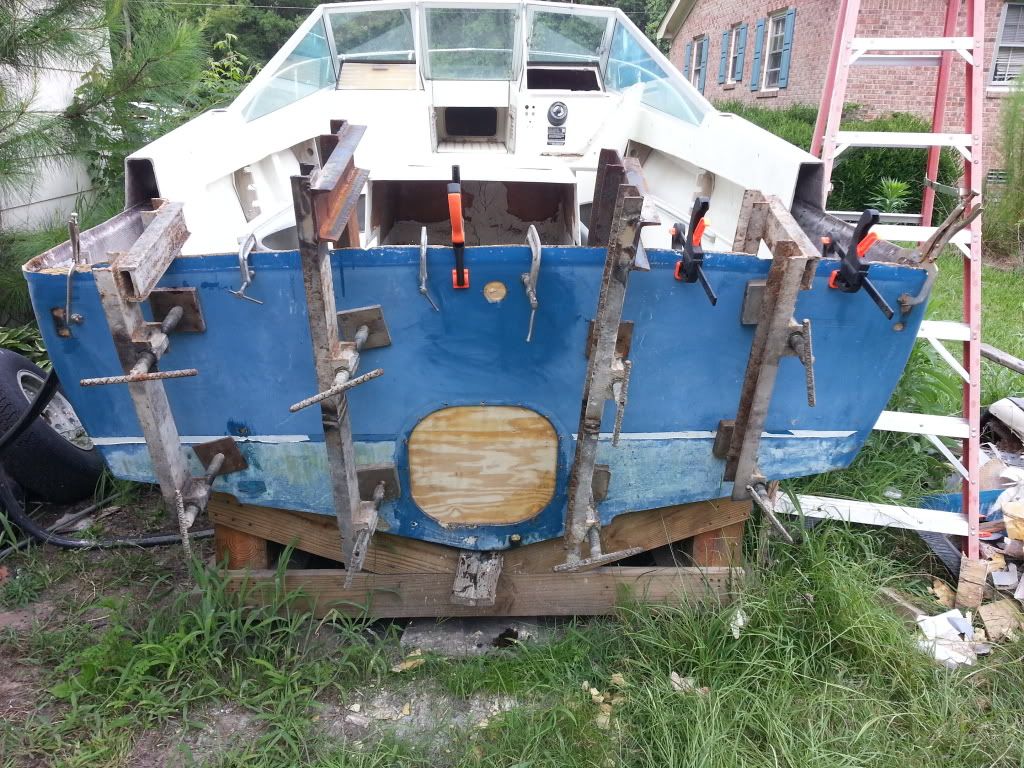
Those giant C-channel clamps are awesome!
__________________
Zachary

[SIGPIC][/SIGPIC]
Reply With Quote
  #3  
Old 07-20-2013, 06:23 PM
flyingfrizzle flyingfrizzle is offline
Senior Member
 
Join Date: Sep 2012
Location: Eastern NC
Posts: 1,653
Question

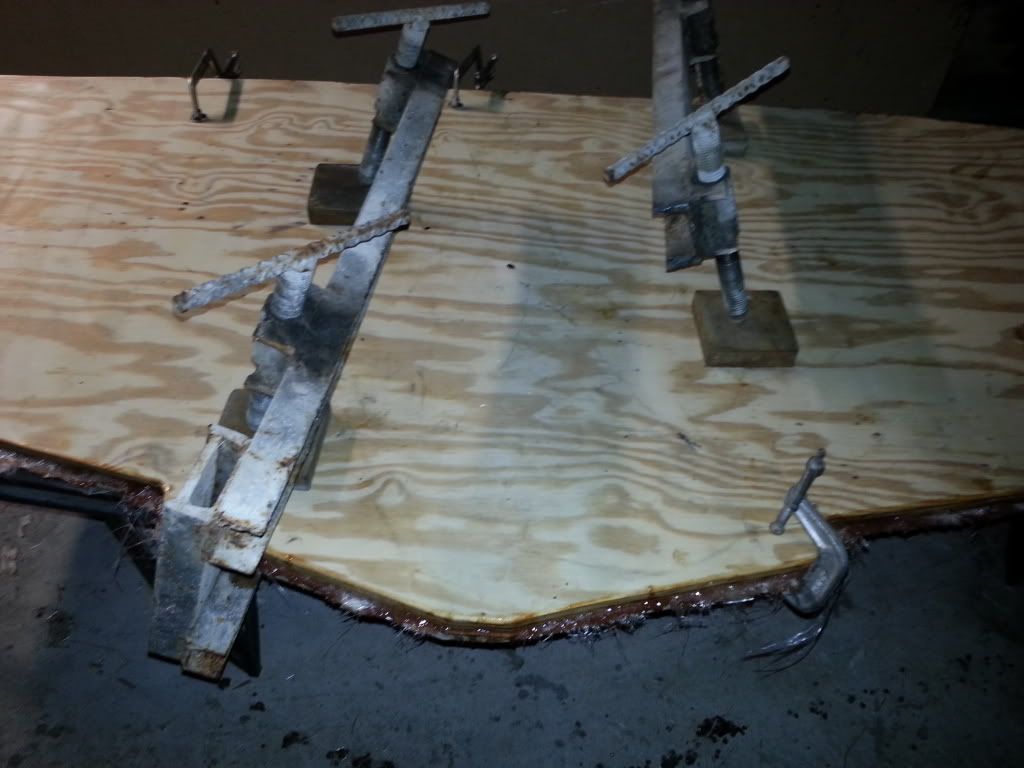
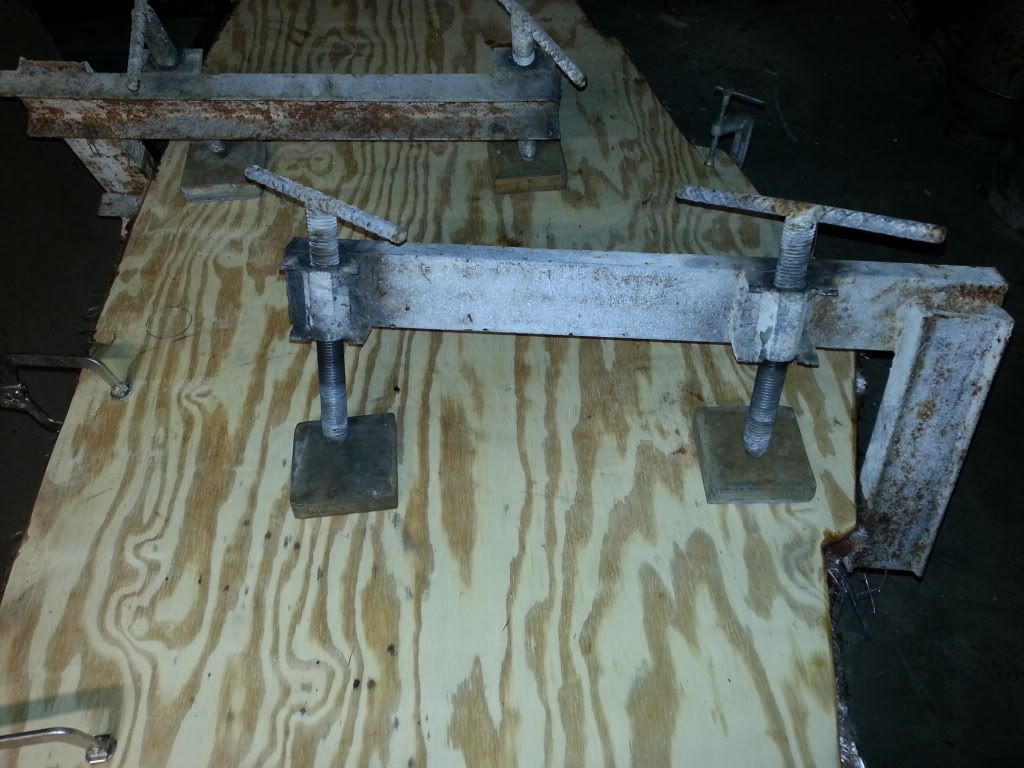
I had to modify my clamps to fit the smaller back of the 20, but I finally got the transom bonded in with epoxy and clamped down setting up. I normally use polyester but believe epoxy has its place and a transom replacement is one of them. I feel like I will give me a better bond to the old glass. I hate the slow dry time but once it is done I will get a few layers on the inside and tab it in then try to get the cap back on.


__________________
Current SeaCraft projects:
68 27' SeaCraft Race boat
71 20' SeaCraft CC sf
73 23' SeaCraft CC sf
74 20' SeaCraft Sceptre
74 20' SeaCraft CC sf
Reply With Quote
  #4  
Old 07-20-2013, 07:14 PM
gofastsandman gofastsandman is offline
Senior Member
 
Join Date: Mar 2007
Location: W.P.B. ,Fl.
Posts: 4,586
Default

Quote:
Originally Posted by erebus View Post
Those giant C-channel clamps are awesome!
Yes they are.
Reply With Quote
  #5  
Old 07-21-2013, 12:13 AM
flyingfrizzle flyingfrizzle is offline
Senior Member
 
Join Date: Sep 2012
Location: Eastern NC
Posts: 1,653
Default


__________________
Current SeaCraft projects:
68 27' SeaCraft Race boat
71 20' SeaCraft CC sf
73 23' SeaCraft CC sf
74 20' SeaCraft Sceptre
74 20' SeaCraft CC sf

Last edited by flyingfrizzle; 07-21-2013 at 12:17 AM.
Reply With Quote
  #6  
Old 07-21-2013, 12:22 AM
NoBones NoBones is offline
Pooh Bah
 
Join Date: Apr 2004
Location: Area 442 Somewhere in Florida
Posts: 3,699
Default

They are called "Deep Throat" clamps....
__________________
See ya, Ken ©
Reply With Quote
  #7  
Old 07-21-2013, 05:31 PM
flyingfrizzle flyingfrizzle is offline
Senior Member
 
Join Date: Sep 2012
Location: Eastern NC
Posts: 1,653
Default

Got the InsIde glased today 3 layers overall and 3 layers of tabbing.


__________________
Current SeaCraft projects:
68 27' SeaCraft Race boat
71 20' SeaCraft CC sf
73 23' SeaCraft CC sf
74 20' SeaCraft Sceptre
74 20' SeaCraft CC sf

Last edited by flyingfrizzle; 07-21-2013 at 05:34 PM.
Reply With Quote
  #8  
Old 07-21-2013, 06:20 PM
77SceptreOB 77SceptreOB is offline
Senior Member
 
Join Date: Jun 2009
Location: Columbia, SC.
Posts: 1,611
Default

Nice work...Love those "big daddy" clamps!!!
__________________
1977 SeaCraft 23' Sceptre W/ Alum Tower & Yamaha 225
www.LouveredProductsUnlimited.com
Reply With Quote
  #9  
Old 07-22-2013, 06:18 AM
RUSTYNTABATHA RUSTYNTABATHA is offline
Senior Member
 
Join Date: Feb 2005
Location: ORANGE BEACH , AL
Posts: 650
Default

very cool... Watching closely !!! I have to do this to my master angler and the clamps are fantasic !!!! i will be building a set of these !!!! I have a question though. Hind site being 20 / 20 and someone looking on from the outside... Would adding 2x4 on the outside and inside spread the clamping effect ? I think my transom is flat on my Master Angler and this would spread the clamping effect. Or do the clamps provide for good adhesion ? Also would it matter that i will be using composite ?
__________________
80 23 SCEPTRE TWIN 135 MERC OPTIS
75 20 Master Angler 115 Mariner Tower of Power
RUSTY PARKER
http://i92.photobucket.com/albums/l2...eyemailtag.jpg

Last edited by RUSTYNTABATHA; 07-22-2013 at 06:20 AM.
Reply With Quote
  #10  
Old 07-22-2013, 07:12 AM
flyingfrizzle flyingfrizzle is offline
Senior Member
 
Join Date: Sep 2012
Location: Eastern NC
Posts: 1,653
Default

Quote:
Originally Posted by RUSTYNTABATHA View Post
very cool... Watching closely !!! I have to do this to my master angler and the clamps are fantasic !!!! i will be building a set of these !!!! I have a question though. Hind site being 20 / 20 and someone looking on from the outside... Would adding 2x4 on the outside and inside spread the clamping effect ? I think my transom is flat on my Master Angler and this would spread the clamping effect. Or do the clamps provide for good adhesion ? Also would it matter that i will be using composite ?
Yea, I had a pair of 2x6's that I was going to put behind the clamps to spread the load out a bit more but it is difficult to do this with out some extra hands or help. I wasn't able to get them behind all four clamps at the same time while holding them up off the top lip of the skin. If I would of had some one there to help me I probably would of added them to the back side of the skin but I don't think it really needed it anyway. The core was two 3/4" plys and had almost a 1/4" of woven glass between them and I also soaked the wood well with thinned resin plus added a layer of thick mat around the core. It was so stiff prier to installing I don't think the inside needed boards for more support at all. On the outside it might of helped some but the skin was very thick as well and looking down it I did not see where the 4" square blocks I used bowed it in any. I took a straight edge down the back side once it sat up and it looked even all the way down the back. I try not to put too much pressure on the core due to it will squeeze all the epoxy out of the joint. But the more even you can add pressure to it the better off you are that is for sure.
__________________
Current SeaCraft projects:
68 27' SeaCraft Race boat
71 20' SeaCraft CC sf
73 23' SeaCraft CC sf
74 20' SeaCraft Sceptre
74 20' SeaCraft CC sf
Reply With Quote
Reply


Posting Rules
You may not post new threads
You may not post replies
You may not post attachments
You may not edit your posts

BB code is On
Smilies are On
[IMG] code is On
HTML code is Off

Forum Jump


All times are GMT -4. The time now is 11:42 PM.


Powered by vBulletin® Version 3.8.7
Copyright ©2000 - 2024, vBulletin Solutions, Inc.
All original content © 2003-2013 ClassicSeacraft